Configuring the Scanner Settings
58
3
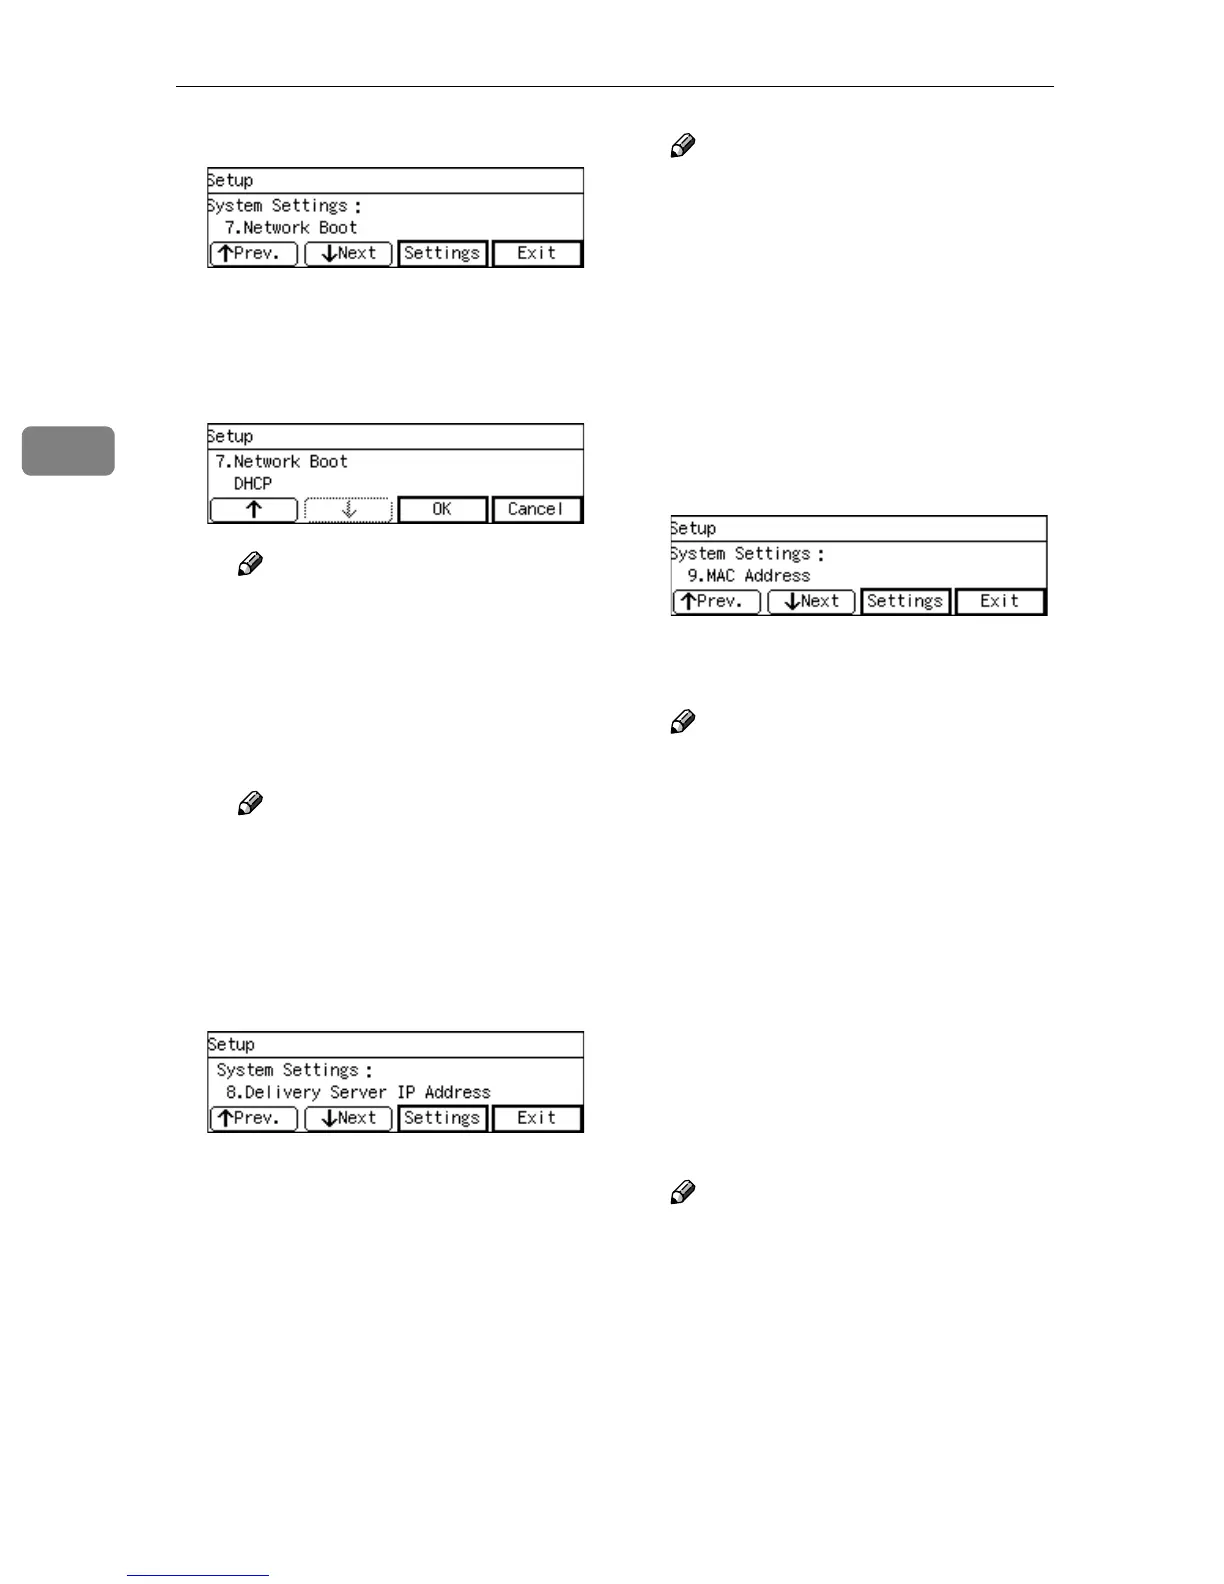
C Press [Settings].
The setting screen for “7. Net-
work Boot” appears.
D Use [↑
↑↑
↑] and [↓
↓↓
↓] to display “DH-
CP”.
Note
❒ “*” mark appears along with
the option currently selected.
E While “DHCP” is displayed,
press [OK].
This returns to the System Set-
tings menu.
Note
❒ Pressing [Cancel] leaves the
setting as it was (the option
marked with “*” remains ac-
tive), and returns to the pre-
vious screen.
G
GG
G
Press [↓
↓↓
↓Next].
“8. Delivery Server IP Address”
appears as the setup item currently
selected.
Note
❒ This item is automatically con-
figured when you register this
machine to a delivery server op-
erated by ScanRouter V2/Pro-
fessional. Press [OK] to confirm
this setting after you have regis-
tered this machine to a delivery
server, and then press [Cancel]
to return to the System Settings
menu.
H
HH
H
Press [↓
↓↓
↓Next].
“9. MAC Address” appears as the
setup item currently selected.
Note
❒ MAC address is a hardware ad-
dress that uniquely identifies
each machine, and cannot be
changed. Press [Settings] to see
the MAC address of this ma-
chine, and then press [Cancel] to
return to the System Settings
menu.
I
II
I
By pressing [↓
↓↓
↓Next] to display “10.
Transmission Speed” and “11.
LAN Type” as the setup item, se-
lect options for each of them in
the same way that you have done
for setting “7. Network Boot”.
Note
❒ “11. LAN Type” is fixed to
“Ethernet” for this machine.
J
JJ
J
Press [↓
↓↓
↓Next].
“12. Wireless LAN Signal” appears
in gray tone.