Roche Diagnostics
202 Instructions for Use · Version 13.0
7 Quality control cobas b 123 POC system
Configuring the QC scheduler
3
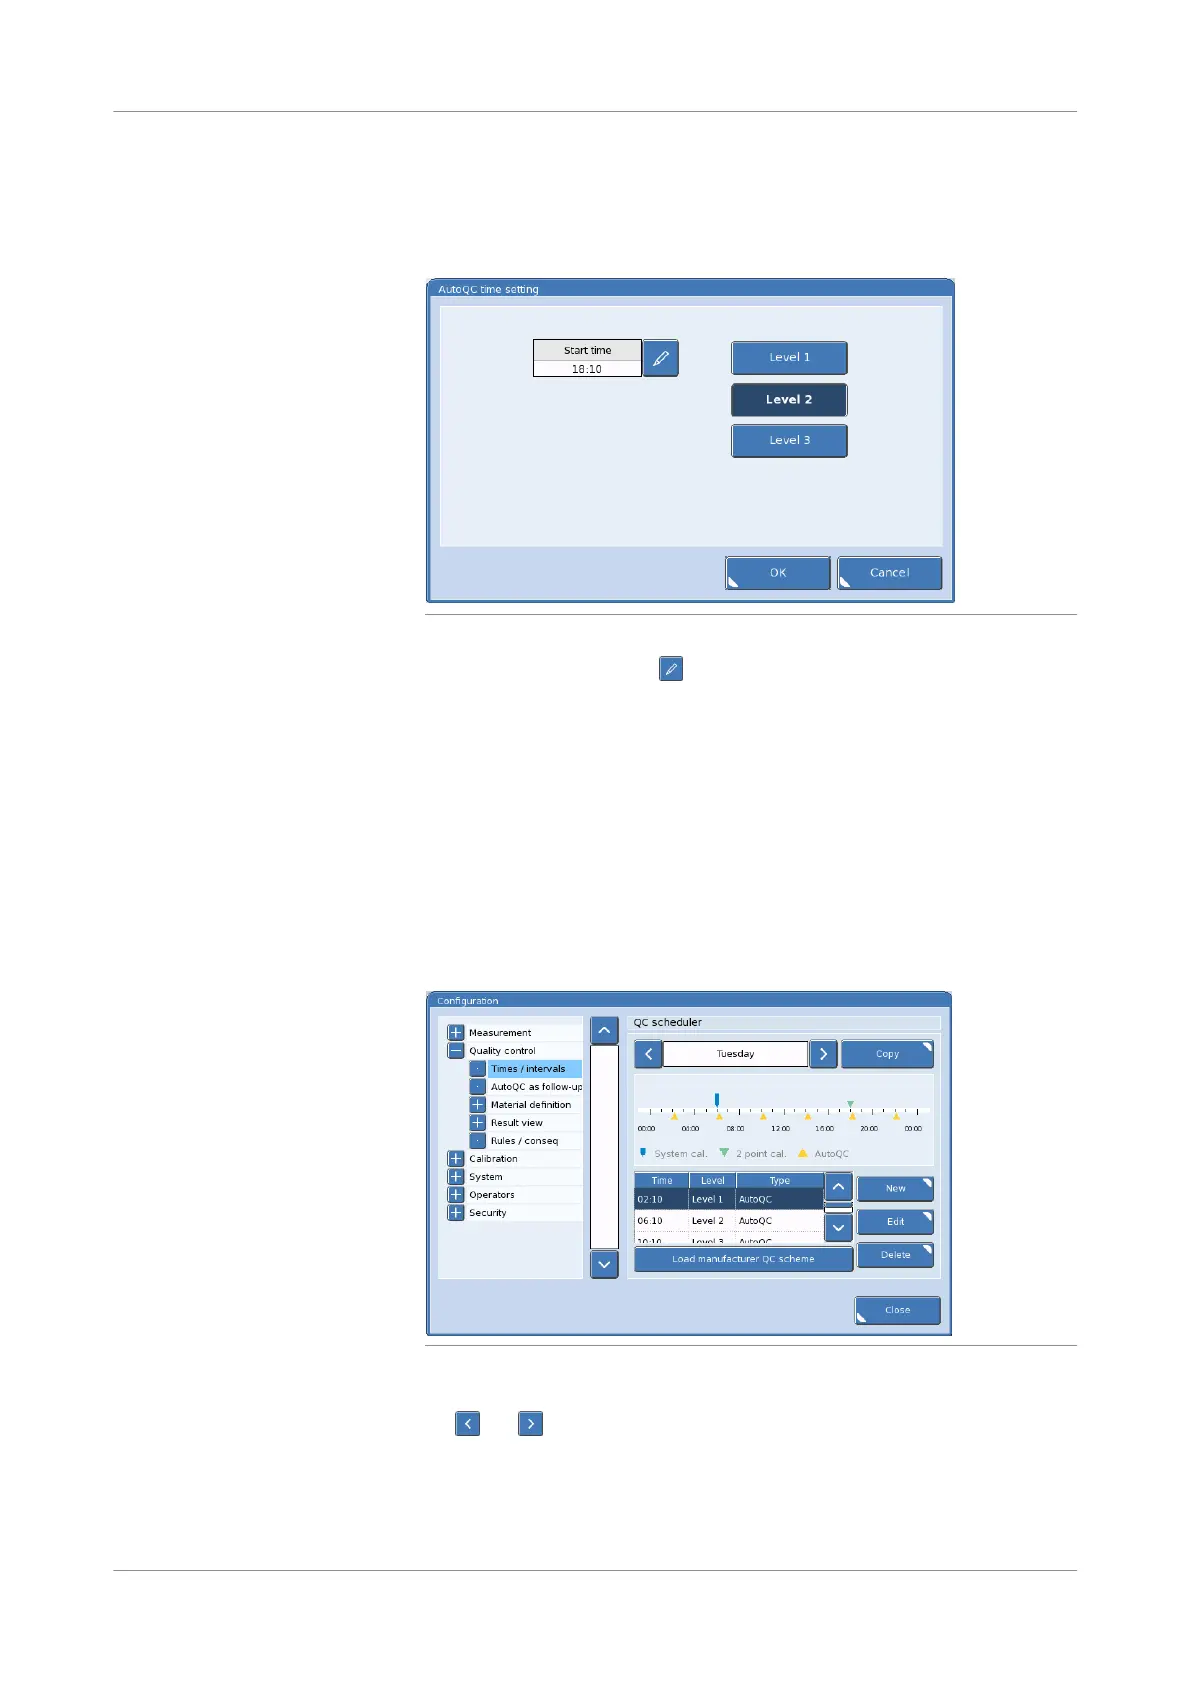
To edit a time in the QC scheduler, select it from the drop-down list on the
QC scheduler panel. Then, press the Edit button.
The following window appears on the screen:
Figure 7-30 AutoQC time configuration screen
4
To edit a start time, press the button in the Start time field. Enter your new
start time using the numeric keyboard box that appears on the screen. Then, press
the OK button.
5
To select a QC level for the new time, press the button in the
AutoQC time setting dialog box that corresponds to the QC level that you want
to assign.
6
To apply your changes, press the OK button.
s
p To delete a time in the QC scheduler
1
Utilities > Configuration > Quality control > Times / intervals
Figure 7-31 QC scheduler screen
2
To select the day of the week that you want to delete a time, press
the and buttons at the top of the QC scheduler panel.
3
To delete a time in the QC scheduler, select it from the drop-down list on the
QC scheduler panel. Then, press the Delete button.
s

 Loading...