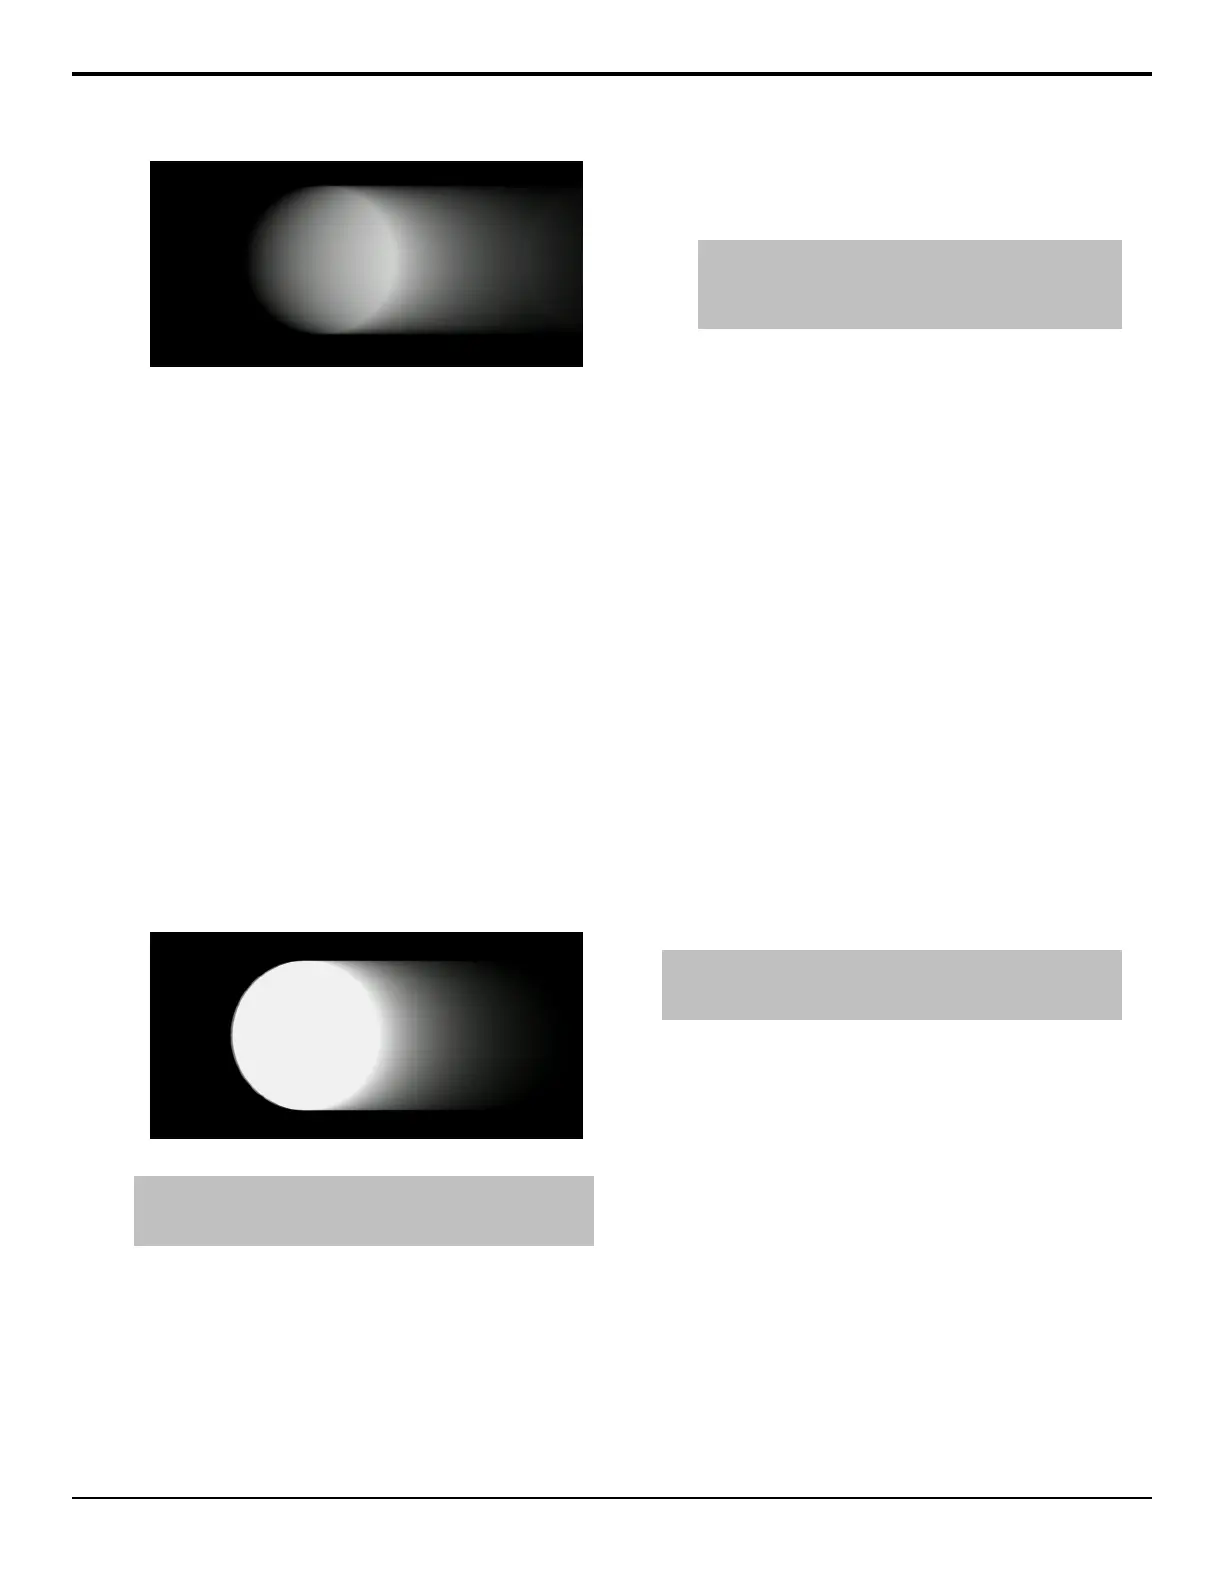
Figure 19: Soft Trail
To Apply a Soft Trail to a Key
1. Press BORDER on the Effects Keyer module.
2. Press Mode and use the Border Mode knob to
select Trails.
3. Use the Trails Mode knob to select Soft.
4. Press Decay and use the Decay Rate knob to
adjust the amount that the trail fades each frame. If
the decay rate is set to 0.0%, the trail does not decay,
and the image becomes static.
Hard Trails
Hard Trails applies a decaying image behind the motion
with no transparency applied to the moving object. Hard
Trails uses the brightness (luminosity) of the moving
object to calculate the trails. To adjust this, you can use
the Luminance Threshold and Luminance Range to
separate the moving object from the background.
Hard Trails are best applied to a stationary background
with moving elements in the foreground.
Figure 20: Hard Trails
Tip: For the best results, the moving objects in the video that
you want to apply trails to should be brighter than the
background.
To Apply a Hard Trail to a Key
1. Press BORDER on the Effects Keyer module.
2. Press Mode and use the Border Mode knob to
select Trails.
3. Use the Trails Mode knob to select Hard.
4. Press Decay/Threshold and use the Decay Rate,
Luma Thresh, and Luma Range knobs to adjust
the key trail.
Tip: Use the luma threshold to select the part of the video
that you don’t want trails applied to, the background for
example. Use the luma range to adjust for variations in the
background that you don’t want trails applied to.
• Decay Rate — adjust the amount that the trail
fades each frame. If the decay rate is set to 0.1%,
the trail decays very slowly, and the image
becomes static. If the decay rate is set to 0.0%,
no trail is created.
• Luma Thresh — adjust for the parts of the
video that trails are applied to. Pixels that are
brighter or darker than the Luma Thresh, and not
within the Luma Range, are used for creating
trails. If the luma threshold is set to 0.0% (black)
only the brightest pixels are used for creating
trails.
• Luma Range — adjust the range of the
brightness around the Luma Threshold that is
not used for creating trails. If the luma range is
set to 100%, no trail is created.
Key Trails
Key Trails applies a decaying image behind the key,
using the alpha, leaving the key video unaffected. The
trail can use either the source video for the trail, or a
matte color.
To Apply a Key Trail to a Key
Note: You must be flying a key to properly use the Key Trails
feature. If you are not flying a key, the trail effect may not be
visible.
1. Press BORDER on the Effects Keyer module.
2. Press Mode and use the Border Mode knob to
select Trails.
3. Use the Trails Mode knob to select Key.
4. Press Decay and use the Decay Rate and Decay
To knobs to adjust the amount that the trail fades
each frame, and the type of decay.
• Decay Rate — adjust the amount that the trail
fades each frame. If the decay rate is set to 0.0%,
the trail does not decay, and the image becomes
static. If the decay rate is set to 100.0%, the trail
becomes transparent.
• Decay To — select the type of decay that is
used.
• Video — use the video content of the key to
create the trail.
62 • Key Modifiers — Acuity Operation Manual (v9.2)