EI-34
EXTERIOR/INTERIOR TRIM
Side Garnish
10.Side Garnish
A: REMOVAL
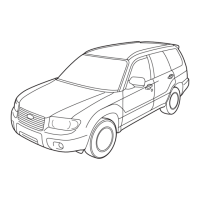
1) Incise the edge of garnish using cutter, and then
remove the garnish with pulling towards you by
hands.
NOTE:
Remove the garnish carefully. Forced removal of
garnish may damage garnish and clips.
2) Adhere the masking tape around area where the
double-sided tape of side garnish was adhere.
3) Apply the solvent (SUMITOMO 3M 4000 or equiv-
alent) to the area where double-sided tape was ad-
hered.
NOTE:
• Wipe off immediately when the solvent is touched
on the garnish surface.
• Do not use the solvent to the body which repaired
with lacquer paint.
4) Cover the area where the solvent applied using
plastic wrap, and then heat the double-sided tape
was adhered for 5 to 15 minutes in 40 to 60°C (104
to 140°F) using heat lamp.
5) Remove the double-sided tape of side garnish
side tape by following above step 3) and 4).
NOTE:
When the double-sided tape is not removed com-
pletely using above steps, use the scraper.
B: INSTALLATION
1) Apply the PRIMER (SUMITOMO 3M K-500 or
equivalent) widely to the slightly larger area where
double-sided tape was adhered, and then adhere
the double-sided tape (SUMITOMO 3M 5305 or
equivalent).
NOTE:
Use 5 mm (0.2 in) width and 1 mm (0.04 in) thick-
ness double-sided tape.
2) Heat the vehicle body to 40 to 60°C (104 to
140°F) and garnish to 20 to 30°C (68 to 86°F) using
heat lamp.
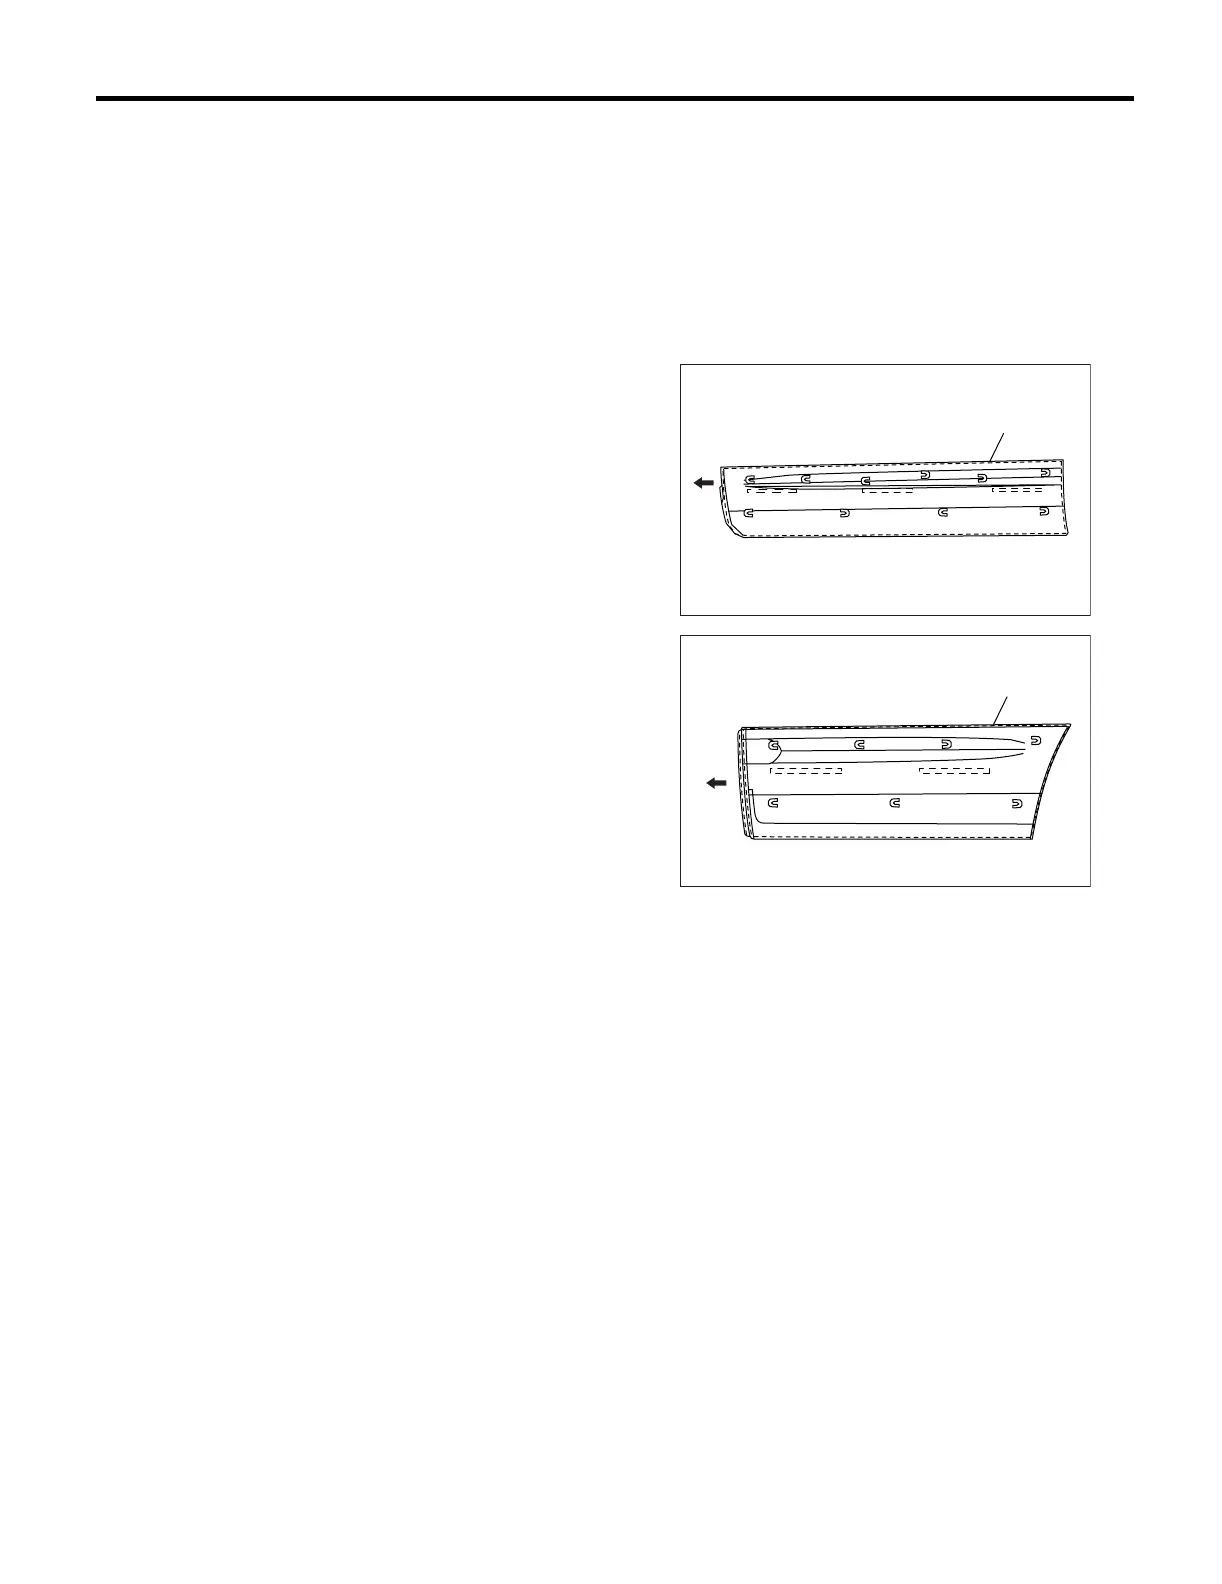
3) Remove the double-sided tape backing sheet, and
then align the clips to vehicle body holes. Press and
install the side garnish applying 69 — 98 N (7 — 10
kgf, 15 — 22 lbf) by the hands, using care to avoid air
entering.
NOTE:
• To keep the adhesion, do not wash the vehicle
within 24 hours.
• After the adhesion, use care not to move the side
garnish up and down.
C: INSPECTION
• Check the side garnish is not damaged or
cracked.
• Check the clips are not broken.
(1) Double-sided tape
(2) Front side
EI-00109
(1)
(2)
EI-00110
(1)
(2)