EI-41
EXTERIOR/INTERIOR TRIM
Instrument Panel Assembly
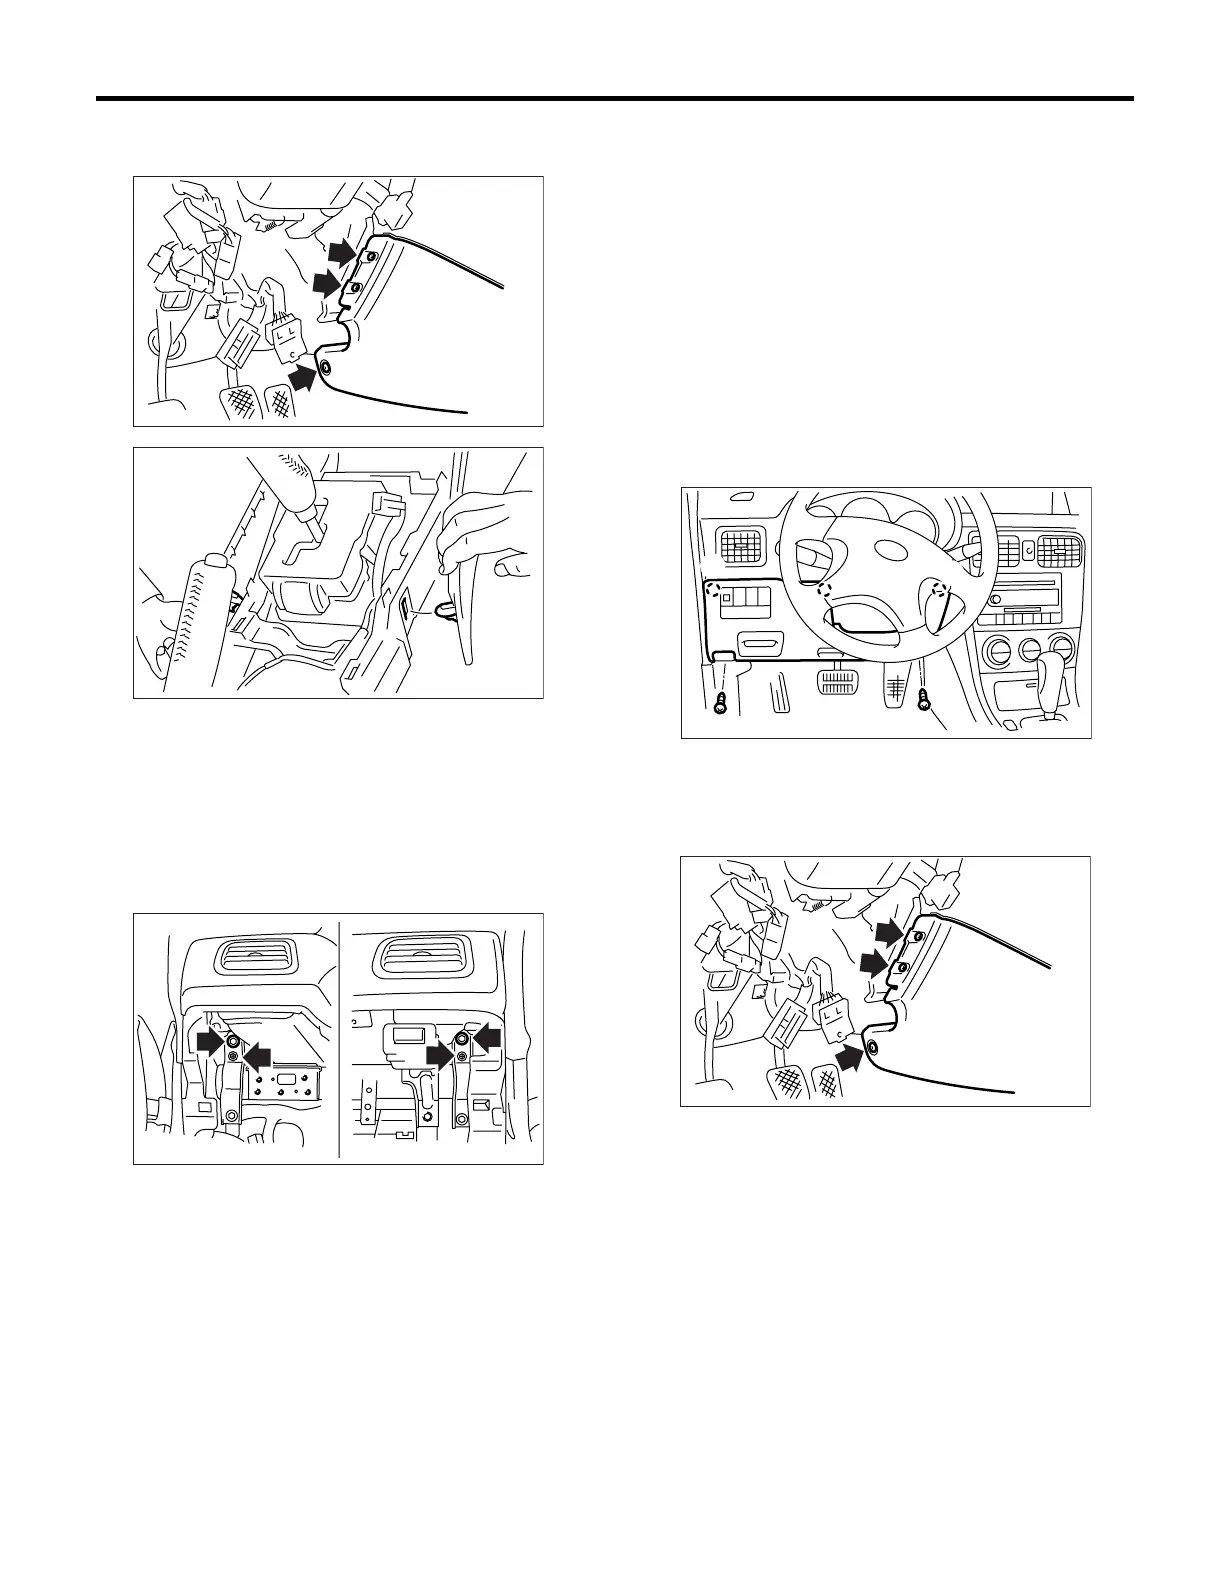
9) Loosen the screws and clips, and then remove
the side console panel.
10) Remove the passenger’s airbag module. <Ref.
to AB-15, REMOVAL, Passenger’s Airbag Mod-
ule.>
11) Remove the two steering column installation bolts.
<Ref. to PS-26, REMOVAL, Tilt Steering Column.>
12) Loosen the four instrument panel installation
bolts. (Do not remove the lower bolts for alignment
of install location.)
13) Remove the combination meter assembly. <Ref.
to IDI-10, REMOVAL, Combination Meter Assem-
bly.>
14) Loosen the instrument panel installation screws.
15) Remove the instrument panel center compart-
ment. <Ref. to EI-51, REMOVAL, Instrument Panel
Center Compartment.>
16) Remove the radio. <Ref. to ET-5, REMOVAL,
Radio Body.>
17) Remove the side cover of instrument panel as-
sembly (both side), and then loosen two bolts.
18) Remove the instrument panel assembly.
NOTE:
Remove the front pillar upper trim if necessary.
<Ref. to EI-43, REMOVAL, Upper Inner Trim.>
19) Disconnect the combination meter harness con-
nector.
CAUTION:
Do not disconnect the connector by pulling har-
ness.
2. REMOVAL OF INSTRUMENT PANEL
WITH STEERING BEAM
1) Disconnect the ground cable from battery.
2) Loosen the screws and clips (A), and then remove
the lower cover.
3) Remove the console front cover and console
cover. <Ref. to EI-39, REMOVAL, Console Box.>
4) Loosen the screws and clips, and then remove
the side console panel.
5) Remove the steering column.
EI-00103
EI-00062
EI-00223
EI-00727
(A)
(A)
(A)
EI-00103