February 2013
4-318
ColorQube® 9303 Family
REP 89.3
Repairs/Adjustments
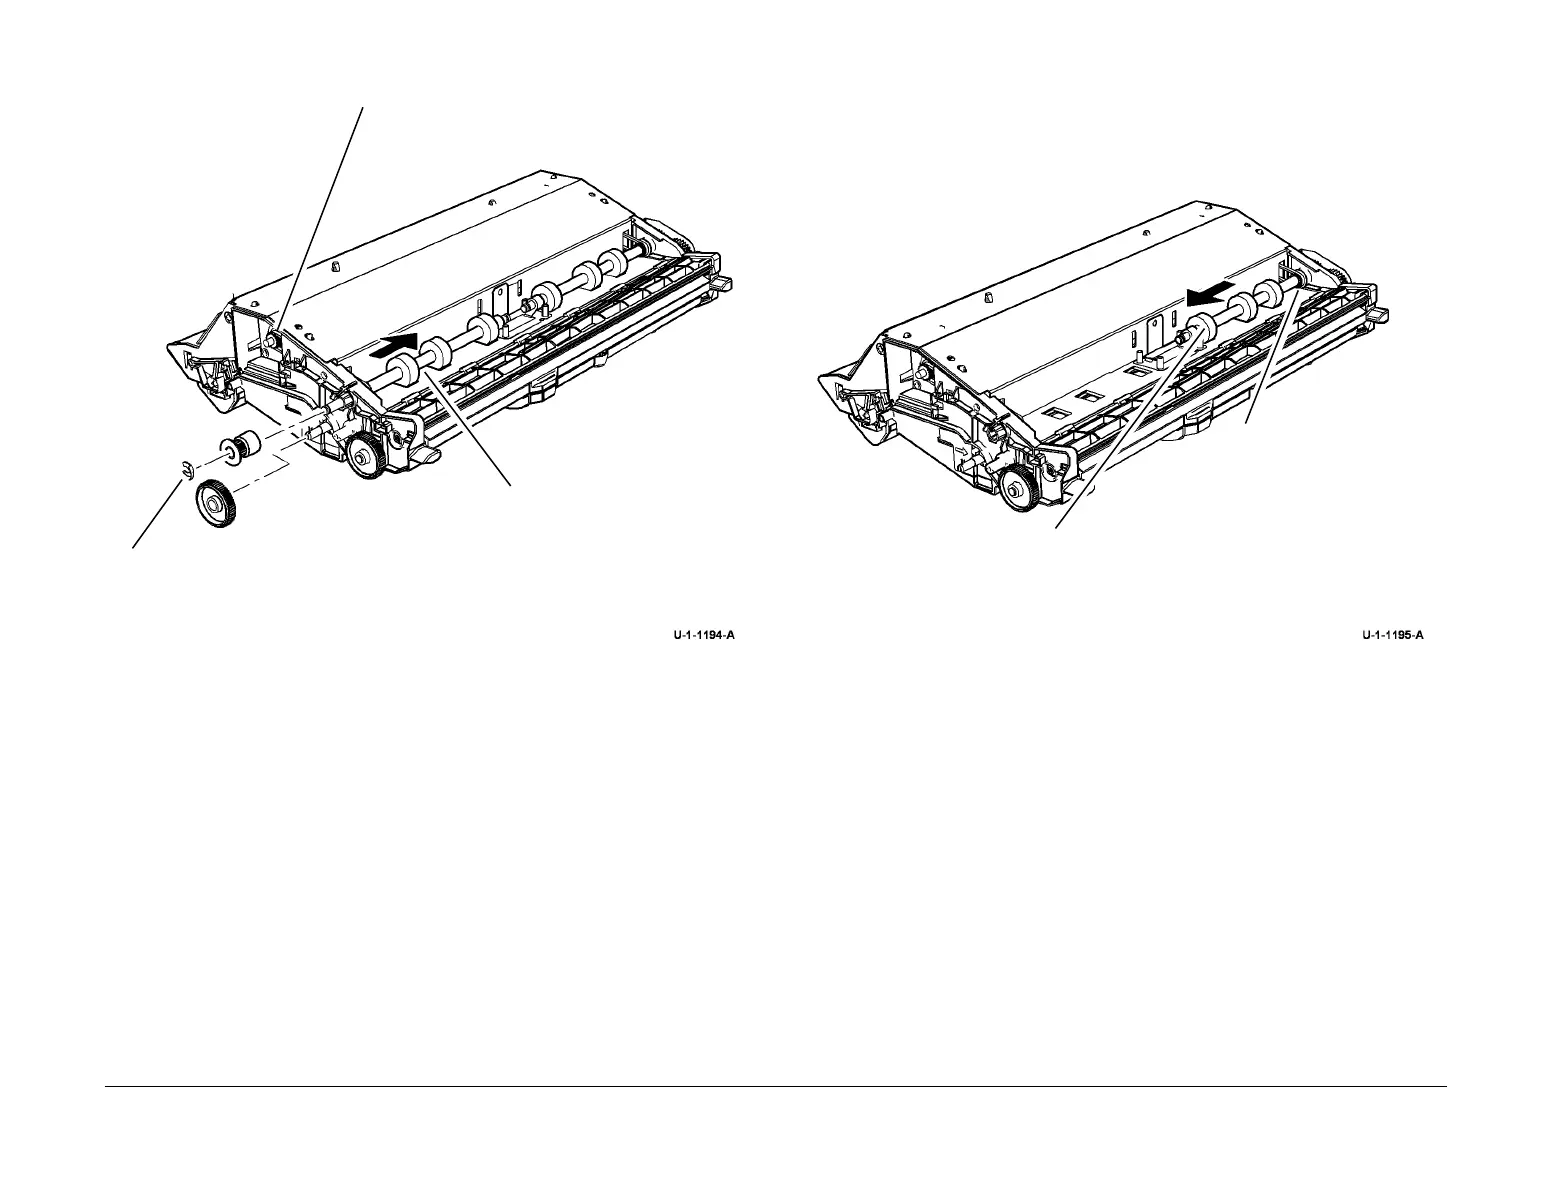
3. Remove the front nip A drive belt and roller, Figure 2.
Figure 2 Front belt and roller removal
4. Remove the rear nip A drive belt and roller, Figure 3.
Figure 3 Rear belt and roller removal
Replacement
1. Replacement is the reverse of the removal procedure.
2. Enter diagnostics dC131 and enter NVM ID 435-13, 435-14 and 435-15 and reset the val-
ues to zero.
NOTE: Only perform step 2 if new parts (nip A kit or new registration / preheat assembly)
are installed and before the dC625 routine is run.
3. Perform the dC625 Registration / Preheat Calibration procedure.
1
Remove the KL-clip
and the 2 gears.
Disengage the drive belt from the front motor.
3
Remove the front nip A roller in
the direction of the arrow.
Remove the drive belt.
1
Disengage the drive belt
from the rear motor.
2
Remove the rear nip A
roller in the direction of the
arrow.

 Loading...


