February 2013
4-355
ColorQube® 9303 Family
REP 91.22
Repairs/Adjustments
Replacement
CAUTION
Do not disconnect and reconnect the flex cables at the IOD PWB. The flex cables are easily
damaged. The cable must only be handled in the area of the blue backer.
1. Replacement is the reverse of the removal procedure.
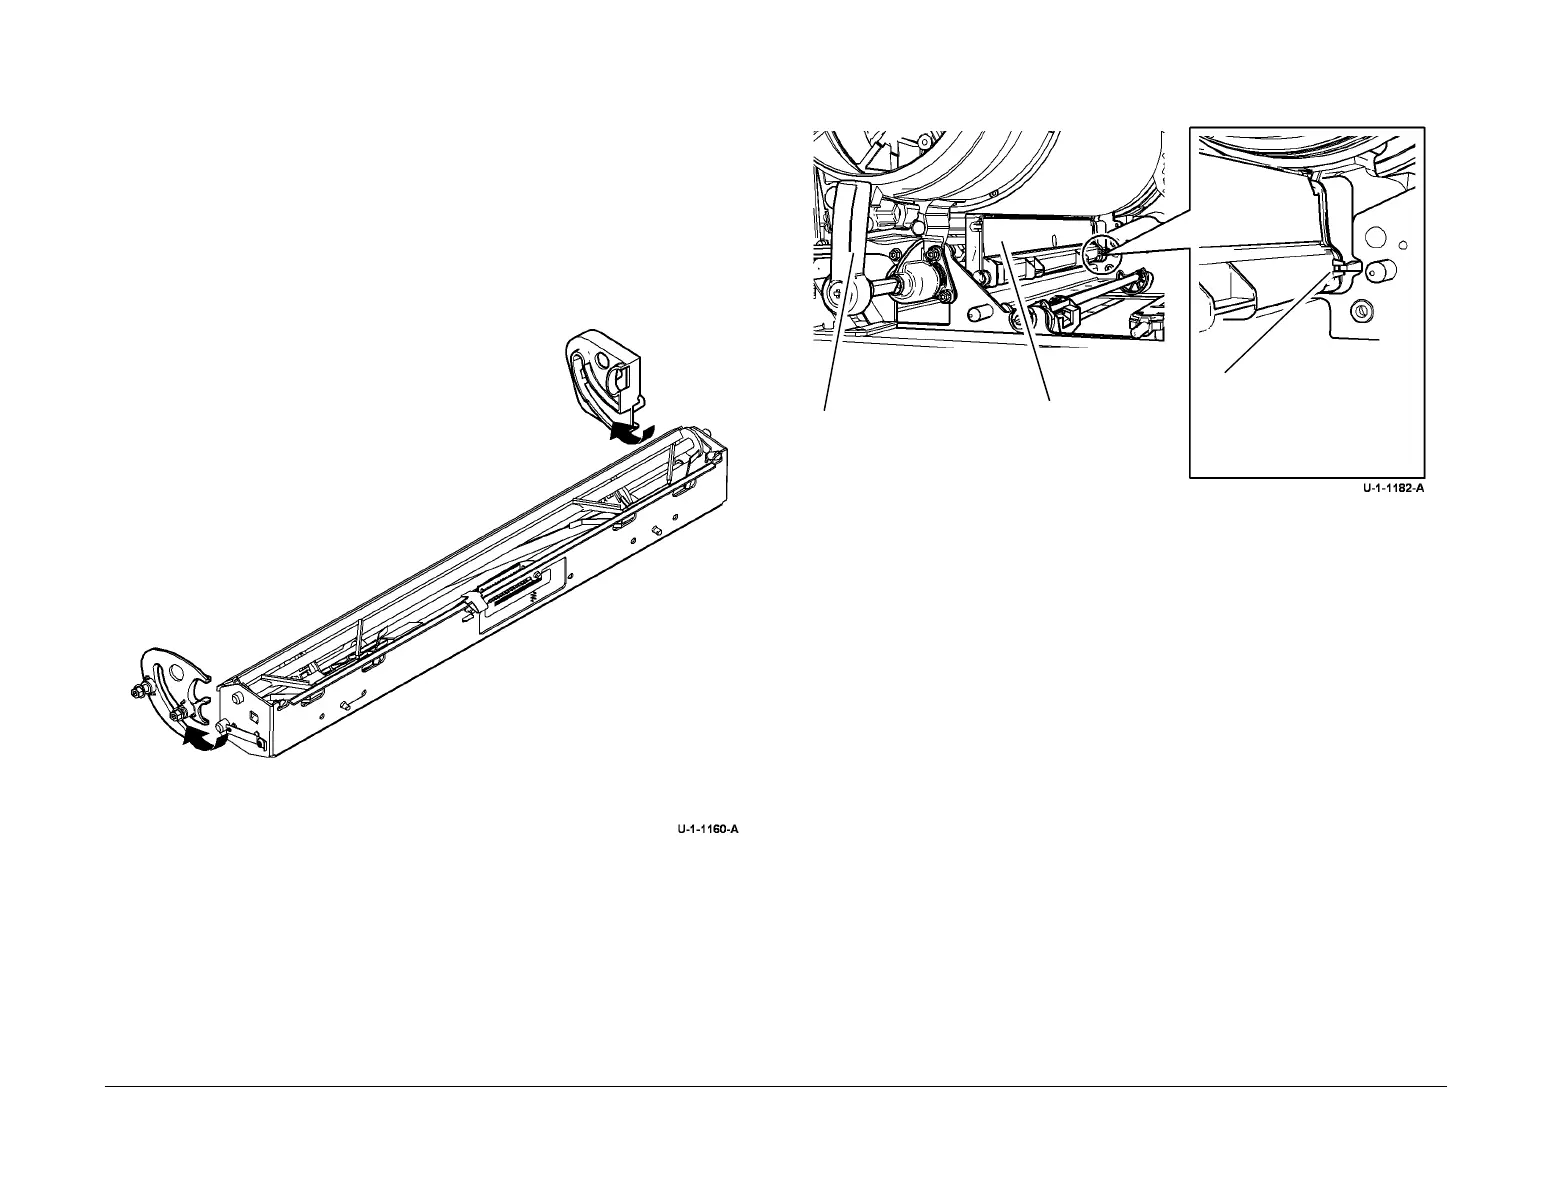
2. Position the front of the IOD even with the back of the IOD, lying over the cable harness.
Slide the assembly into place, allowing the IOD to rotate up and into position, Figure 3.
NOTE: If the assembly begins to bind/wedge during installation, stop and pull the assem-
bly back. Then restart the installation.
Figure 3 IOD replacement
3. Press the retainer clip to seat it into its hole in the IME chassis.
4. Connect the harness. Ensure the connector is fully seated.
5. When refitting the plenum. Ensure that the location lug on the plenum aligns with the pin
on the rear frame, Figure 4.
Figure 4 Install the plenum
6. Run the relevant diagnostic routines, refer to GP 37 Post Part Replacement Routines.
Front
Rear
1
Line the IOD up with the track
guides, then push and rotate to
install.
1
Pull the handle
2
Align the plenum with the
support pin
3
Push the plenum
into position

 Loading...


