February 2013
4-382
ColorQube® 9303 Family
REP 91.35
Repairs/Adjustments
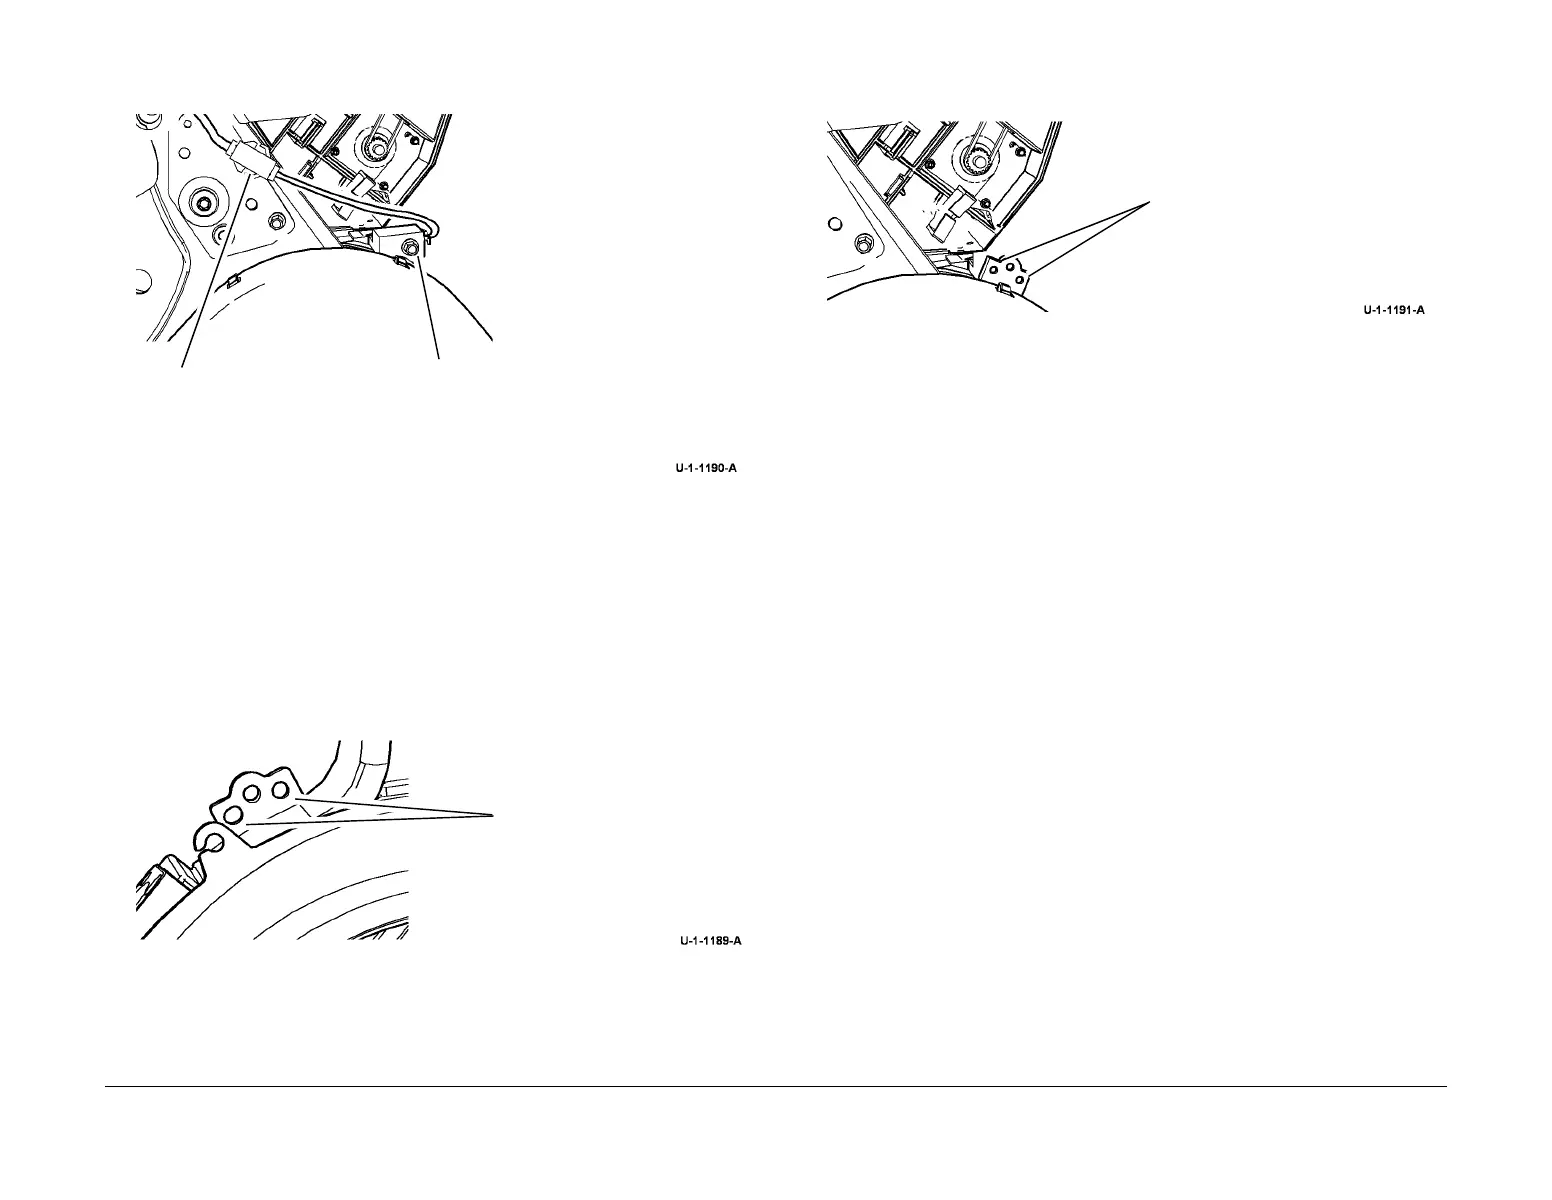
4. Remove the rear thermistor, Figure 2.
Figure 2 Rear thermistor
Replacement
CAUTION
Take care not to damage or bend the thermistor.
1. Replacement is the reverse of the removal procedure.
2. Ensure that the location lugs on the front thermistor locate in the holes on the support
bracket, Figure 3.
NOTE: Ensure that the thermistor points in the same direction as the rotation of the drum.
Figure 3 Front thermistor location
3. Ensure that the location lugs on the rear thermistor locate in the holes on the support
bracket, Figure 4.
NOTE: Ensure that the thermistor points in the same direction as the rotation of the drum.
Figure 4 Rear thermistor location
1
Disconnect the harness
2
Remove the securing
screw
3
Remove thermistor
Locate the lugs on the thermistor
into the support bracket holes.
Ensure that the thermistor is flat
against the bracket before tighten
ing the screw.
Locate the lugs on the thermistor
into the support bracket holes.
Ensure that the thermistor is flat
against the bracket before tight-
ening the screw.

 Loading...


