February 2013
4-402
ColorQube® 9303 Family
ADJ 12.3-171
Repairs/Adjustments
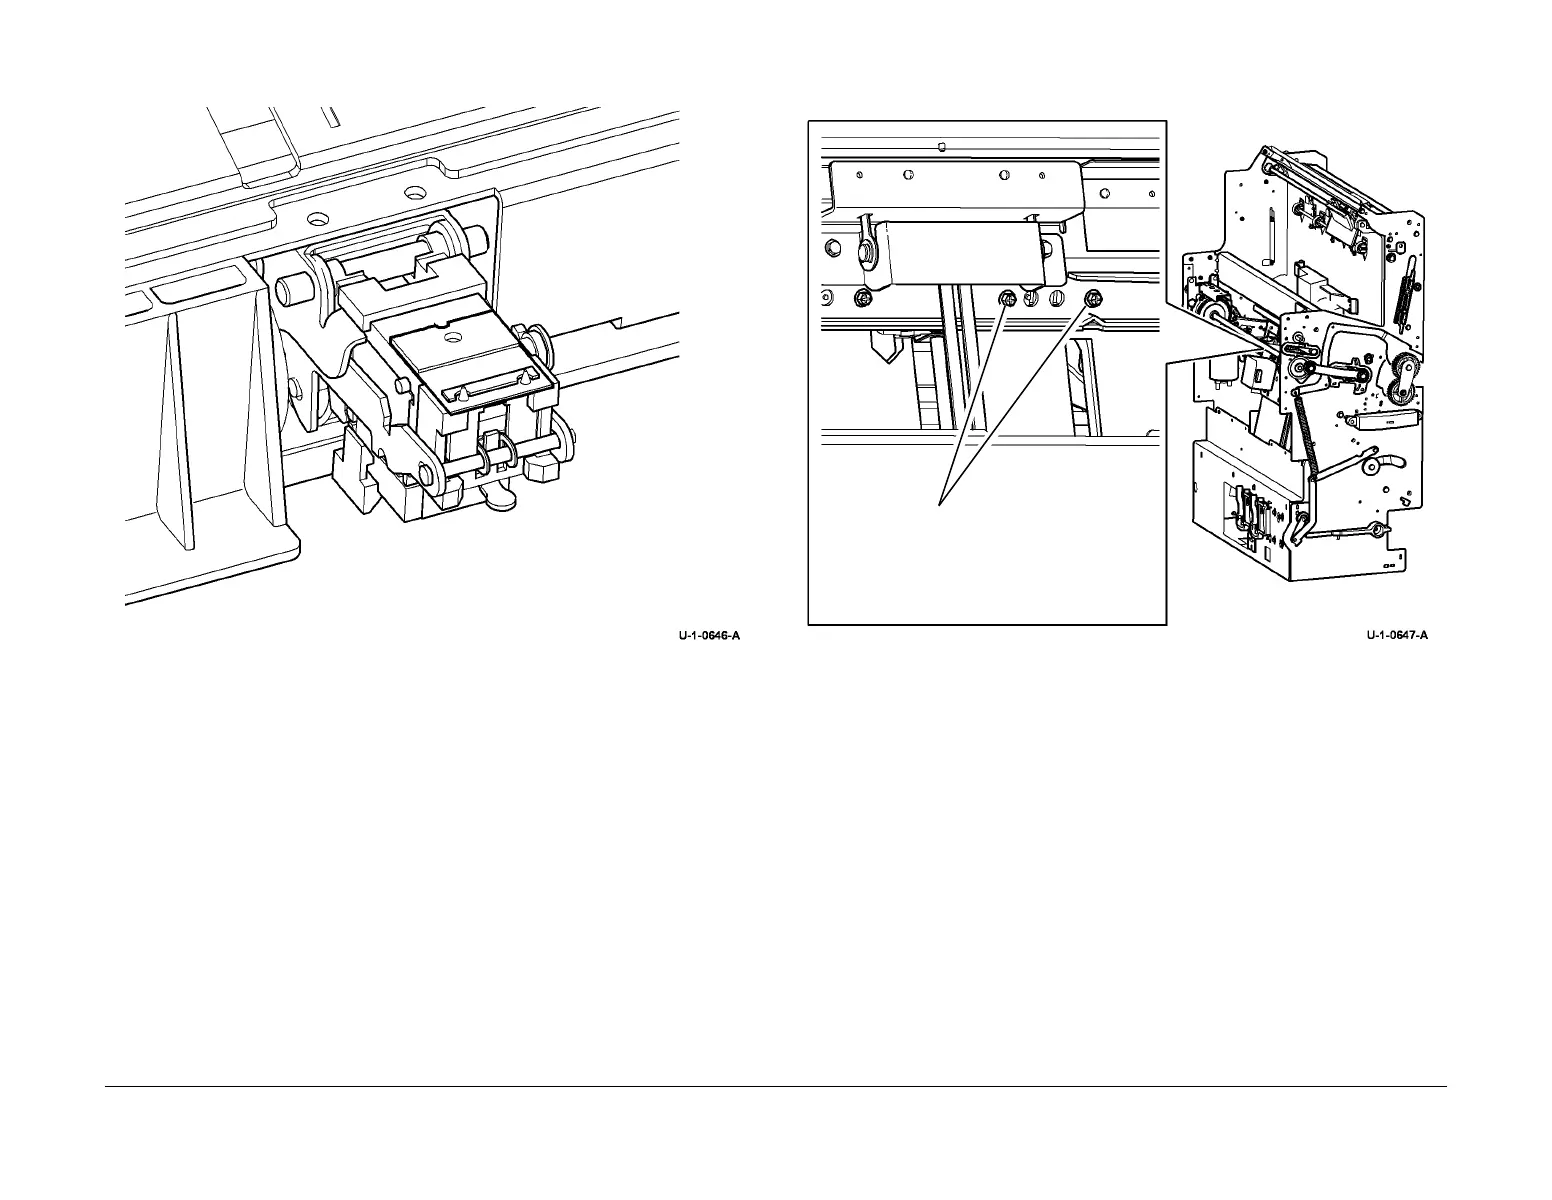
3. Figure 1, insert the alignment tool.
Figure 1 Alignment tool insertion
4. Figure 2, loosen the anvil.
Figure 2 Loosening the anvil
NOTE: Take great care not to drop the anvil, spacer or clamp plate, Figure 3, as they can
fall to the bottom of the BM module. If parts need to be retrieved from the bottom of the
BM module it may be necessary to tilt the whole HVF BM to make the loose parts slide to
the centre of the base, from where they can be easily removed.
5. Figure 3, close the stapler.
1
Insert the stapler
alignment tool into
the stapler throat.
2
Press the tool firmly into
place and slowly close
the stapler bracket.
Loosen 2 clamp screws so
that the anvil can move freely,
see note.

 Loading...


