February 2013
6-9
ColorQube® 9303 Family
GP 4
General Procedures/Information
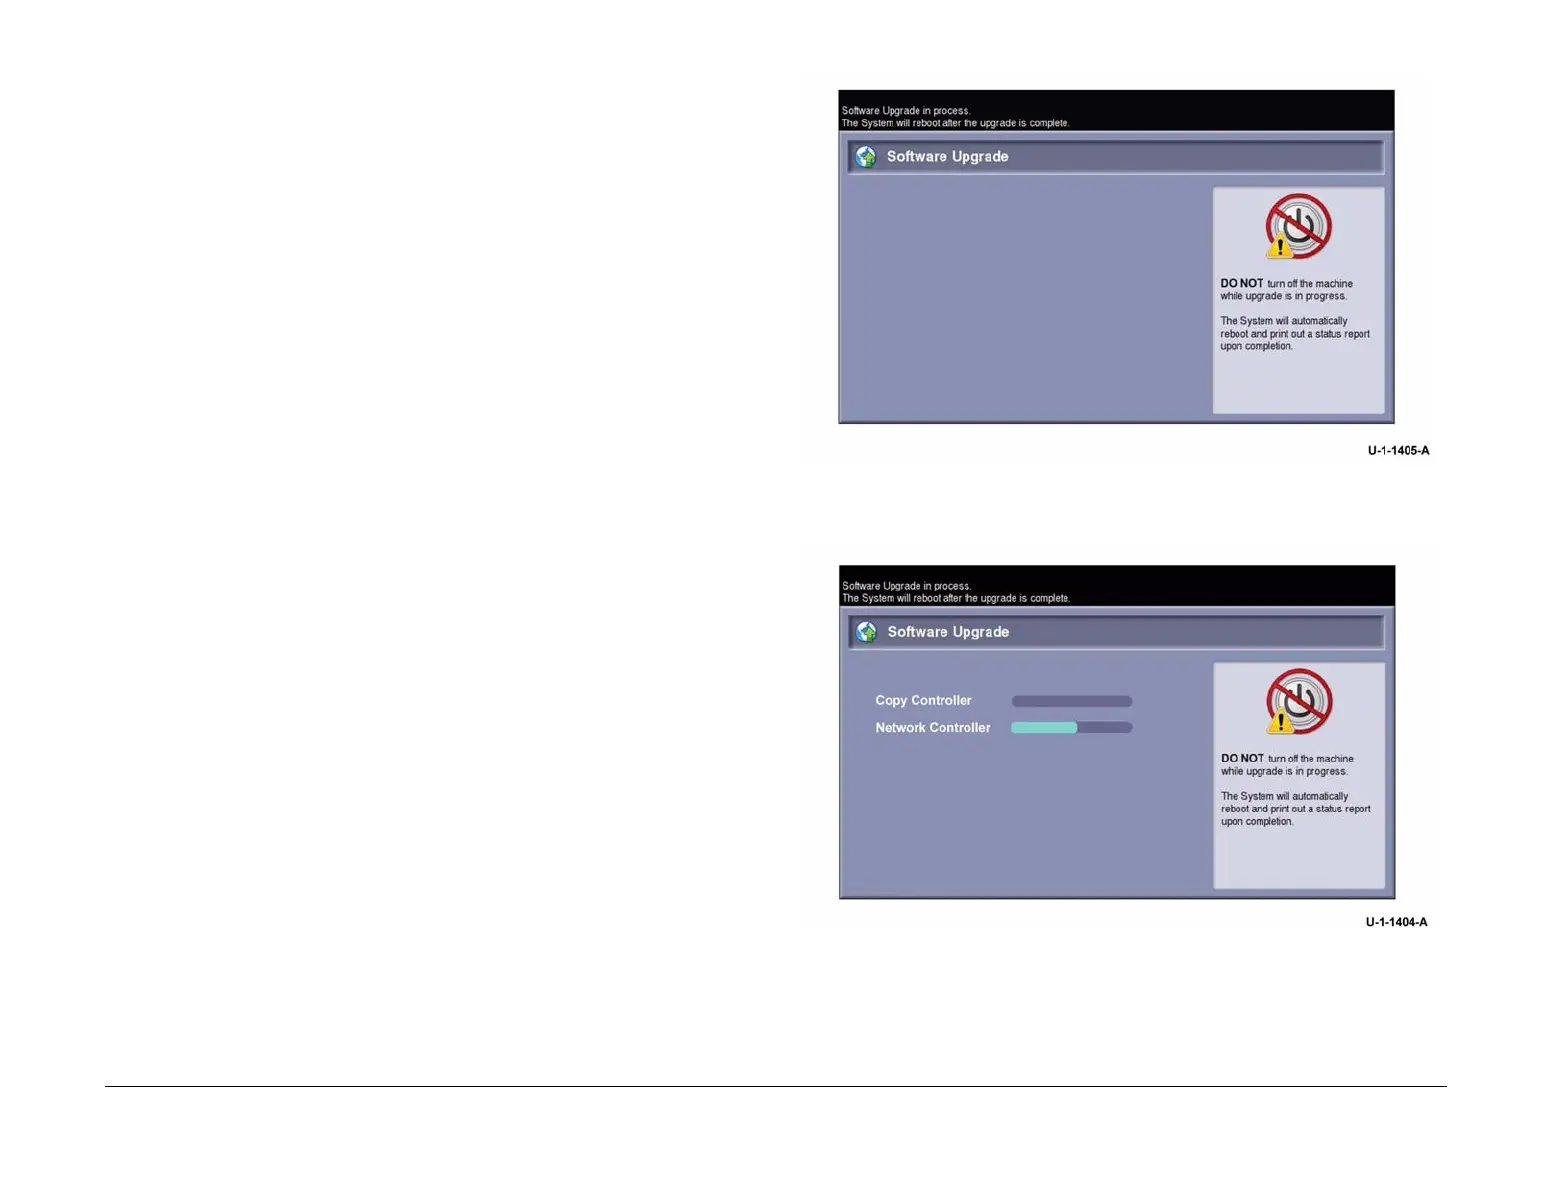
NOTE: Occasionally the USB flash drive will be incompatible with the machine and the
upgrade start screen, Figure 1 will be continually displayed. If after 10 minutes the screen
has not changed, replace the USB flash drive with a Xerox approved model, PL 26.11
Item 6. Restart the process.
10. The upgrade will begin and the progress screen will open in approximately 2 minutes, Fig-
ure 2.
NOTE: If the upgrade process screen is not displayed after 4 minutes, restart the pro-
cess.
11. The AltBoot process should complete after approximately 5 minutes and the AltBoot com-
plete screen will open, Figure 3. Follow the on screen instructions.
12. If the AltBoot process fails, the AltBoot failed screen will open, Figure 4. Follow the on
screen instructions. Restart the procedure and refer to Troubleshooting as necessary.
13. For machines with software version 071.XXX.XXX.XXX only. When the software loading
is complete, enter Customer Administration tools, GP 5. Select Tools / Device Settings /
Revert to Previous Settings. This will re-load the customer optional services.
NOTE: For machines with software version 071.XXX.XXX.XXX only. If any optional fea-
ture kit e.g., McAfee Integrity Control fails automatically to re-load after an Altboot, refer to
GP 48 How to Re-Enter Optional Feature Installation Keys.
NOTE: Do not switch off the machine unless directed to on the UI. During the next 2
reboots, the hard disk drive is encrypted. Switching off the machine can cause only partial
encryption of the partitions on this component. The AltBoot process may need to be re-
run if power is removed at this step.
14. The machine will reboot several times before returning to a ready state. In some
instances, a second upgrade progress screen may be displayed, Figure 2 or the Data
Encryption/Decryption in progress screen, Figure 5. If a power on failure screen appears,
Figure 6, switch off, then switch on the machine, GP 14.
15. Check that the software set has been installed. Refer to the printed software upgrade
report, Figure 7 or by pressing the machine status button.
16. Perform an NVM Restore, refer to NVM Save and Restore, dC361.
17. Perform a Network Clone Restore, refer to GP 17.
Figure 1 Upgrade start screen
Figure 2 Upgrade progress

 Loading...


