February 2013
3-21
ColorQube® 9303 Family
IQ 2
Image Quality
YN
Check the alignment of the HVF/HVF BM to the machine, refer to ADJ 12.1-171 Machine
to HVF/HVF BM Alignment.
The alignment is good.
YN
Perform ADJ 12.1-171 Machine to HVF/HVF BM Alignment.
Check the items that follow:
• Look for paper fragments in the HVF/HVF BM paper path. Paper fragments can
move through the IOT and HVF/HVF BM paper path without causing a problem until
they finally wedge themselves at some point. A likely place for a fragment of paper to
be wedged is at the hole punch assembly, where the top and bottom guides form the
narrowest part of the paper path.
• Ensure that the exit diverter solenoid, SOL 12-225, PL 12.120 Item 4, operates cor-
rectly and has it’s full movement.
• Ensure that the hole punches park at the fully open position. If they protrude even
slightly, a jam will occur in the narrow paper path of the hole punch. If the punch
does not park correctly, refer to the 12-044-00-171 to 12-047-00-171 HVF Punch
Head Position RAP.
• Check that all the idler rolls in the HVF/HVF BM paper path are free to rotate, partic-
ularly those on the jam clearance guides:
– Top jam clearance guide, PL 12.115 Item 26.
– Buffer pocket jam clearance guide, PL 12.125 Item 10.
– Inserter jam clearance guide, PL 12.125 Item 11.
– Input jam clearance guide, PL 12.125 Item 12.
• Make sure that the jam clearance guides 5a, 5b and 5d close and latch correctly.
• Check that the paper path ribs of the jam clearance guide 6e, PL 12.150 Item 7 and
the exit path PL 12.185 are free of scores and nicks. Check also for contamination.
• Make sure that the compiler carriage tampers move to the correct paper size.
• Check that the paper size reported on the user interface corresponds to the actual
paper size loaded in the trays, refer to the 71B Tray 1 Wrong Size Paper RAP or 72B
Tray 2 Wrong Size Paper RAP.
• Make sure that the BM tampers move to the correct paper size, refer to the 12-066-
00-171, 12-384-00-171, 12-419-00-171, 12-420-00-171 HVF BM Tamper Fault RAP.
• Ensure that the BM paper guide, PL 12.150 Item 7, closes and latches correctly.
• If the top sheet of paper is being been torn from booklets, check that the components
in the lower crease roll gear and clutch assembly are correctly installed. Refer to
REP 12.52-171 BM Crease Rolls.
• If heavy-weight paper is used, the paper can stop in the vertical transport and cause
a 10-126 fault. The fault is caused when the vertical transport motor is over loaded.
Check the position of the jam clearance guide 5a, 6a and 5B. Check the vertical
transport rolls and bearings for contamination. If necessary remove and clean the
drive shaft and the bearings. If the problem continues then install a new transport
motor.
Check the alignment of the LCSS to the machine, refer to ADJ 12.2-110 Machine to LCSS
Alignment.
The alignment is good.
YN
Perform ADJ 12.2-110 Machine to LCSS Alignment.
Check the items that follow:
• Look for torn paper in the LCSS paper path. Torn fragments can pass through the IOT and
LCSS paper path without causing a problem until they finally wedge themselves at some
point. A likely place for a piece of paper to be wedged is at the hole punch assembly,
where the top and bottom guides form the narrowest part of the paper path.
• Ensure that the shaft diverter assembly, PL 12.60 Item 13, operates correctly and has full
movement.
• Ensure that the hole punches park at the fully open position. If they protrude even slightly,
a jam will occur in the narrow paper path of the hole punch. If the punch does not park
correctly, refer to the 12-043-00-110, 12-046-00-110 Hole Punch Operation Failure RAP.
• Ensure that the jam clearance guide, PL 12.70 Item 6, closes and latches correctly. Check
that the magnet at the rear is located and functions correctly. Check the latch, PL 12.70
Item 7 at the front is positioned correctly and that the guide engages fully with the latch.
• Ensure that all idler rolls in the LCSS paper path are free to rotate, particularly those on
the jam clearance guide, PL 12.70 Item 6, where the paper turns through 90 degrees.
• Ensure that the paper path ribs of the jam clearance guide, PL 12.70 Item 6, and the entry
guide outer cover, PL 12.70 Item 5, are free of ‘scores’ and ‘nicks’. Check also for contam
-
ination and glue from label stock. If necessary, install new parts.
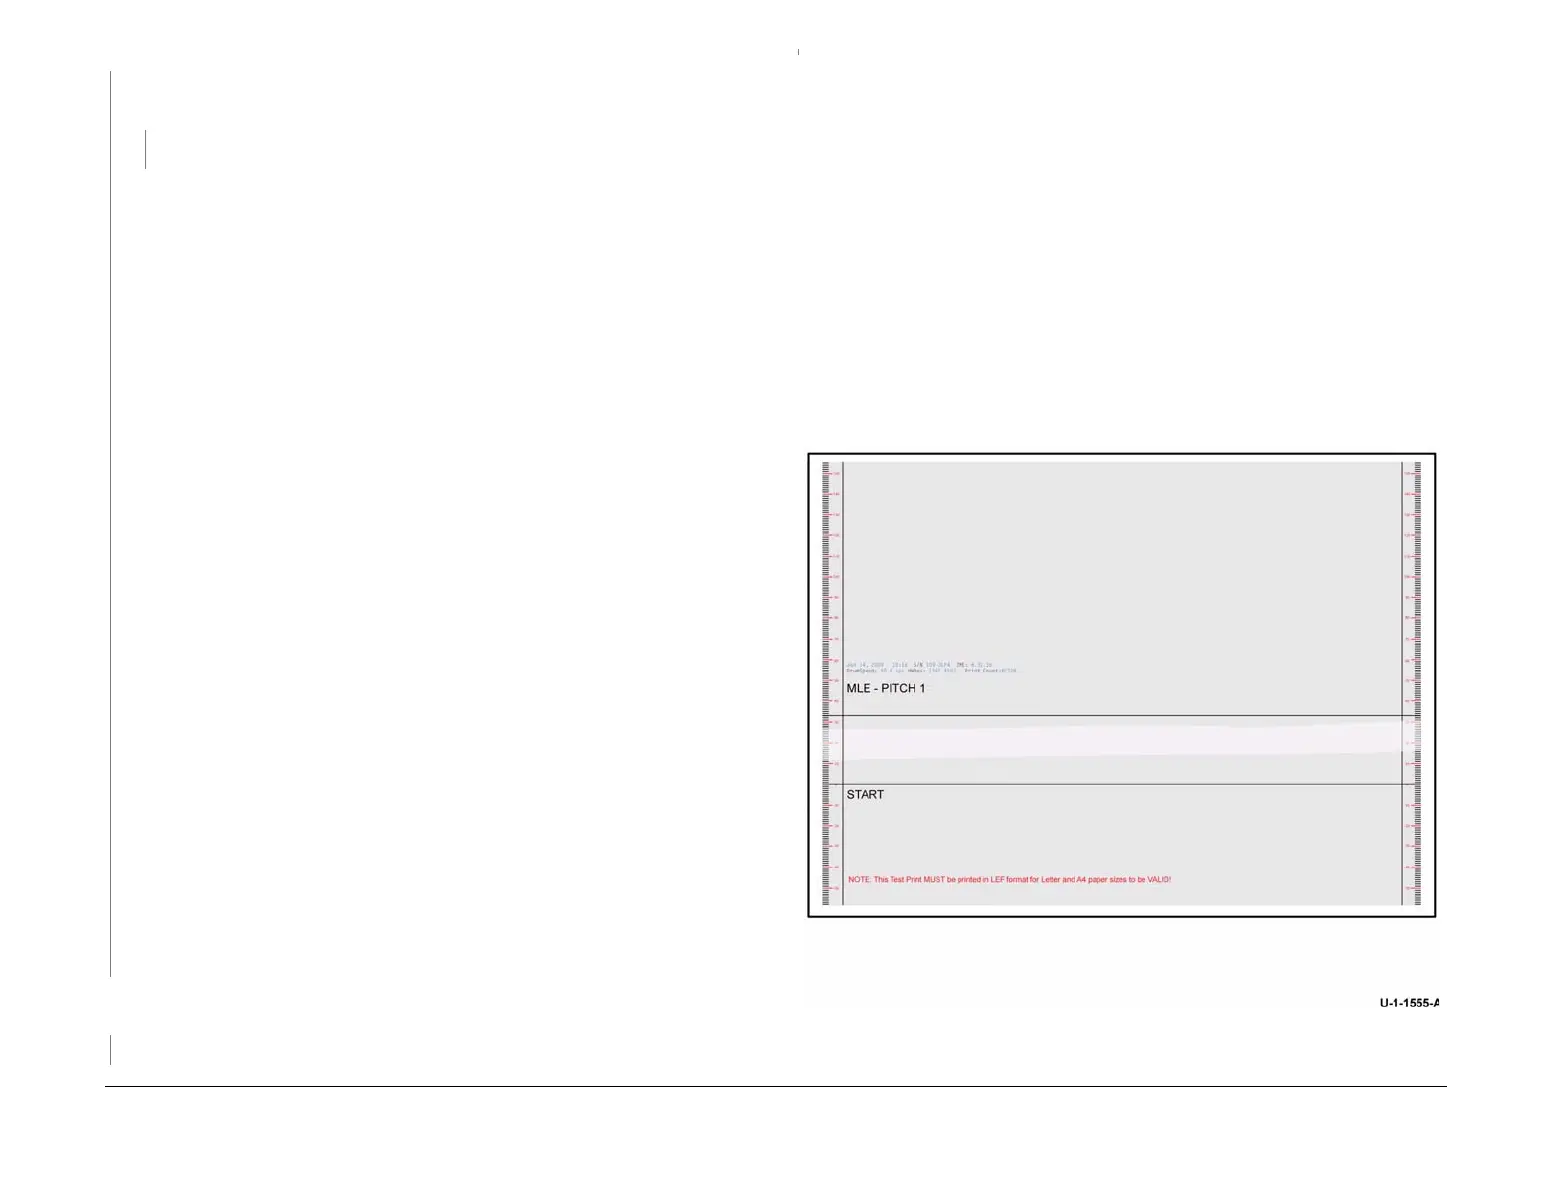
Figure 1 TP 14 test print
B
B

 Loading...


