February 2013
3-44
ColorQube® 9303 Family
IQ 11
Image Quality
NOTE: W/TAG 018 machines do not have air pumps install as standard. However, the preheat
air pumps in a replacement registration/preheat assembly will function when the unit is
installed, refer to service bulletin T8009-12-06.
Refer to 88-508-00 Registration/preheat Air Pump Incorrect Current RAP. The Registration/
preheat air pump is good.
YN
Install a new registration/preheat air pump, PL 88.10 Item 5.
Press the Machine Status button select the fault tab on the UI and enter Current Messages.
Check if the message ‘Cleaning unit life extended, image may be impacted’ is displayed.
A
different message is displayed.
YN
Install a new cleaning unit, PL 94.10 Item 21.
NOTE: Installing a new cleaning unit may temporarily make smudging worse.
Enter dC969 and run Clean Print Smears. Print three copies of TP 4 Yellow Solid Fill Test
Pages (TP 2 to TP 10).
The test prints are good.
YN
Open the stripper gate, GP 31. Check the drum stripper blade for accumulations of ink or
other debris.
The stripper blade is clean.
YN
Perform the following:
1. Check the stripper solenoid SOL10-021, PL 10.10 Item 3. Refer to 10-570-00
Stripper Solenoid Over Current RAP. If necessary, install a new stripper sole
-
noid assembly, PL 10.10 Item 3.
2. Install a new cleaning unit, PL 94.10 Item 21.
NOTE: Installing a new cleaning unit may temporarily make smudging worse.
3. Inspect the cleaning unit camshaft assembly, PL 94.10 Item 4 for obstructions
that would prevent it from moving freely. Remove the camshaft assembly.
Check the bushings, PL 94.10 Item 8 and PL 94.10 Item 14 for wear or dam
-
age. If necessary, install a new camshaft assembly, PL 94.10 Item 4.
4. If necessary, install a new drum stripper blade, PL 10.12 Item 3.
Print TP 15 Media Path Test Pages, to determine where in the paper path the marking is
occurring. Refer to GP 27 Cleaning Procedure to clean the media path.
If the problem persists, check the following areas for accumulation of ink or media debris.
Clean as necessary:
• Cleaning unit metering blade. Only remove paper debris. If the metering blade
appears to have excessive ink build-up, refer to IQ 21.
• Abatement plenum, PL 94.20 Item 12.
• IOD shield and sensor, PL 94.15 Item 1.
• Roller nip N, PL 10.15 Item 1 and roller nip P, PL 10.15 Item 6.
• Paper path ribs and guides.
Perform SCP 5 Final Actions.
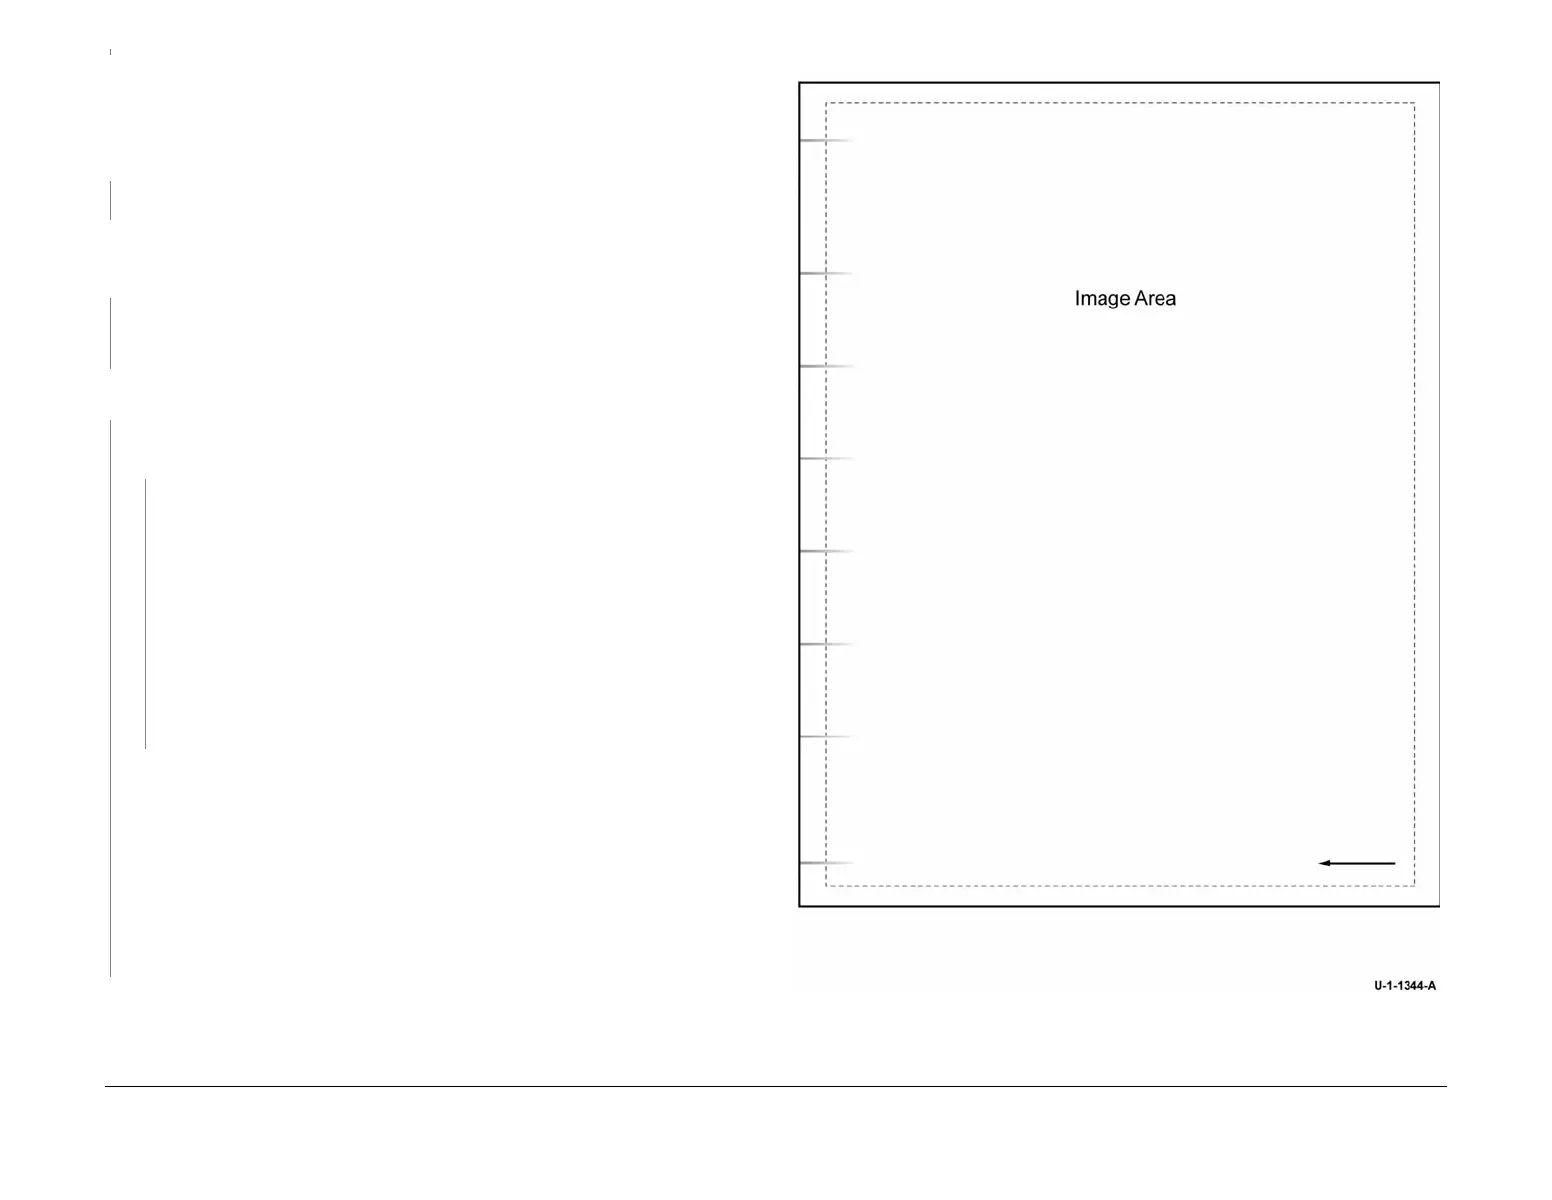
Figure 1 Finisher rib marking example
B

 Loading...


