February 2013
4-112
ColorQube® 9303 Family
REP 12.10-110
Repairs/Adjustments
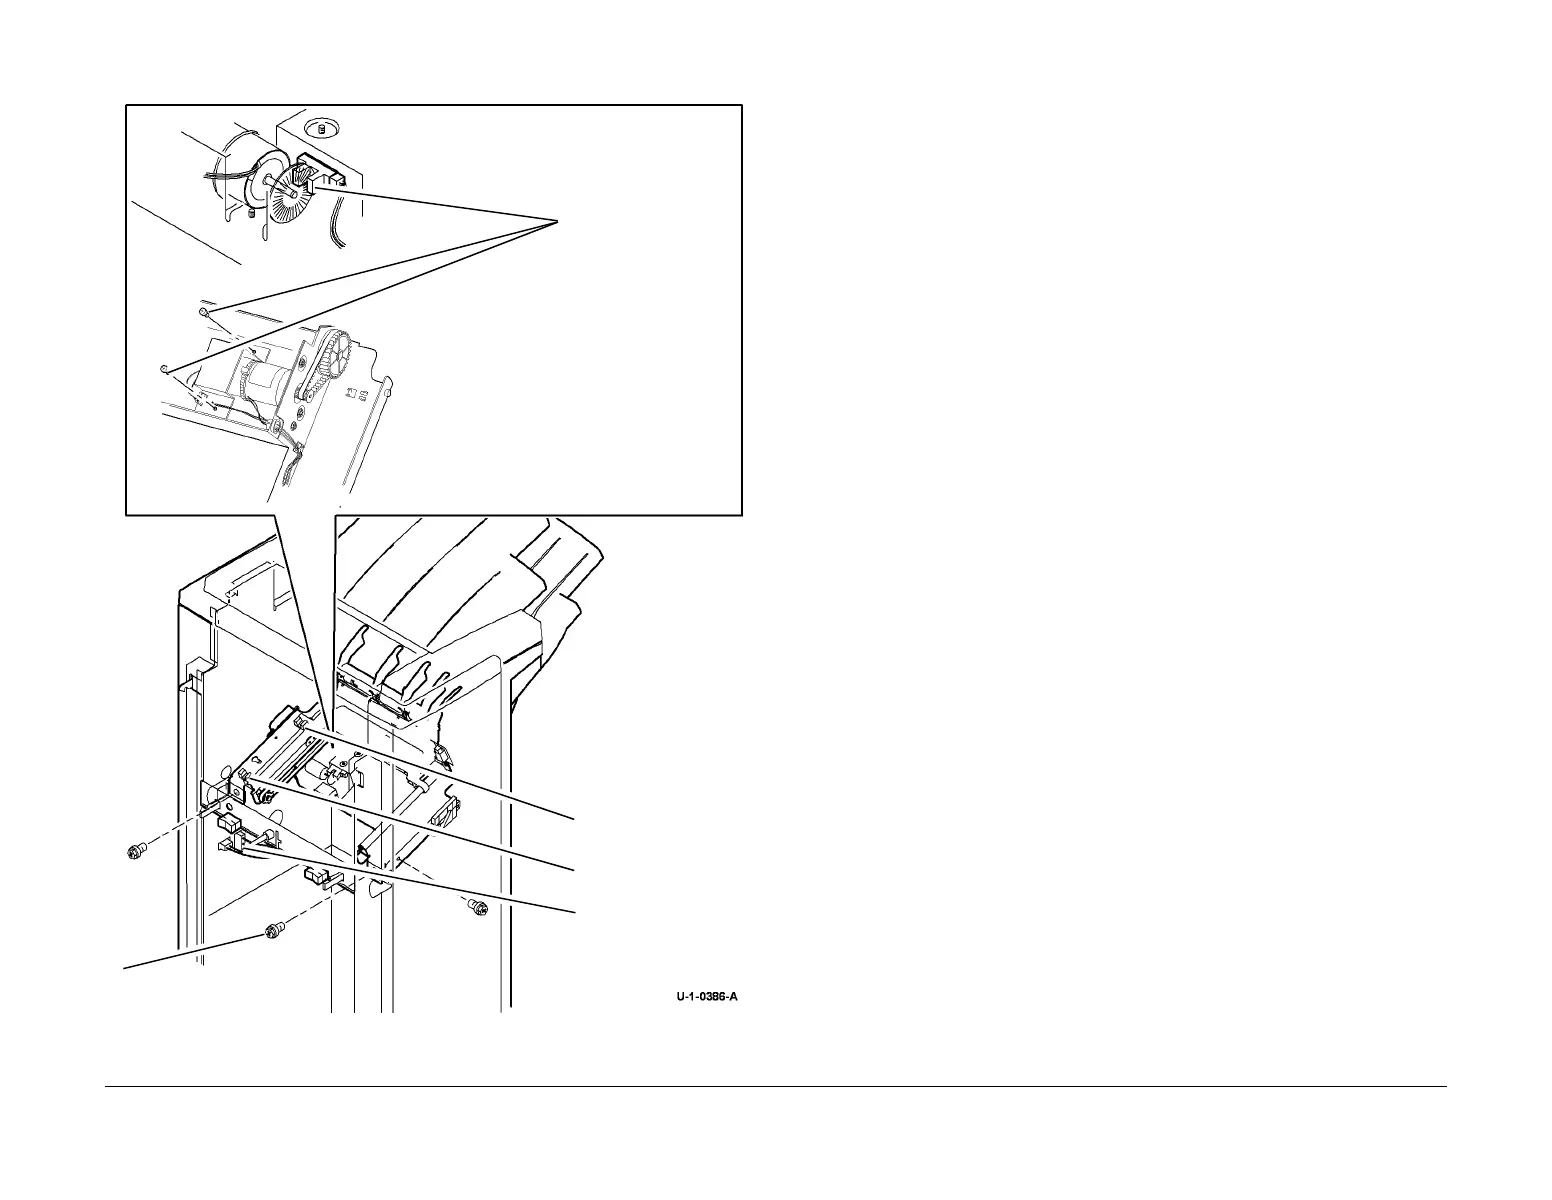
5. Figure 1, remove the ejector assembly.
Figure 1 Removing the ejector assembly
6. Remove the appropriate sensor by releasing the sensor tabs and disconnecting the har-
ness.
Replacement
CAUTION
When installing the ejector assembly onto the LCSS, ensure that the ejector fingers do not
damage the wiring to the staple head unit.
Reverse the removal procedure to replace the eject assembly or sensors.
emove 3 screws.
1
Disconnect 2 bulkhead
connectors.
3
Lower the ejector
assembly, disengage
the dowels from the
mounting blocks and
remove.
Ejector home sensor
Q12-184
Ejector out sensor
Q12-185
Ejector motor encoder
sensor. Remove 2
screws and cover to
access the sensor

 Loading...


