67C3K11 6-22
1
2
3
4
5
6
7
8
9
Shimming
NOTE:
• Shimming is not required when assembling
the original lower case and inner parts.
• Shimming is required when assembling the
original inner parts and a new lower case.
• Shimming is required when replacing the
inner part(s).
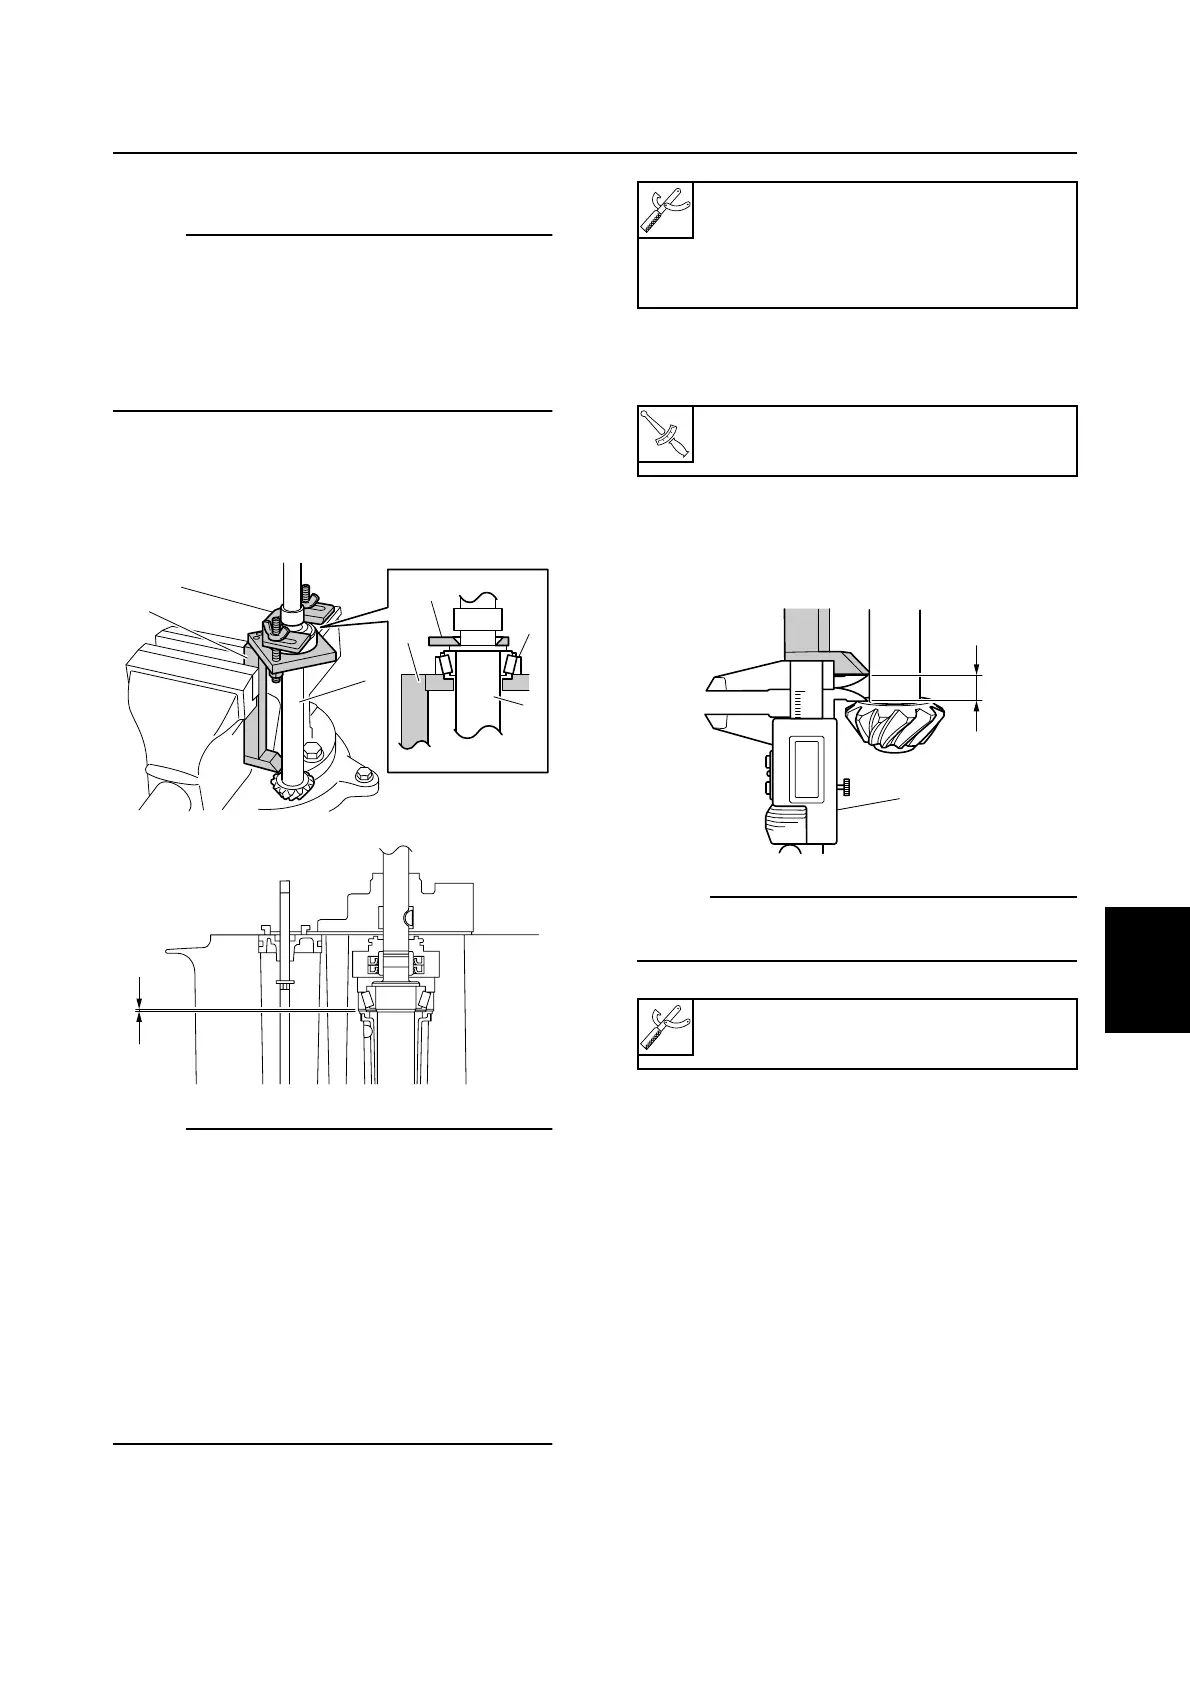
Selecting the pinion shim
1. Install the drive shaft 1 and taper roller
bearing 2 onto the special service tools.
NOTE:
• Select the shim thickness (T3) by using the
specified measurement(s) and the calcula-
tion formula.
• Hold the special service tool 3 in a vise,
and then install the drive shaft 1 onto the
tool so that the shaft is centered in the hole.
• Tighten the wing nuts another 1/4 of a turn
after they contact the special service tool
4.
• Make sure that the special service tool 3
and drive shaft 1 are parallel.
2. Install the pinion and pinion nut, and then
tighten the nut to the specified torque.
3. Measure the distance (M1) between the
special service tool and the pinion as
shown.
NOTE:
Measure the pinion at 4 points to find the dis-
tance average.
S67C6073
1
2
4
3
1
4
3
S67C6101
T3
Pinion height gauge 3:
90890-06710
Pinion height gauge plate B 4:
90890-06712
T
R
.
.
Pinion nut:
74 N·m (7.4 kgf·m, 54.6 ft·lb)
Digital caliper 5: 90890-06704
S67C6104
M1
5
Shimming