67C3K11 7-48
1
2
3
4
5
6
7
8
9
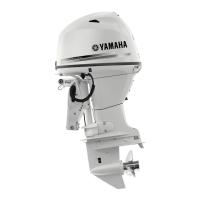
4. Check the absorber valves 8. Clean if
there is dirt or residue.
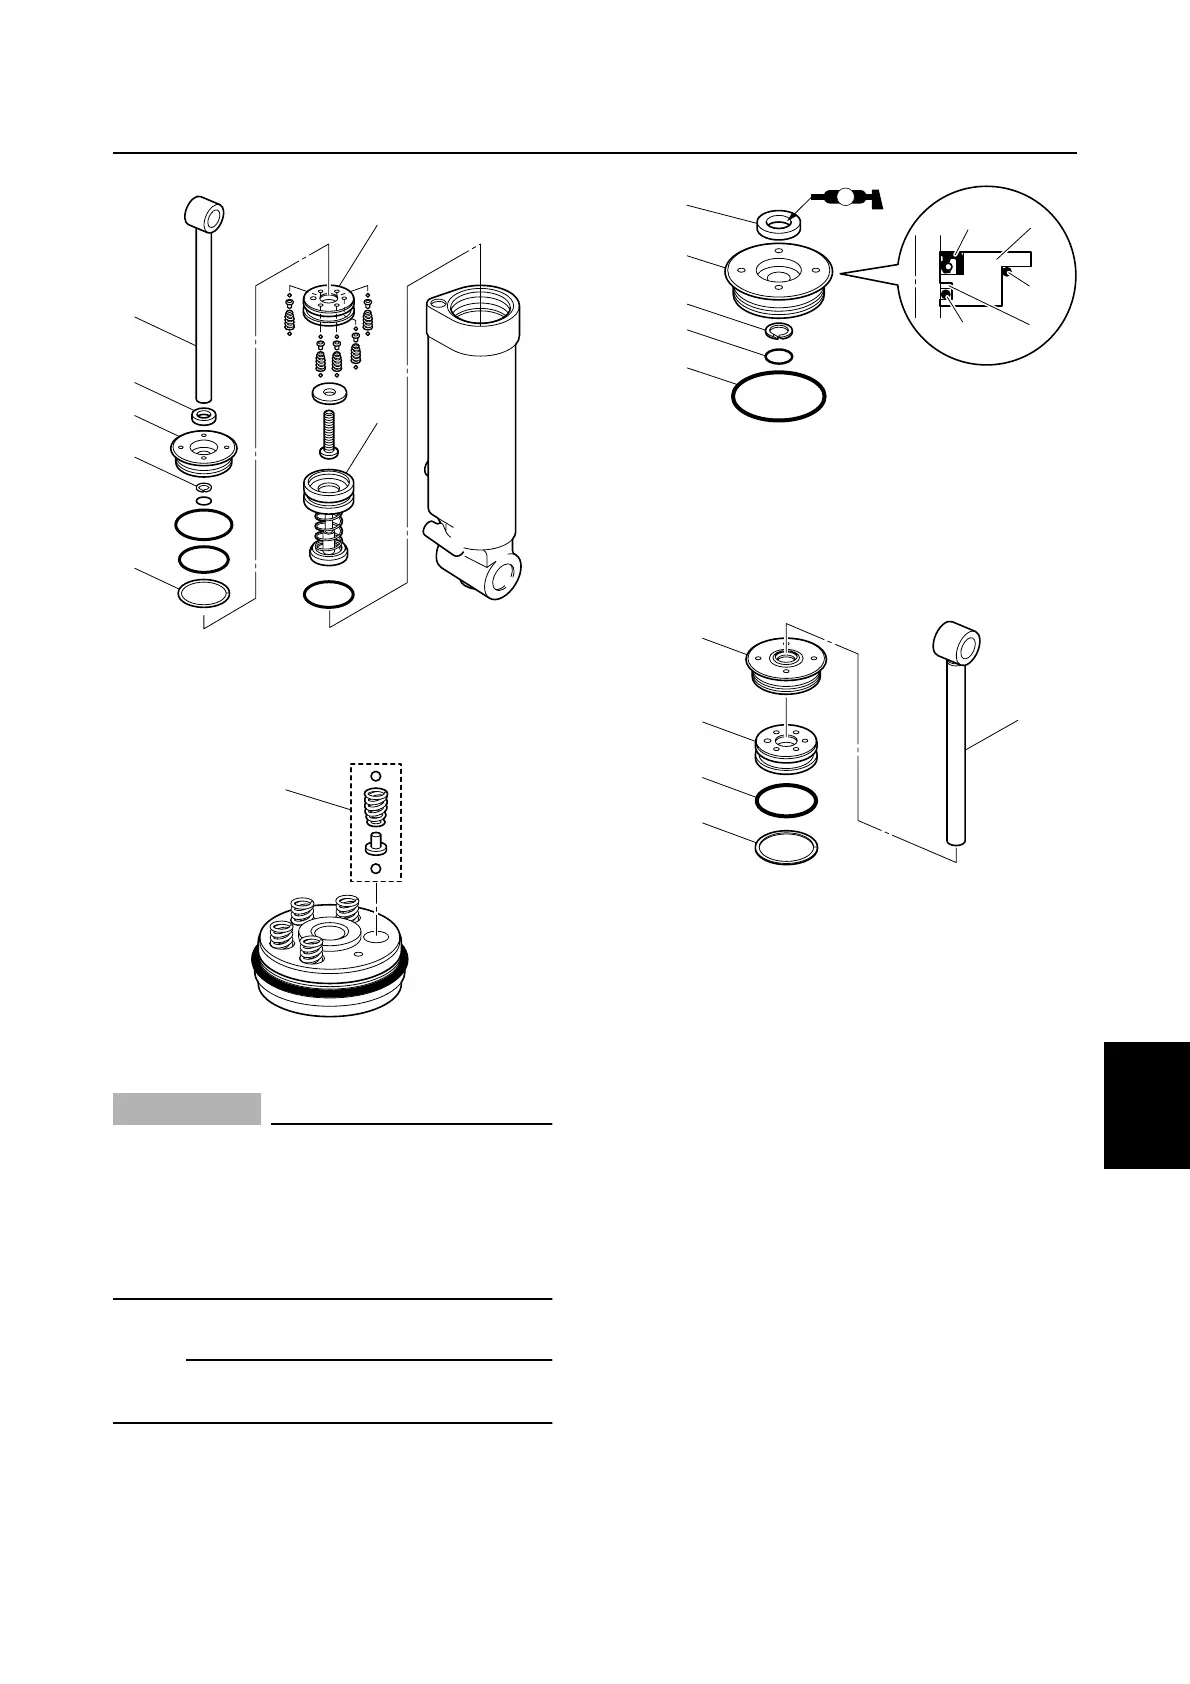
Assembling the tilt cylinder
CAUTION:
• Do not use a rag when assembling the
PTT unit as dust and particles on the
PTT unit components can lead to poor
performance.
• Do not reuse the dust seal and O-rings,
always replace them with new ones.
NOTE:
Lubricate the parts with ATF Dexron II during
assembly.
1. Install a new dust seal 1, new O-rings 2
and 3, and the backup ring 4 into the tilt
cylinder end screw 5.
2. Install a new O-ring 6 and the backup
ring 7 to the tilt piston 8.
3. Install the tilt cylinder end screw 5 and
tilt piston 8 to the tilt ram 9.
S67C7092
6
1
2
3
5
4
7
S67C7093
8
S67C7094
51
4
2
3
A
5
1
4
3
2
S67C7095
9
5
8
6
7
PTT cylinder