67C3K11 7-28
1
2
3
4
5
6
7
8
9
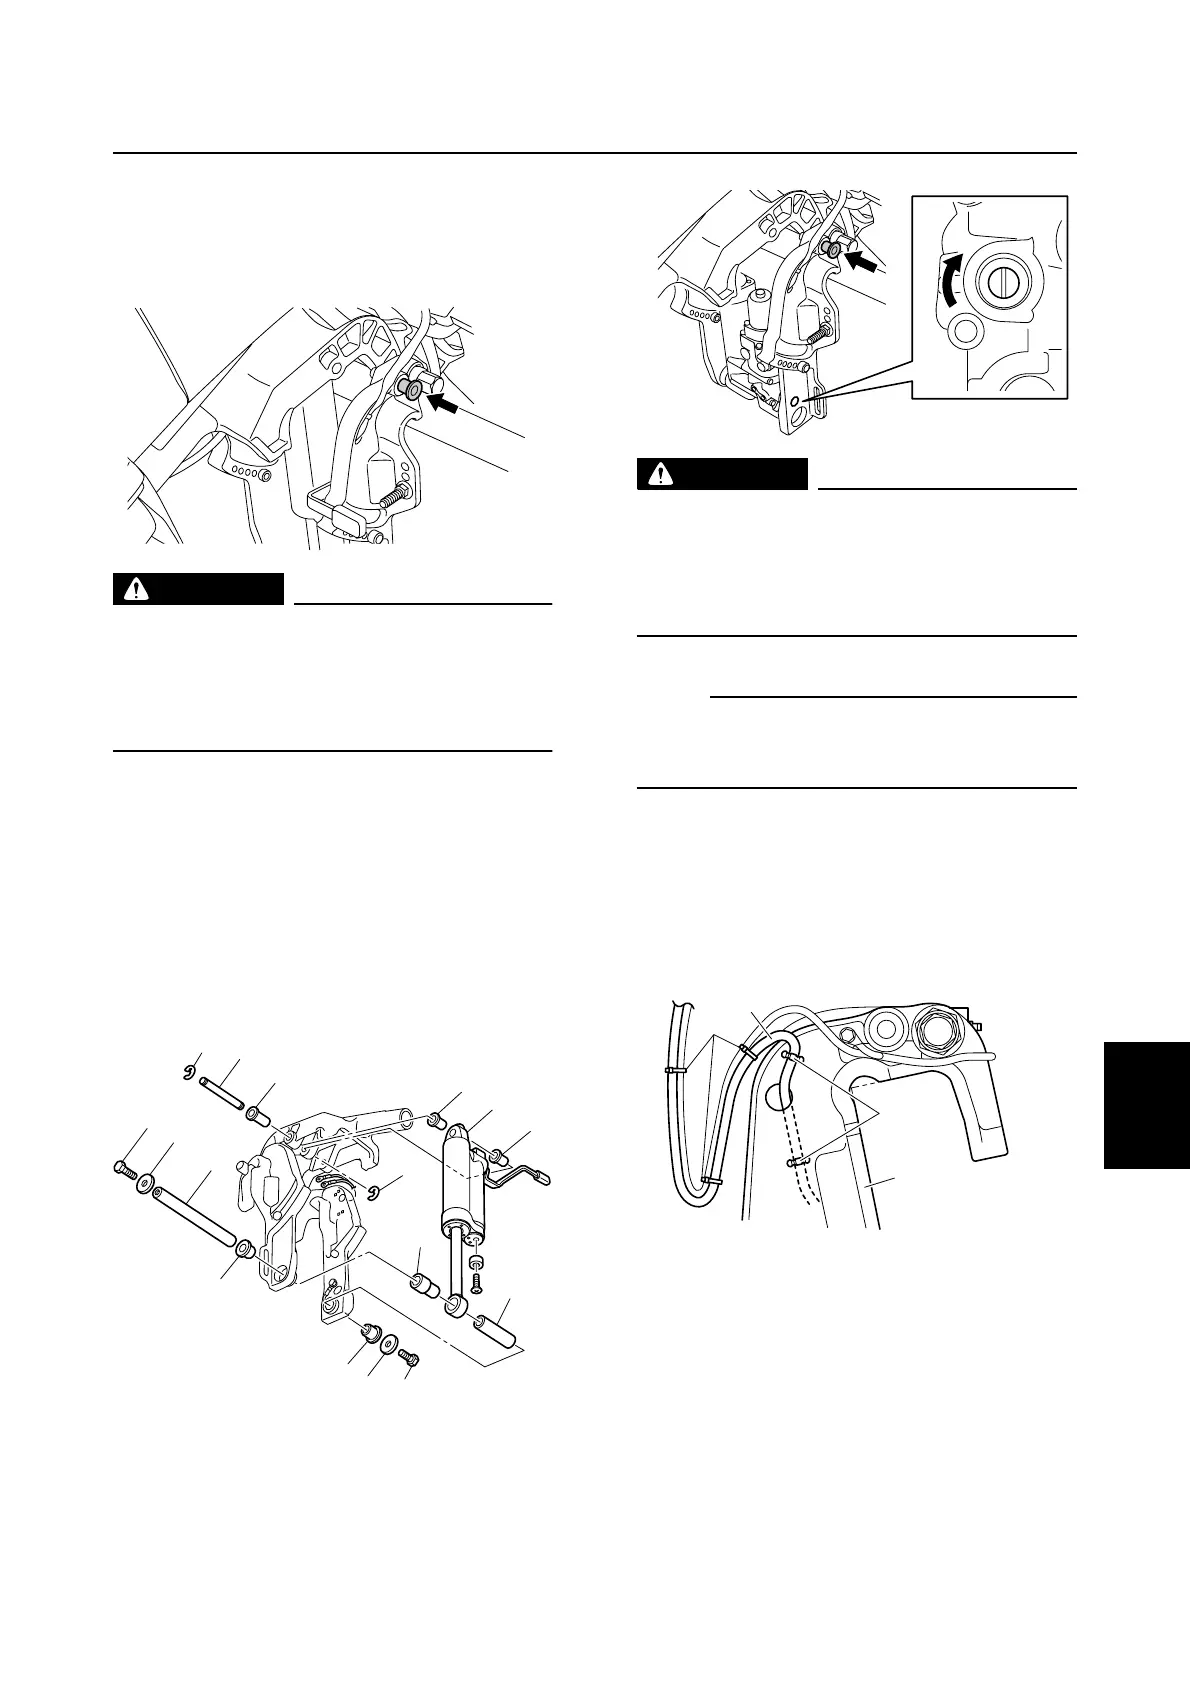
Removing the hydraulic tilt unit
1. Tilt the outboard motor to the fully up
position, and then support it with the tilt
stop lever.
WARNING
After tilting up the outboard motor, be
sure to support it with the tilt stop lever.
Otherwise, the outboard motor could sud-
denly lower if the hydraulic tilt unit should
lose air pressure.
2. Remove the bolts 1, washers 2, bush-
ings 3, shaft 4, and collars 5 and 6.
3. Remove the E-clips 7, shaft 8, and
bushing 9.
4. Remove the hydraulic tilt unit 0, and
then remove the bushings A.
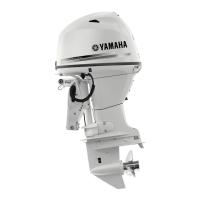
Removing the PTT unit
1. Tilt the outboard motor to the fully up
position, and then support it with the tilt
stop lever.
WARNING
After tilting up the outboard motor, be
sure to support it with the tilt stop lever.
Otherwise, the outboard motor could sud-
denly lower if the PTT unit should lose
fluid pressure.
NOTE:
If the PTT unit does not operate, open the
manual valve by turning it clockwise, and
then tilt the outboard motor up manually.
2. Remove the plastic ties 1. (R model)
3. Remove the plastic ties 2 from the
clamp bracket (STBD) 3, and then pull
out the PTT motor lead 4.
S67C7135
S67C7122
7
1
8
9
2
4
3
3
2
6
7
A
0
A
5
S67C7048
S67C7049
4
1
3
2
Clamp bracket and swivel bracket