67C3K11 7-30
1
2
3
4
5
6
7
8
9
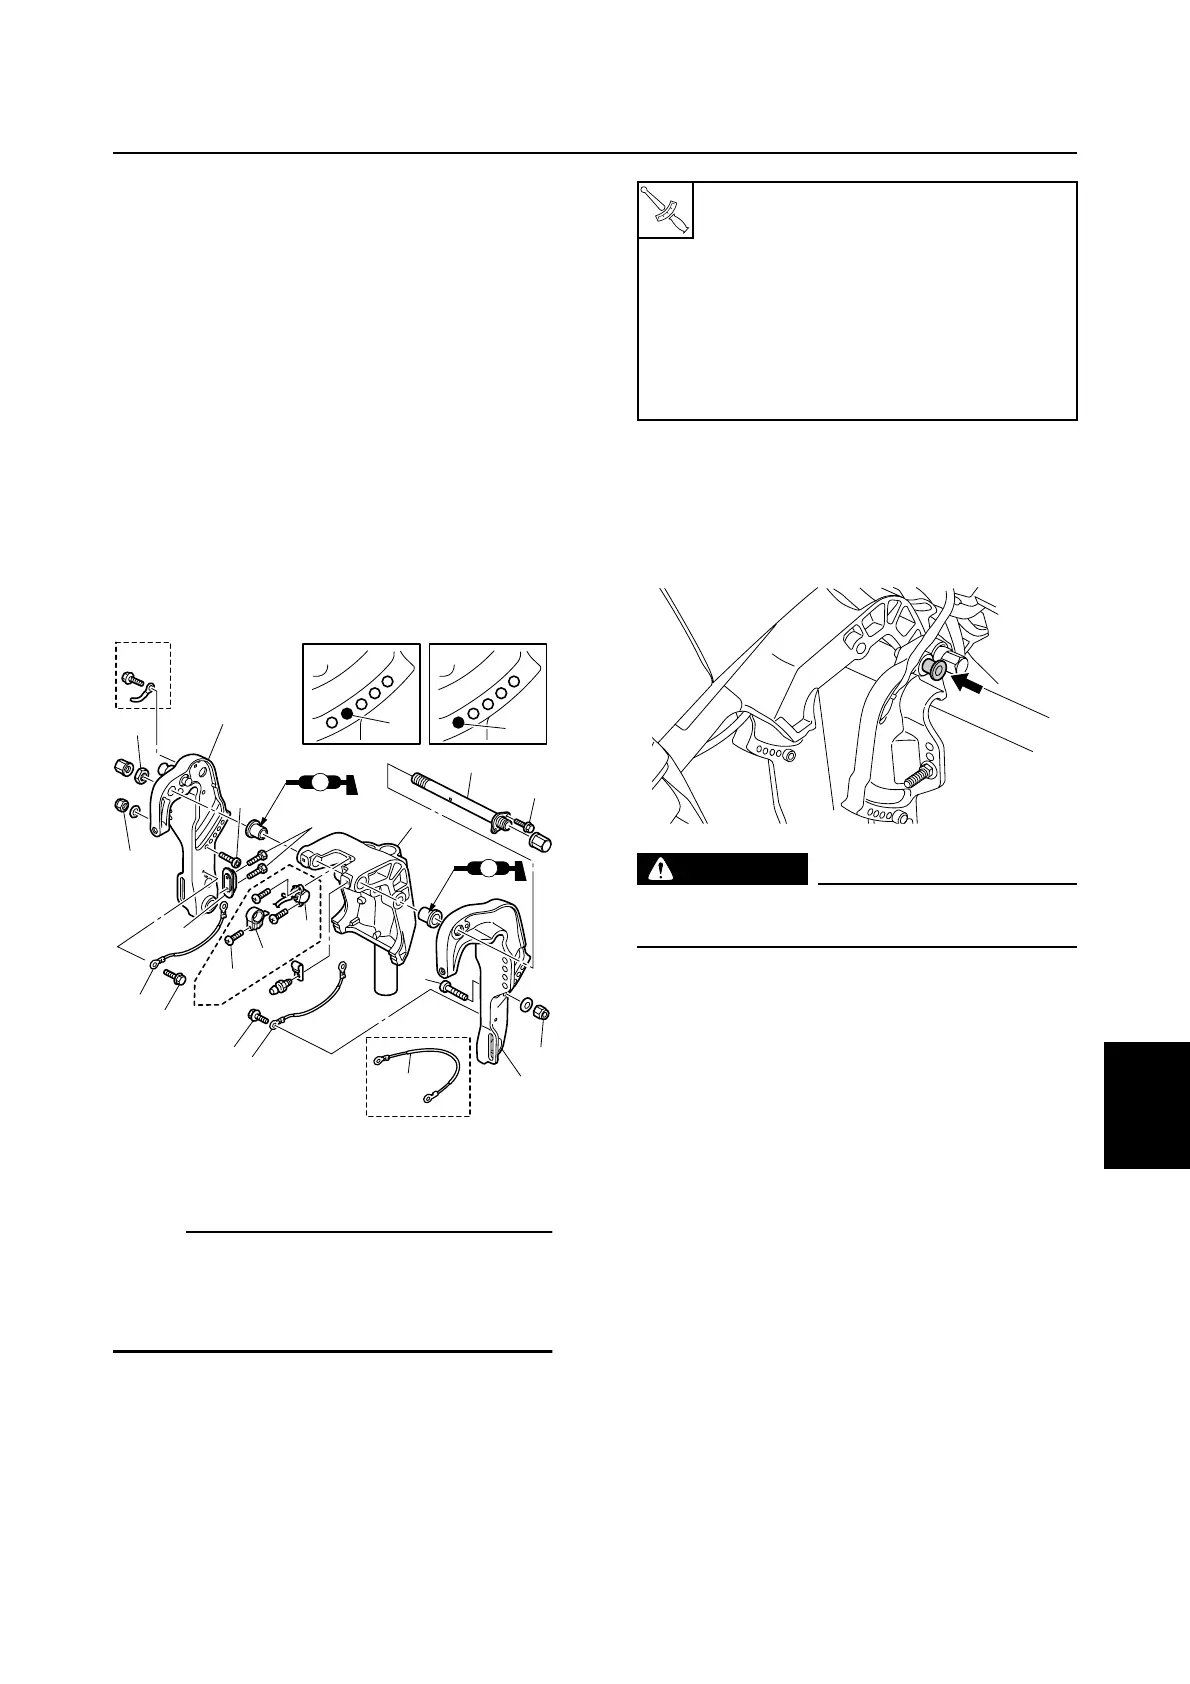
3. Install the bolt 5, and then tighten it.
4. Install the self-locking nut 6 onto the
through tube 4, and then tighten it to the
specified torque.
5. Install the ground lead(s) 7 and bolts 8
to the brackets.
6. Install the anode 9 and then tighten the
bolts 0 to the specified torque.
7. Install the stoppers A and nuts B.
8. Install the trim sensor cam C, and then
tighten the screw D to the specified
torque. (R model with PTT)
È D model
É PTT model
Ê R model with PTT
NOTE:
Adjust the trim sensor cam after installing the
PTT unit. To adjust the trim sensor cam, see
“Adjusting the trim sensor cam (R model)” (7-
32).
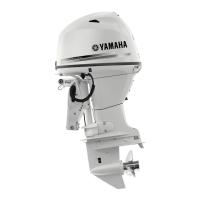
Installing the hydraulic tilt unit
1. Tilt the outboard motor to the fully up
position, and then support it with the tilt
stop lever.
WARNING
After tilting the outboard motor up, be
sure to support it with the tilt stop lever.
S67C7053
È
É
A
A
9
A
A
3
2
0
3
6
Ê
B
7
7
7
8
8
1
C
D
Ê
B
4
5
AA
AA
È
T
R
.
.
Self-locking nut 6:
22 N·m (2.2 kgf·m, 16.2 ft·lb)
Anode bolt 0:
8 N·m (0.8 kgf·m, 5.9 ft·lb)
Trim sensor cam screw D:
2 N·m (0.2 kgf·m, 1.5 ft·lb)
Grease nipple:
3 N·m (0.3 kgf·m, 2.2 ft·lb)
S67C7123
Clamp bracket and swivel bracket