BRKT
Bracket unit
7-29 67C3K11
4. Remove the bolts 5 and disconnect the
ground leads 6 from the PTT unit 7.
5. Remove the bolts 8, washers 9, bush-
ings 0, and shaft A.
6. Remove the E-clips B, shaft C, and
bushing D.
7. Remove the PTT unit 7, and then
remove the bushings E.
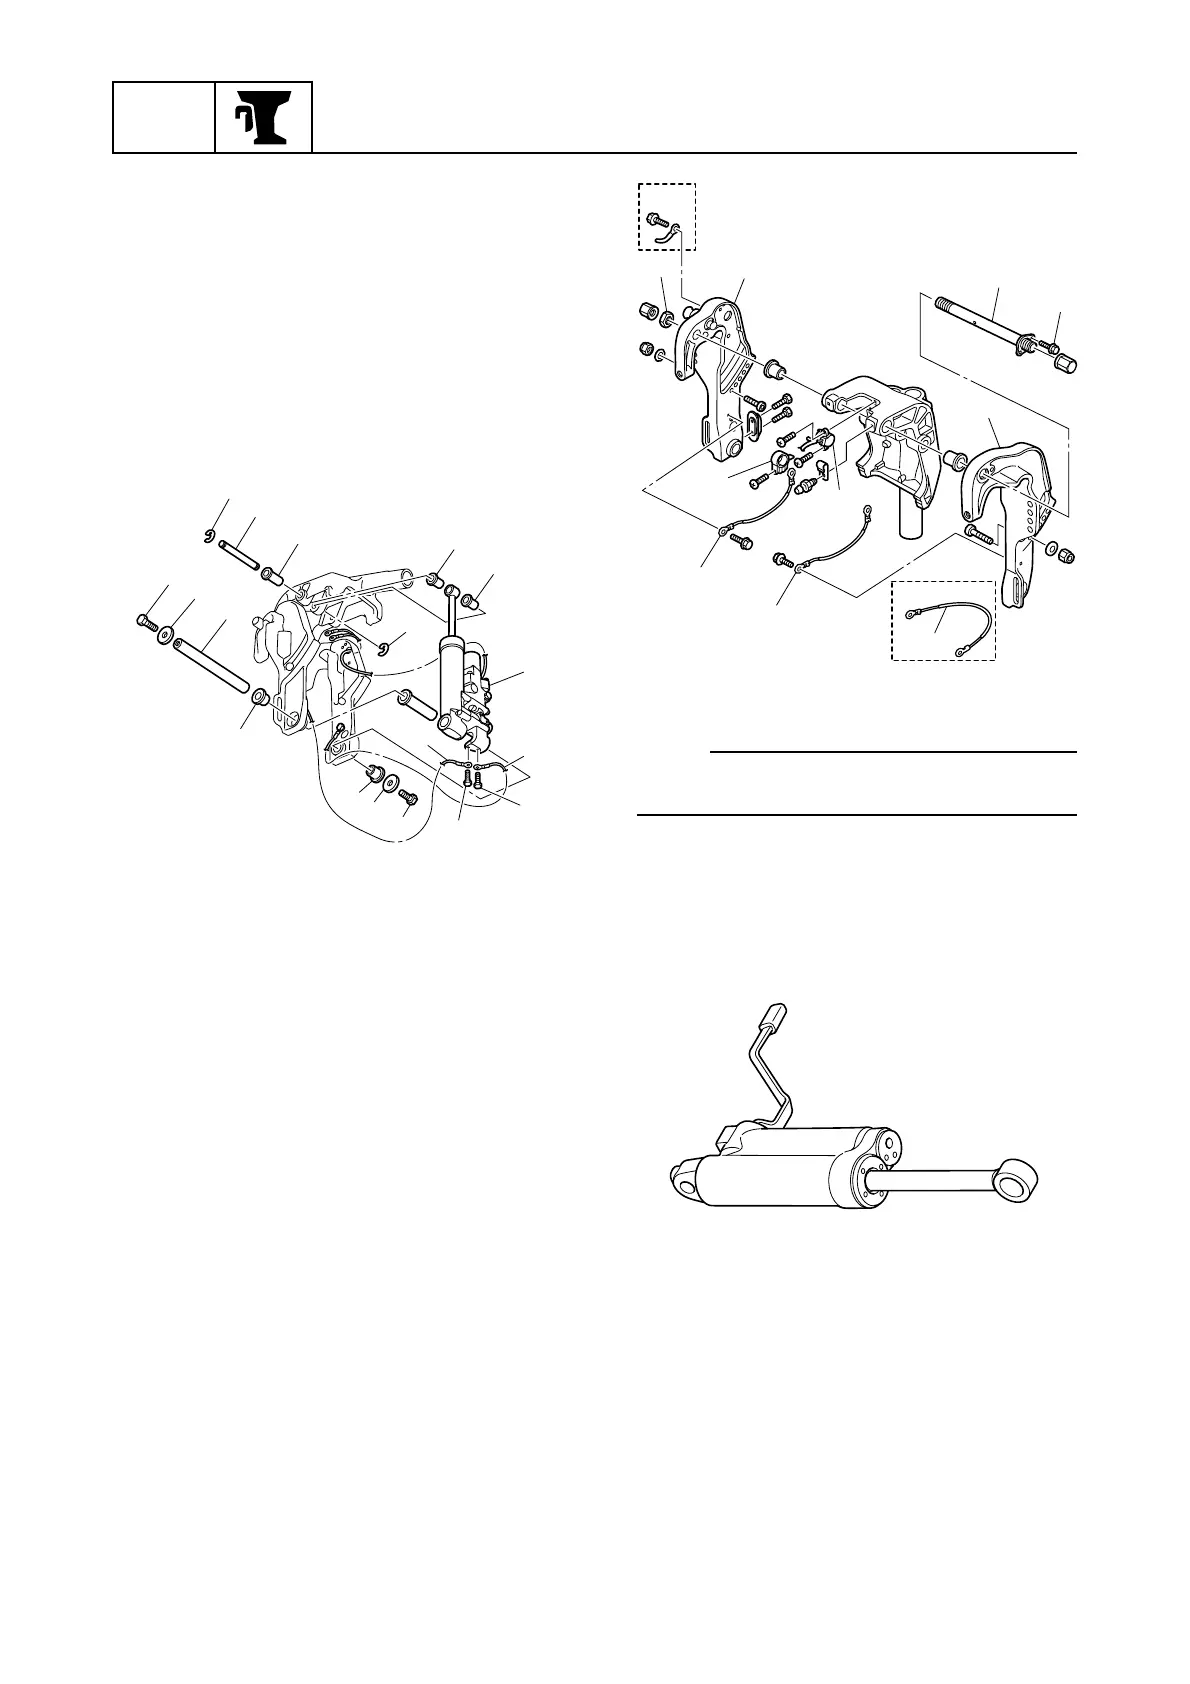
Removing the clamp bracket
1. Remove the trim sensor cam 1. (R
model with PTT)
2. Remove the ground lead(s) 2, self-lock-
ing nut 3, bolt 4, and through tube 5,
and then remove the clamp brackets 6.
3. Remove the trim sensor 7. (R model
with PTT)
È D model
É R model with PTT
NOTE:
Be sure to remove the ground lead(s) 2
before removing the self-locking nut 3.
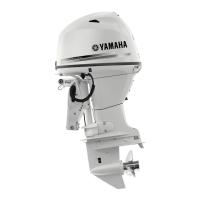
Checking the hydraulic tilt unit
1. Check the hydraulic tilt unit. Replace if
there is oil leakage, gas leakage, or dam-
age, or if the rod is bent.
Installing the clamp bracket
1. Install the trim sensor 1 to the swivel
bracket 2. (R model with PTT)
2. Assemble the clamp brackets 3 and
swivel bracket 2, and then install the
through tube 4 from the port side.
S67C7050
B
C
D
E
E
6
7
6
5
5
8
9
0
0
B
A
9
8
S67C7051
6
3
É
È
1
7
2
2
2
6
5
4
S67C7136