12.1.2 ChangingContactTypeofContactInput
Description
The contact type can set the action direction of contact input assigned to the function.
Setting Details
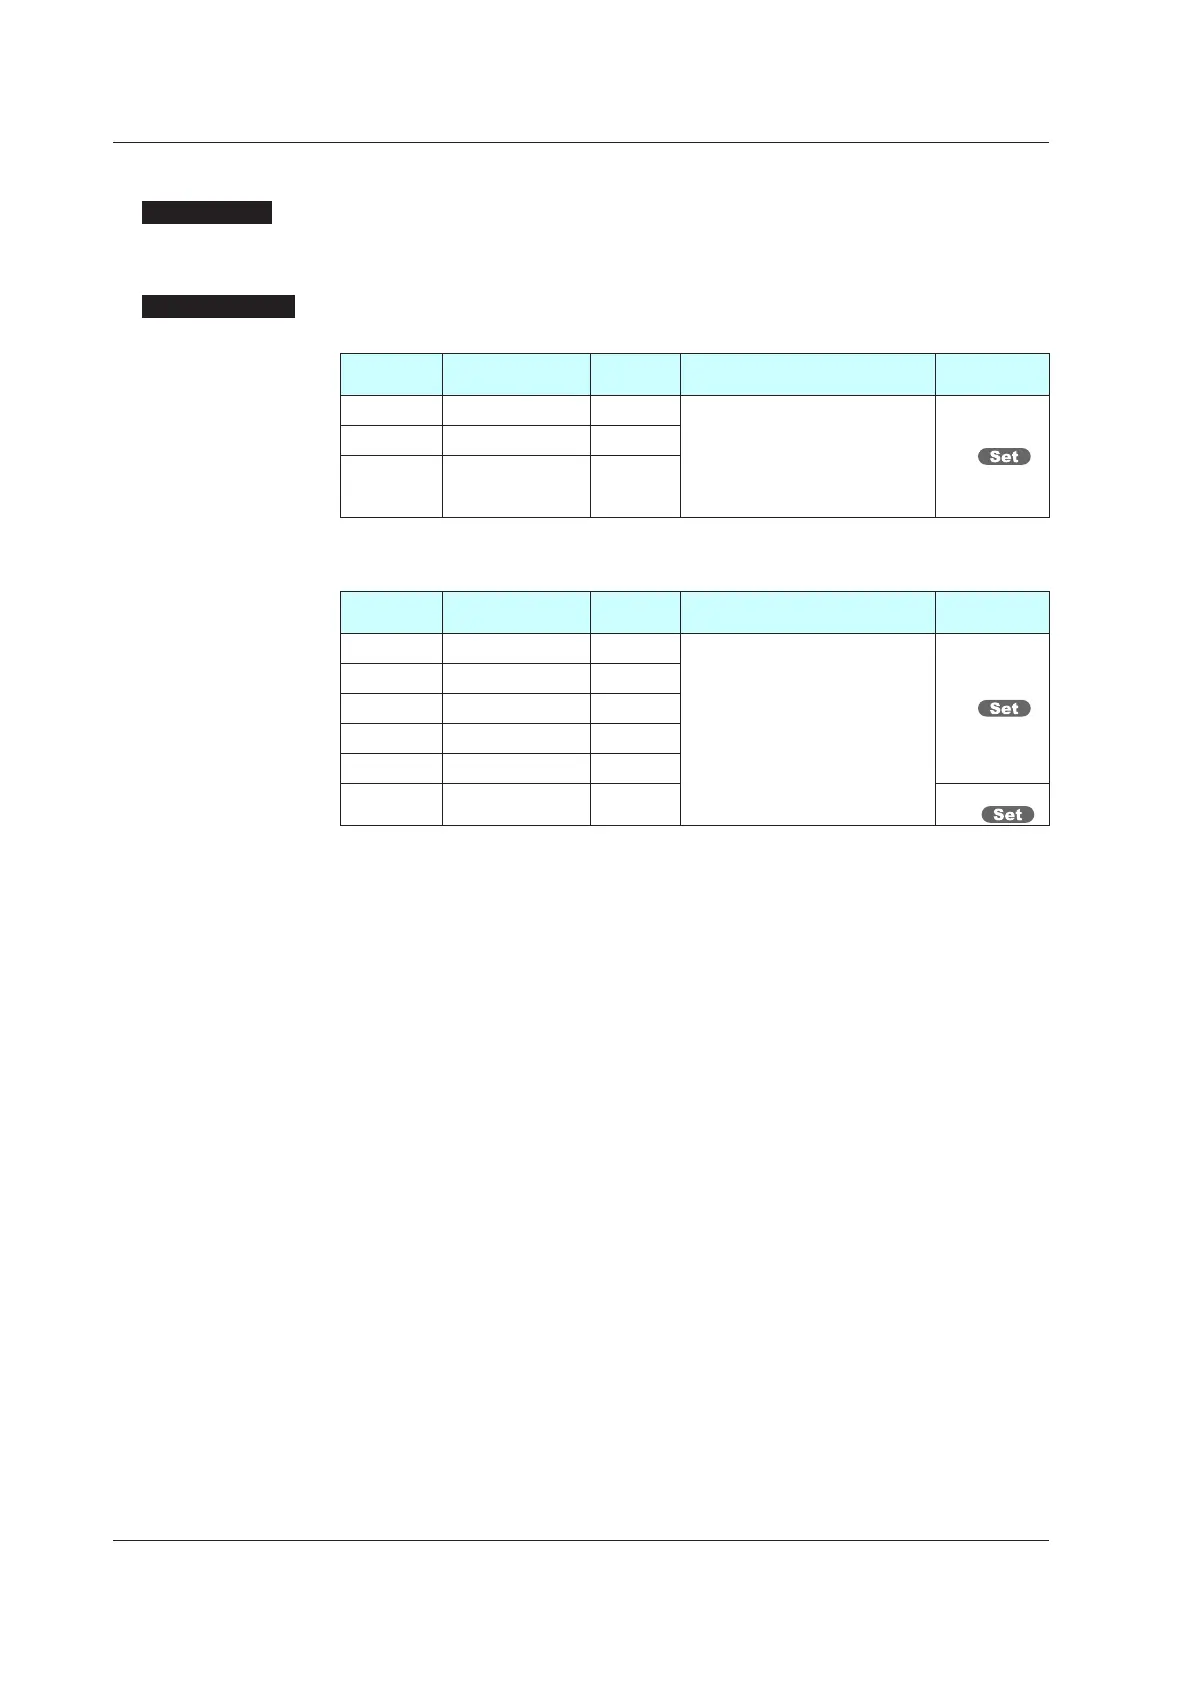
Contact Input Equipped as Standard
Parameter
symbol
Name
Display
level
Setting range Menusymbol
DI1.D DI1 contact type PRO
0: The assigned function is
enabled when the contact input
is closed.
1: The assigned function is
enabled when the contact input
is opened.
DI.D
DI2.D DI2 contact type PRO
DI3.D DI3 contact type PRO
Note1: Nothing is displayed on Group display when each parameter is displayed.
Additional Contact Input
Parameter
symbol
Name
Display
level
Setting range Menusymbol
DI1.D DIn1 contact type PRO
0: The assigned function is
enabled when the contact input
is closed.
1: The assigned function is
enabled when the contact input
is opened.
DI.D
DI2.D DIn2 contact type PRO
DI3.D DIn3 contact type PRO
DI4.D DIn4 contact type PRO
DI5.D DIn5 contact type PRO
DI6.D DIn6 contact type PRO
RSP, AIN2, or
AIN4
Note1: When each parameter is displayed, the terminal area (E1 to E4) is displayed on Group
display according to the suffix code and optional suffix code. “n” denotes the position of the
terminalarea.(n=1to4)
12.1 Setting Contact Input Function
 Loading...