Chapter 49 VLAN
GS1920v2 Series User’s Guide
315
49.14 Port-Based VLAN Setup
Port-based VLANs are VLANs where the packet forwarding decision is based on the destination MAC
address and its associated port.
Port-based VLANs require allowed outgoing ports to be defined for each port. Therefore, if you wish to
allow two subscriber ports to talk to each other, for example, between conference rooms in a hotel, you
must define the egress (an egress port is an outgoing port, that is, a port through which a data packet
leaves) for both ports.
Port-based VLANs are specific only to the Switch on which they were created.
Note: When you activate port-based VLAN, the Switch uses a default VLAN ID of 1. You
cannot change it.
Note: In screens (such as SYSTEM > IP Setup and SWITCHING > Static MAC Filtering) that
require a VID, you must enter 1 as the VID.
The port-based VLAN setup screen is shown next. The CPU management port forms a VLAN with all
Ethernet ports.
49.15 Configure a Port-Based VLAN
Select Port Based as the VLAN Type in the SYSTEM > Switch Setup screen and then click SWITCHING >
VLAN from the navigation panel to display the next screen.
Select either All Connected or Port Isolated from the drop-down list depending on your VLAN and VLAN
security requirements. If VLAN members need to communicate directly with each other, then select All
Connected. Select Port Isolated if you want to restrict users from communicating directly. Click Apply to
save your settings.
The following screen shows users on a port-based, all-connected VLAN configuration.
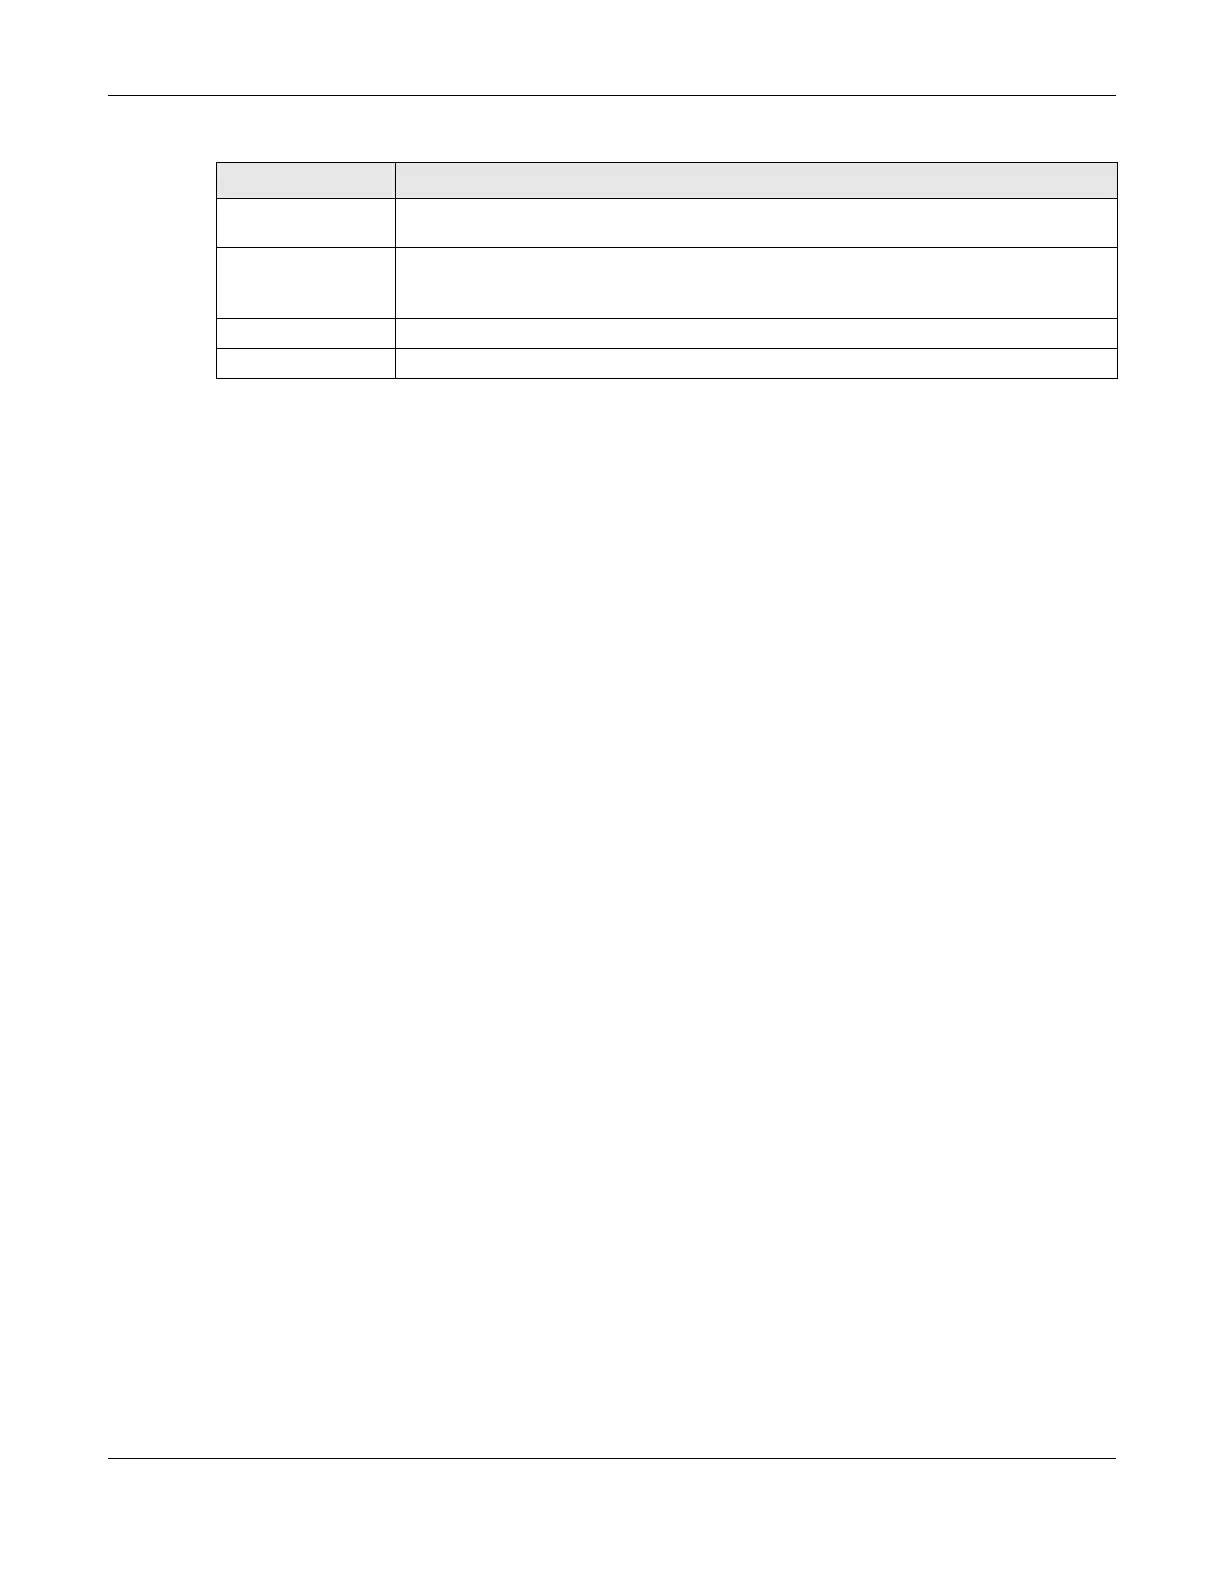
Weight Enter a number between 0 and 255 to specify the rule’s weight. This is to decide the priority
in which the rule is applied. The higher the number, the higher the rule’s priority.
Apply Click Apply to save your changes to the Switch’s run-time memory. The Switch loses these
changes if it is turned off or loses power, so use the Save link on the top navigation panel to
save your changes to the non-volatile memory when you are done configuring.
Clear Click Clear to clear the fields to the factory defaults.
Cancel Click Cancel to not save the configuration you make and return to the last screen.
Table 172 SWITCHING > VLAN > Vendor ID Based VLAN Setup > Add/Edit (continued)
LABEL DESCRIPTION

 Loading...


