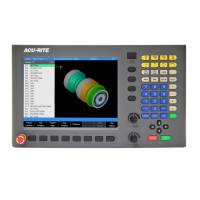
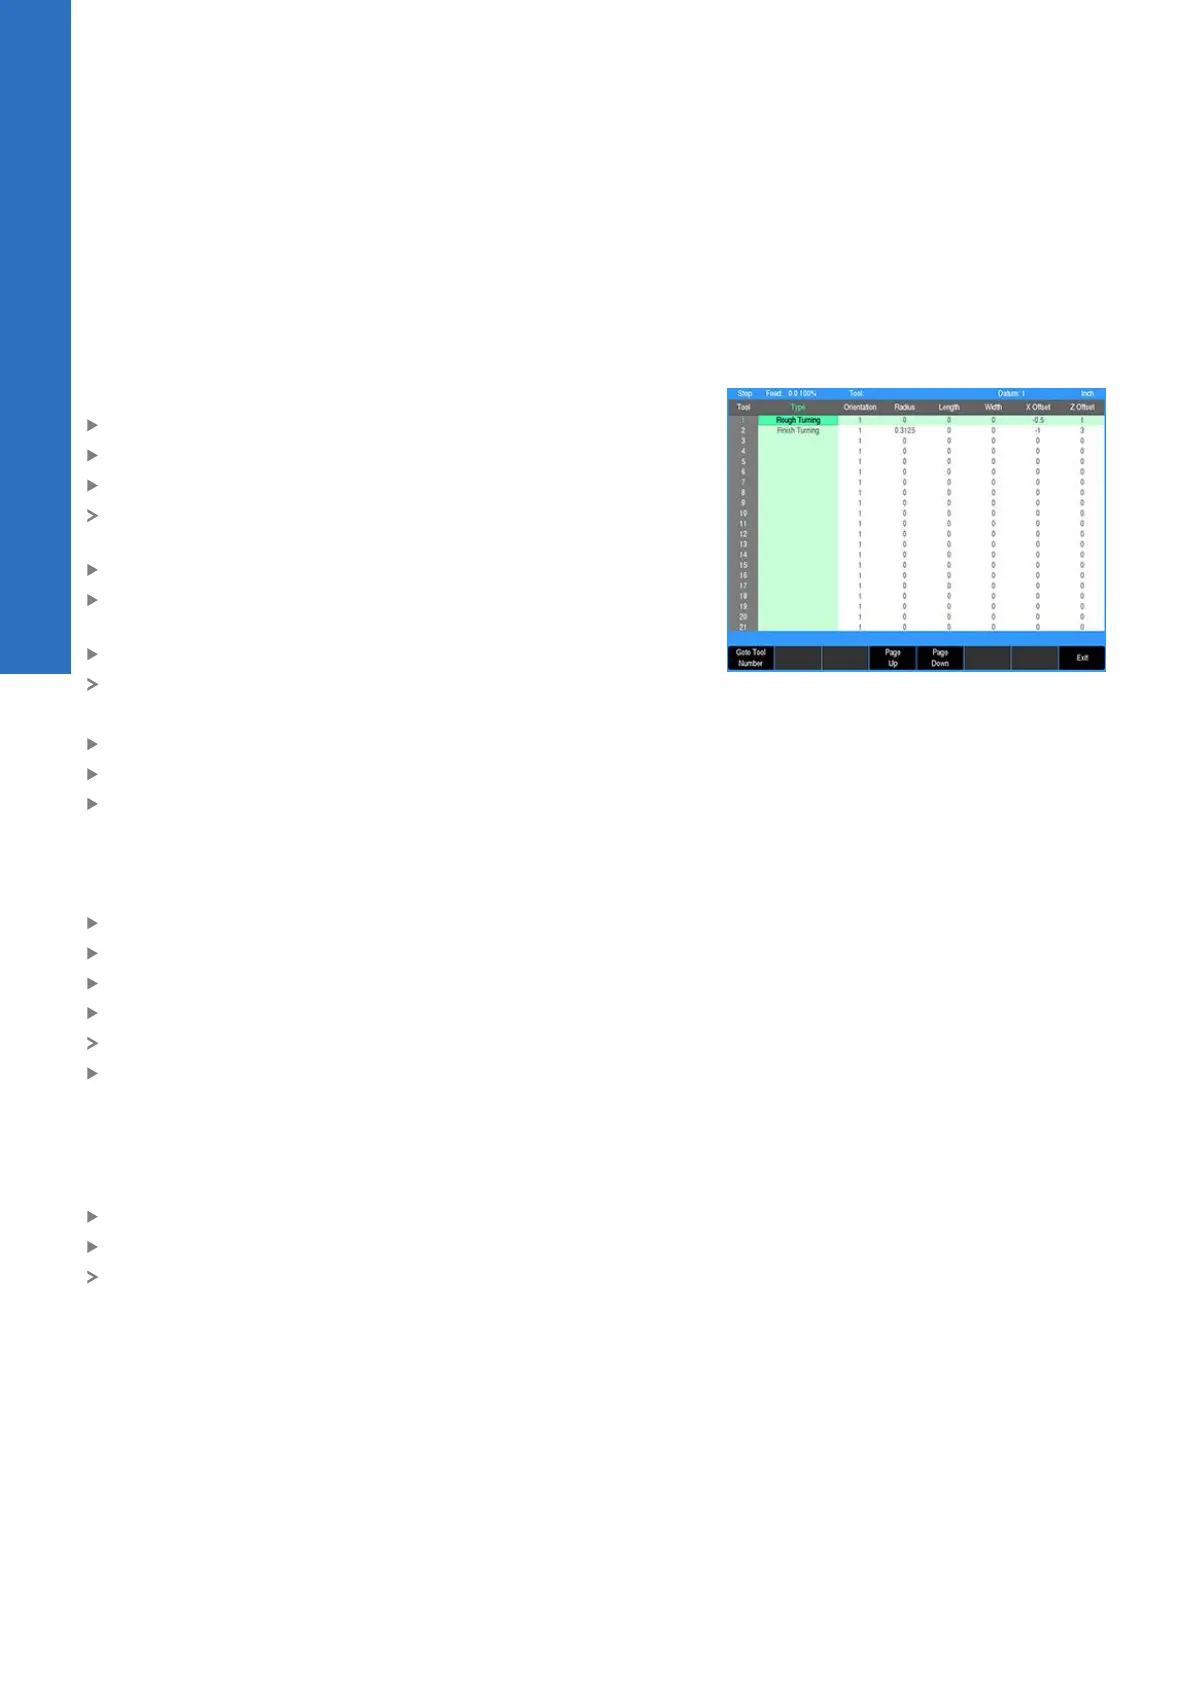
Tool table | Editing the tool table
6
6.5 Editing the tool table
When the Tool Table is opened, a new tool can be added, or an
existing tool can be edited or removed.
Entering a new tool
To enter a new tool:
Using the Arrow keys, highlight the next available blank row
Press the ENTER key to open the Set Tool dialog
Select the tool type from the drop down box in the Type field
The Set Tool dialog is updated to show tool information required
based on the selected tool type
Press the ENTER key
Using the Arrow keys, navigate to the other fields and enter the
tool information
Press the USE key
The information is saved to the Tool Table
or
Press CANCEL and the tool information is not saved
Continue to add additional tools as necessary
When all tools have been added, press the Exit soft key
Editing a tool
To edit a tool:
Using the Arrow keys, highlight the desired tool to be changed
Press the ENTER key to open the Set Tool Dialog
Make the necessary changes
Press the USE key
The information is saved to the Tool Table
Press the Exit soft key to close the Tool Table and return to
previous operating mode
Deleting a tool
To delete a tool:
Using the Arrow keys, highlight the desired tool to be deleted
Press the CLEAR key
The highlighted tool information is removed from the table
90
ACU-RITE | TURNPWR | User's Manual | 08/2020