5 SETTING UP A BASIC CONFIGURATION
5 Setting up a basic configuration
5.1 Connecting the MS3Pro to your laptop
1. Power up the MS3Pro and plug it in to your laptop with either the provided serial or USB cable. The MS3Pro
is not powered through the serial cable; it will need to be connected to a good power and ground source to
communicate.
2. Open TunerStudio. TunerStudio will check for available updates; if there is one, accept it and let it install.
3. From the File menu, select "New Project".
4. You may enter a name to keep track of the project and a detailed description in the Project Description field.
5. Click the “Detect” button. TunerStudio should automatically detect that you have an MS3Pro and what port it
is using.
6. Clicking the Next button will bring up a menu of project settings.
7. Here are what the project settings do:
• Oxygen Sensor/Display - selects the default gauges for oxygen or lambda sensor. If set to wideband,
TunerStudio can display either lambda or air/fuel ratio. In narrow band mode, TunerStudio will display
and log sensor voltage.
• Temperature Display - preferred temperature units
• CAN_COMMANDS - Allows tuning an MS3 over CAN when not using the USB or serial connection.
• Internal Log Fields - normally deactivated. Allows developers to log special fields into SD card logs
• PW_4X - normally deactivated. Used in conjunction with the advanced firmware setting to enable four
times the injector pulsewidth, at a cost of less pulse width resolution. This feature is intended for large
industrial engines that use injectors sized for operating below 2000 RPM.
• Port Status - allows displaying the status of input and output ports directly as indicators, and recording
port status in data logs. Useful for troubleshooting, but can slow down data logging rates.
• OutMSG Editing - Enables a system for sending CAN data to other CAN devices. Only needed if the
documentation for a CAN device you are using requires this.
8. When you are done with the project settings, click Next. This will bring up a page of communications settings.
9. The final screen for project setup is to select a dashboard view. It is safe to accept the default and Finish.
TunerStudio allows advanced users to create their own custom dashboard layouts.
10. At this point, you’re ready to start setting up the MS3Pro to run your engine.
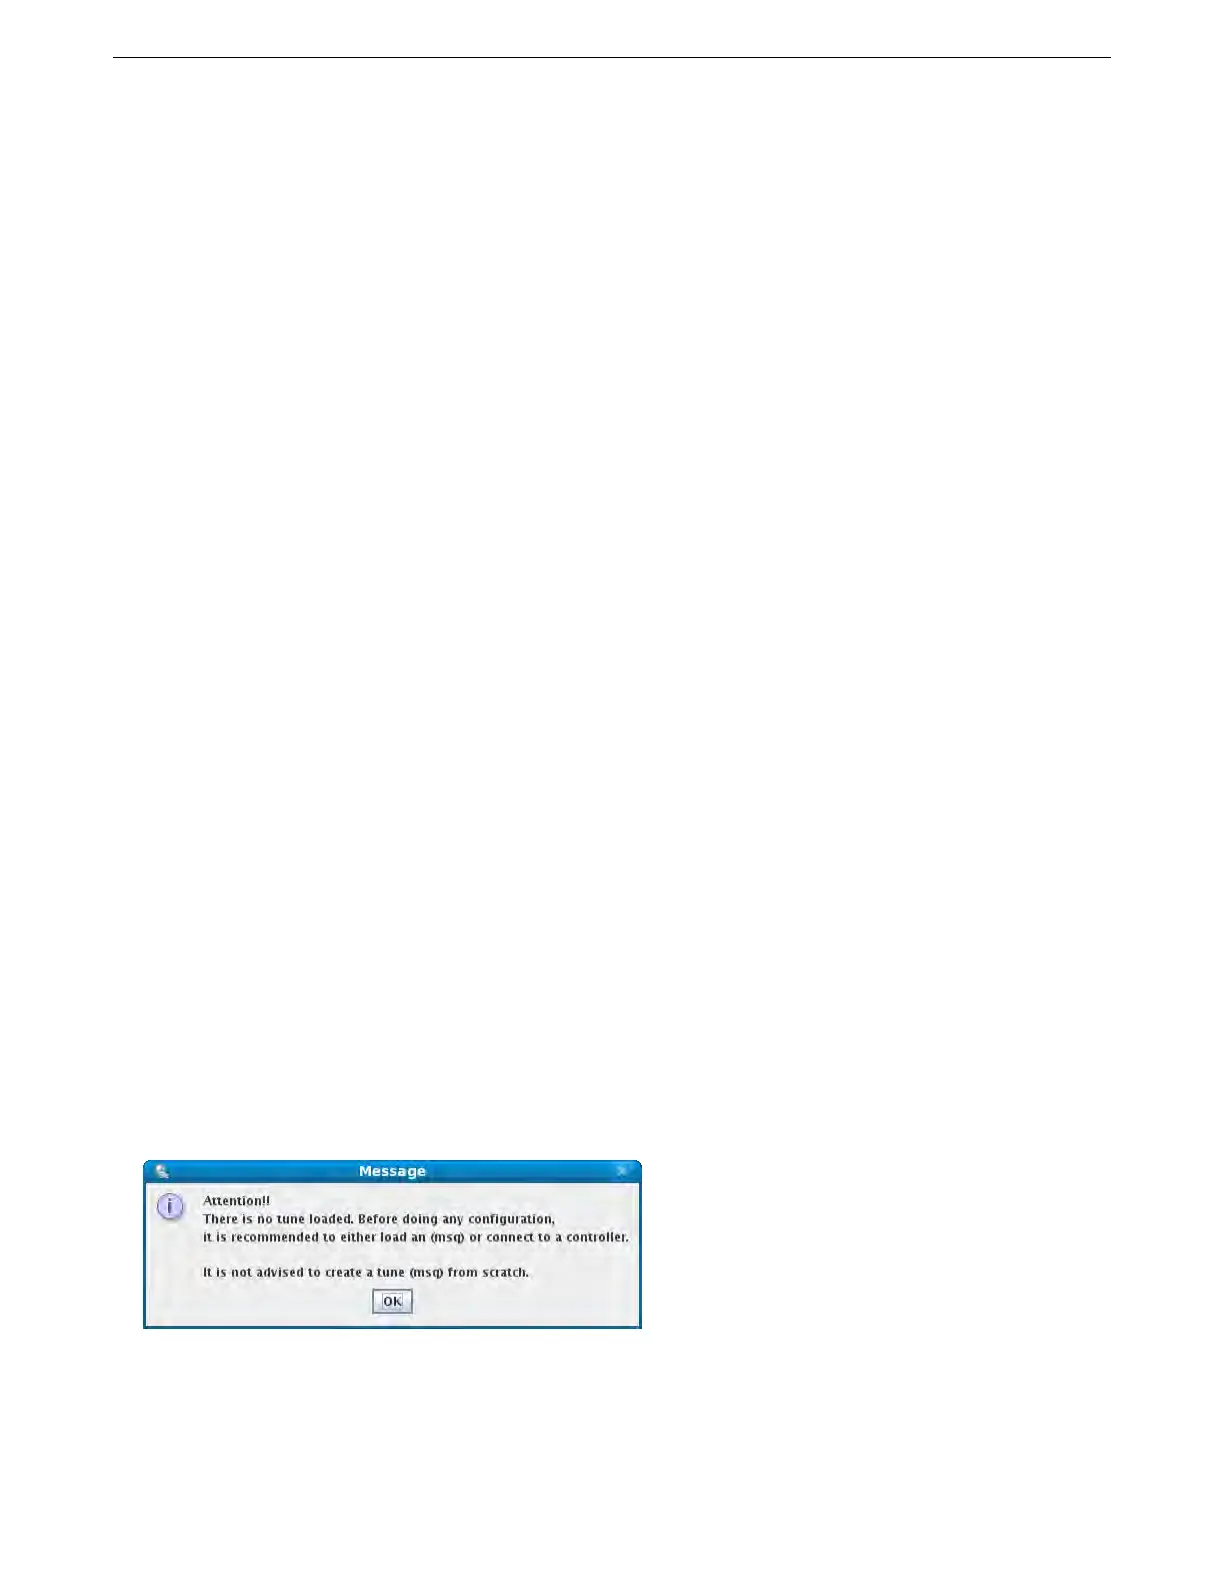
The first rule of tuning is that you do not want to tune from a blank file. You can either connect to the MS3Pro
and retrieve the tune on it (this is done automatically) or open an existing tune file, but be careful if you see this
message:
This means that you have no tune loaded. This is OK if you are just having a look, but do not try to start a tune
like this. TunerStudio will default to a table full of zeroed out values - or in some cases, the numbers will be set to
their lowest possible value. It’s not worth chasing down all the nonsense values to turn this “blank file” into a real
tune. Start with either the tune in the ECU or one of the sample tunes provided in the software package.
AMP EFI MS3Pro manual version 1.202, firmware 1.5.0, 4/21/2017 Page 51