6.2 The basics of 3D tuning tables and load types 6 TUNING THE MS3PRO
6.1.5 Setting running timing
Now that the engine is running, we can come back and make the final timing adjustments. Hook up your timing
light and start your engine. In TunerStudio, on the Ignition Options / Wheel Decoder menu, set Fixed timing to
"Fixed Timing" and click Burn.
This locks the timing to the advance you specify in the "Timing for Fixed Advance" box. You do not need to alter
your spark table.
• Enter say 15 degrees (or another angle that your engine will idle easily at.)
• Using your timing light, confirm that the timing on the crank matches the fixed advance you entered at idle.
• If it does not, then adjust your tooth#1 angle (trigger wheel) or trigger angle/offset (other spark modes.)
• If the actual timing is more advanced than MS3Pro thinks, then increase the trigger angle/offset. If adjust-
ments of more than 10 degrees are required, making the change, click Burn, turn the key off, and restart the
engine.
• Once you idle timing is matching up with your fixed angle, increase the engine revs and confirm that the
timing does not drift.
If you get a large timing advance with increased rpm on a VR sensor distributor then it is likely that your ignition
input capture is backwards. It is also possible that your spark output setting is wrong - however, exercise caution
in changing this, as the wrong setting can damage your coils or ignition module. If the timing retards a little as rpm
increase you can make a correction by adjusting the Spark Hardware Latency setting. The larger the number, the
more compensation it will apply.
Do not proceed any further with your install if you cannot get stable timing. Note that “stable timing” is
a matter of degree - a small block Chevy with a HEI distributor and a worn timing chain, for example, may have 2
or more degrees of timing jitter in normal operation. And many dial-back timing lights will have problems keeping
up with rapid changes in RPM. But if you are seeing the timing bouncing around by 10 degrees or more, stop and
investigate what’s wrong.
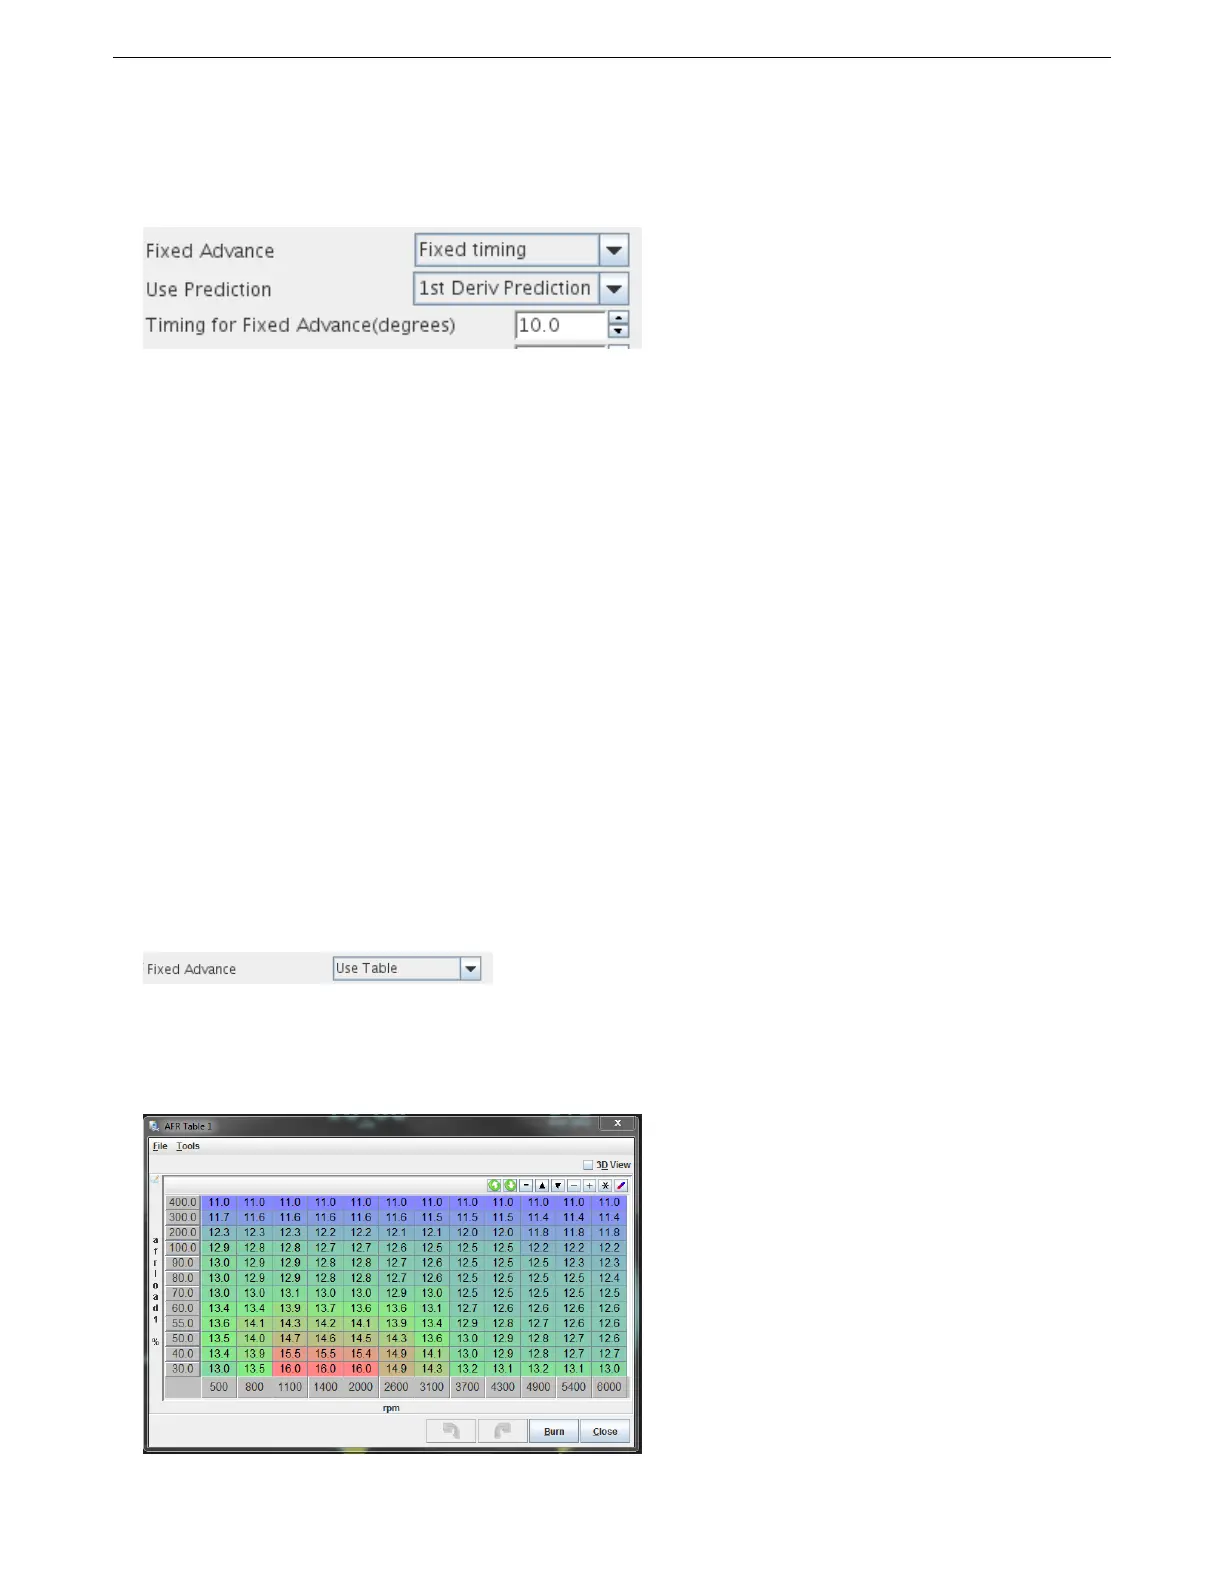
When finished, be sure to turn off the Fixed Timing and return to Use Table and click Burn.
6.2 The basics of 3D tuning tables and load types
At this point, a lot of your tuning from now on will involve 3D tuning tables, so this would be a good point to explain
what these tables are and how to use them. Here’s an example, in this case, an AFR (air/fuel ratio) table.
AMP EFI MS3Pro manual version 1.202, firmware 1.5.0, 4/21/2017 Page 106