384 Part III Distribution and Backup
Changing How an Image Fills a Photo Box
Aperture is preset to scale images to fill a photo box. You can change the position of an
image within a photo box, making it appear centered or aligned on the right or left edge.
To change how an image fills a box:
1 Click the Edit Layout button, if it’s not already selected.
2 Select the photo box you want to change.
3 Choose Photo Box Alignment from the Book Action pop-up menu, then choose an
alignment option from the submenu.
 To have an image scale to fit the size of the box on the page: Choose Scale to Fill.
 To have an image appear centered in the box: Choose Scale to Fit Centered.
 To have an image appear aligned on the left edge of the box: Choose Scale to Fit
Left-Aligned.
 To have an image appear aligned on the right edge of the box: Choose Scale to Fit
Right-Aligned.
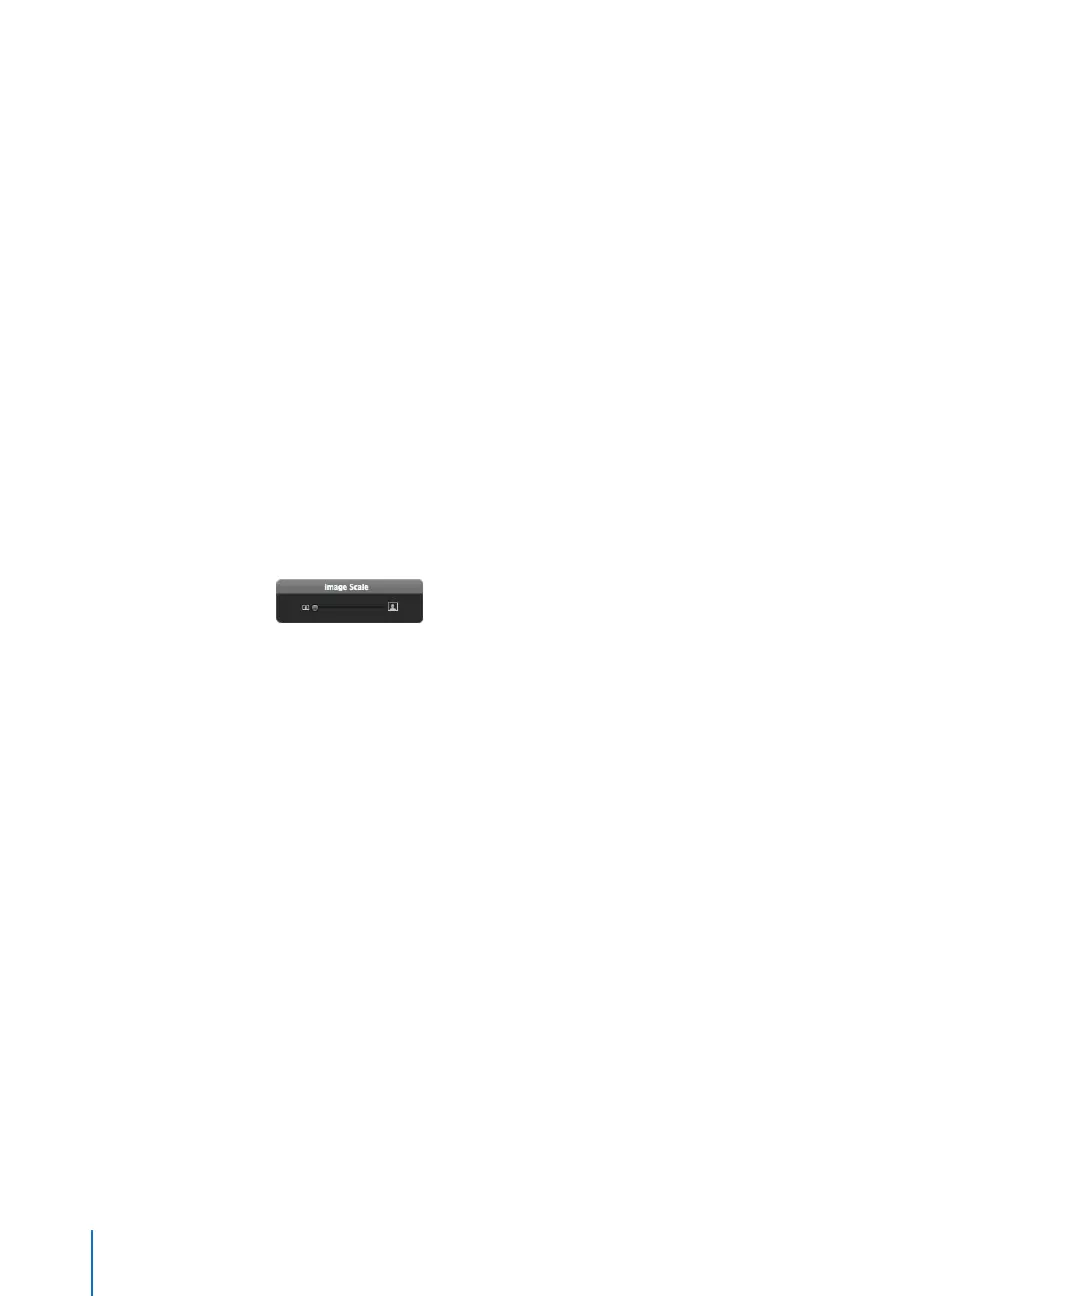
You can also adjust the scaling of an image within a box. Aperture provides an Image
Scale slider to rescale images.
To change the scale of an image in a photo box:
1 Double-click the image.
A slider appears that allows you to adjust the scale of the image.
2 Drag the slider to adjust the image scale.
Click outside the photo box to hide the slider again.
If an image is scaled so that only part of the image is visible within the photo box, you
can change the part of the image that’s visible.
To change the part of the image that appears in a photo box:
1 Double-click the image.
A slider appears that allows you to adjust the scale of the image.
2 Drag the image to change the part that’s visible within the box.