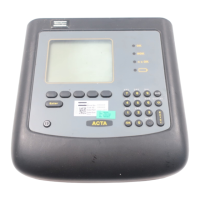
Calibration
130
11.3.7 Example, how to perform a calibration
In the example below we give one example of how to perform a calibration.
This is only possible with an ACTA 3000 QC or AA.
1. Set up your ACTA 3000 for the calibration.
Connect the proper transducer for this calibration and wait a few seconds for the shunt calibration.
You probably already have the tool you are going to calibrate in your database.
If not, you need to create the correct program.
Create the tool by pressing “Database / 1 New tool” and enter a new tool ID used for this
calibration.
When using a controlled Atlas Copco Tool:
• Connect the ACTA 3000 and the controller (PF, DS or PowerMac) with the serial cable.
• Hold the ACTA 3000 in Infrared position (PF 3000, DS).
Synchronise by pressing “Q.Prog / 5 Synchronise” and select your choice of tool.
Depending on your choice you may need to answer a few more questions before the command is
completed.
2. Perform tightening.
Remove all tightening from this tool by pressing ‘Shift’ and then “Cl”.
Select custom window by pressing “‘View’ / 2 Custom”.
Attach the transducer to the tool and perform the tightening.
If you are running a transducerised Atlas Copco tool both transducer torque and controller torque
will appear automatically in the ACTA 3000 window.
If you running a transducerised tool from another manufacturer, ACTA 3000 will ask for the torque
value. If you have an angle transducer ACTA 3000 will ask for the controller angle.
Otherwise you will only see the result from the transducer on the display.
Carry out a total of 25 tightenings.
 Loading...