12-3
Chapter 12. Calibration and Inspection
Calibration and checking procedure
z
Inspection of I/Os
(1) Select the [I/O check] tab.
(2) Select the desired item to check.
(3) Press [Execute].
For inputs (external contact input, key input), the status (ON/OFF) retained by this
device is loaded and displayed on the PC.
For outputs (control output, event output), the status (ON/OFF) selected by the
checkbox is output from the output terminals of this device.
z
PV input calibration
(1) Select the [PV Calibration] tab.
(2) Select a gain No. in ascending order.
(3) Press [Read].
(4) Apply the voltage, current, or resistance indicated on the right of the gain No.
to the PV input terminals.
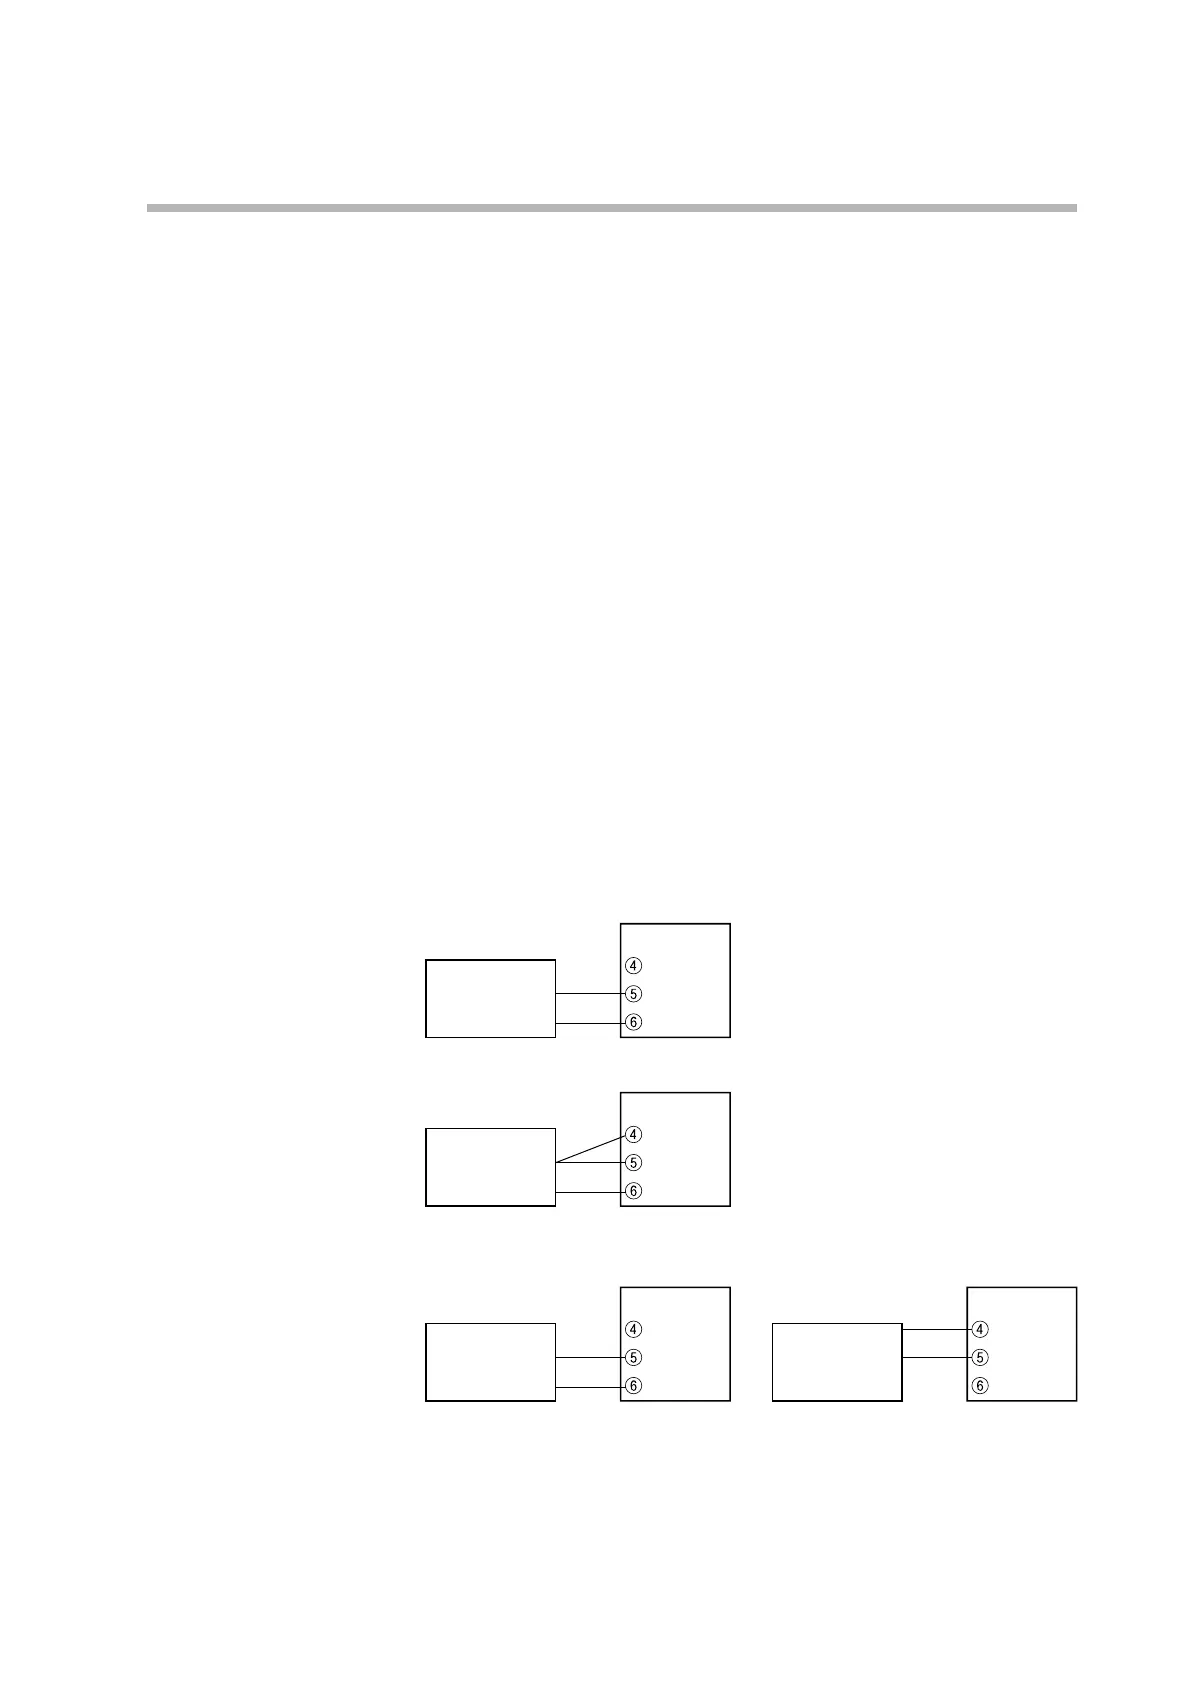
Before application, connect this device to the measuring instrument as follows.
• If T (thermocouple) is selected as the PV input type by the model No. (digit ):
Voltage generator
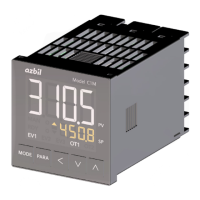
Model C1M
−
+
• If R (RTD) is selected as the PV input type by the model No. (digit ):
Resistor
Model C1M
• If L (DC voltage/current) is selected as the PV input type by the model No. (digit
):
Gain Nos. 04–06 (voltage) Gain No. 07 (current)
Voltage generator
Model C1M
−
+
Current generator
Model C1M
−
+
(5) Keep applying the voltage, current or resistance for 30 seconds or longer.
(6) Press [Write].
(7) Return to step 3 and repeat the procedure until the calibration of the last gain
is completed.