A
Angelica RiceAug 1, 2025
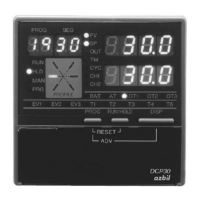
Why does my Azbil DCP31 Controller display an alarm due to wrong wiring?
- KkentjacobAug 1, 2025
An alarm display on your Azbil Controller due to wiring issues can occur for several reasons: * If G and Y are reversed: The display increases and stabilizes, or it decreases and stabilizes. * If T and G are reversed: The display decreases and stabilizes, or it stabilizes at 9999. * If T and Y are reversed: The display stabilizes at 9999. * If 1 and 2 are reversed: The display increases and stabilizes, or it decreases and stabilizes. * If 1 and 2, and T and G are reversed: The display stabilizes at 9999. * If 1 and 2, and T and Y are reversed: The display decreases and stabilizes, or the display stabilizes at 9999.