156 SERIAL LINKS
described above. The file of received data has now been saved ready for transmission to another or the same
drive. See also 5.3 Archiving PL/X recipes.
10.2.2 PARA METER EX CH A NGE / Drive receive
See 10.2.4 Rules of parameter exchange relating to soft w are version. See also 5.3 Archiving PL/X recipes.
This is the transfer of the Parameters from the host to the PL/X. This information is written directly to the
drive’s permanent memory, so the drive's present settings for the TARGET RECIPE PAGE will be overwritten.
The file will contain its recipe page source (Normal, 2, 3) and will automatically save on that recipe page.
See also. 10.2.1.1 PARA METER EX CH ANGE with a locked recipe page 3
1) Connect the PL/X to the host using the appropriate lead. See10.1.1 RS232 PORT1 / Connection pinouts.
2) Using a standard communications package, prepare the host to send an ASCII file. Remember to set up
the host's serial port first. See 10.2.2.1 Receiving parameter data file from a PC. Windows 9 5 up wards.
3) Make sure that the PORT1 FUNCTION has been set to PARAM EX CH SELECT.
4) Enter this menu, when the PL/X says RECEIVING; begin the file transmission by the host computer.
Note. If the message AUTHORIS A TION NEEDED appears on the PL/X display it means recipe page 3 has been
locked and cannot be overwritten. Please refer to supplier. See also. 10.2.1.1 PARA METER EX C H AN GE with
a locked recipe page 3
5) The file ends in a 0 0 0 0 0 0 0 1 F F which the PL/X uses to automatically SA VE the file.
6) The PL/X must now be reset by pressing the LEFT key. (This resets to recipe page N ORM AL RESET. To
see other pages the appropriate po w er up reset must then be actioned).
7) If there has been a problem there may be a message. See 9.1.1 SELF TEST MESS A GE / Data corruption.
8) WARNING. Check the CALIBRATION parameters are corre ct after this process.
Note. There is a hidden pin 708)REM OTE PARA M RC V which is a logic input that can initiate a drive receive.
10.2.2.1 Receiving parameter data file from a PC. Windo ws 95 upwards.
See 10.2.4 Rules of parameter exchange relating to soft w are version. See also 5.3 Archiving PL/X recipes.
(Microsoft HyperTerminal, part of Accessories in Windo ws ’95 up wards).
If you have not already created a personalised Hyperterminal please see 10.2.1.2. Transmitting parameter
data file to a PC. Windows 95 up w ards.
This description assumes you have already stored a parameter file from a PL/X. See 10.2.1.2
Open your personalised Hyperterminal and click on T
ransfer then Send Text File and you will be asked for a
folder and file that w as used for the previously captured data you wish to send to the PL/X.
Highlight the file from the list provided and it will be selected ready for sending. Do not click on O
pen yet.
Prepare the drive to receive data as outlined in PARA METER EXCH ANGE. This information is written directly
to the drive’s permanent memory, so the drive's present settings for the target recipe page will be
overwritten. The file will contain its original recipe page source (Normal, 2, 3) and will automatically save on
that recipe page. Once the drive reports “RECEIVING” click on O
pen. The drive will receive the data and
report “LEFT KEY TO REST ART” when complete. (This resets to recipe page NORM AL RESET. To see other
pages the appropriate po wer up reset must be actioned). The new parameter data file, including calibration
values, has been automatically saved in the PL/X.
Click on the disconnect icon or click on C
all then Disconnect to finish.
You may no w exit from HyperTerminal by clicking on F
ile then Exit or by pressing Alt and F4 or by closing
the windo w. You will be asked if you wish to save the session, this is not necessary so choose N
o.
WARNING. Check the CALIBRATION parameters are correct after this proce ss.
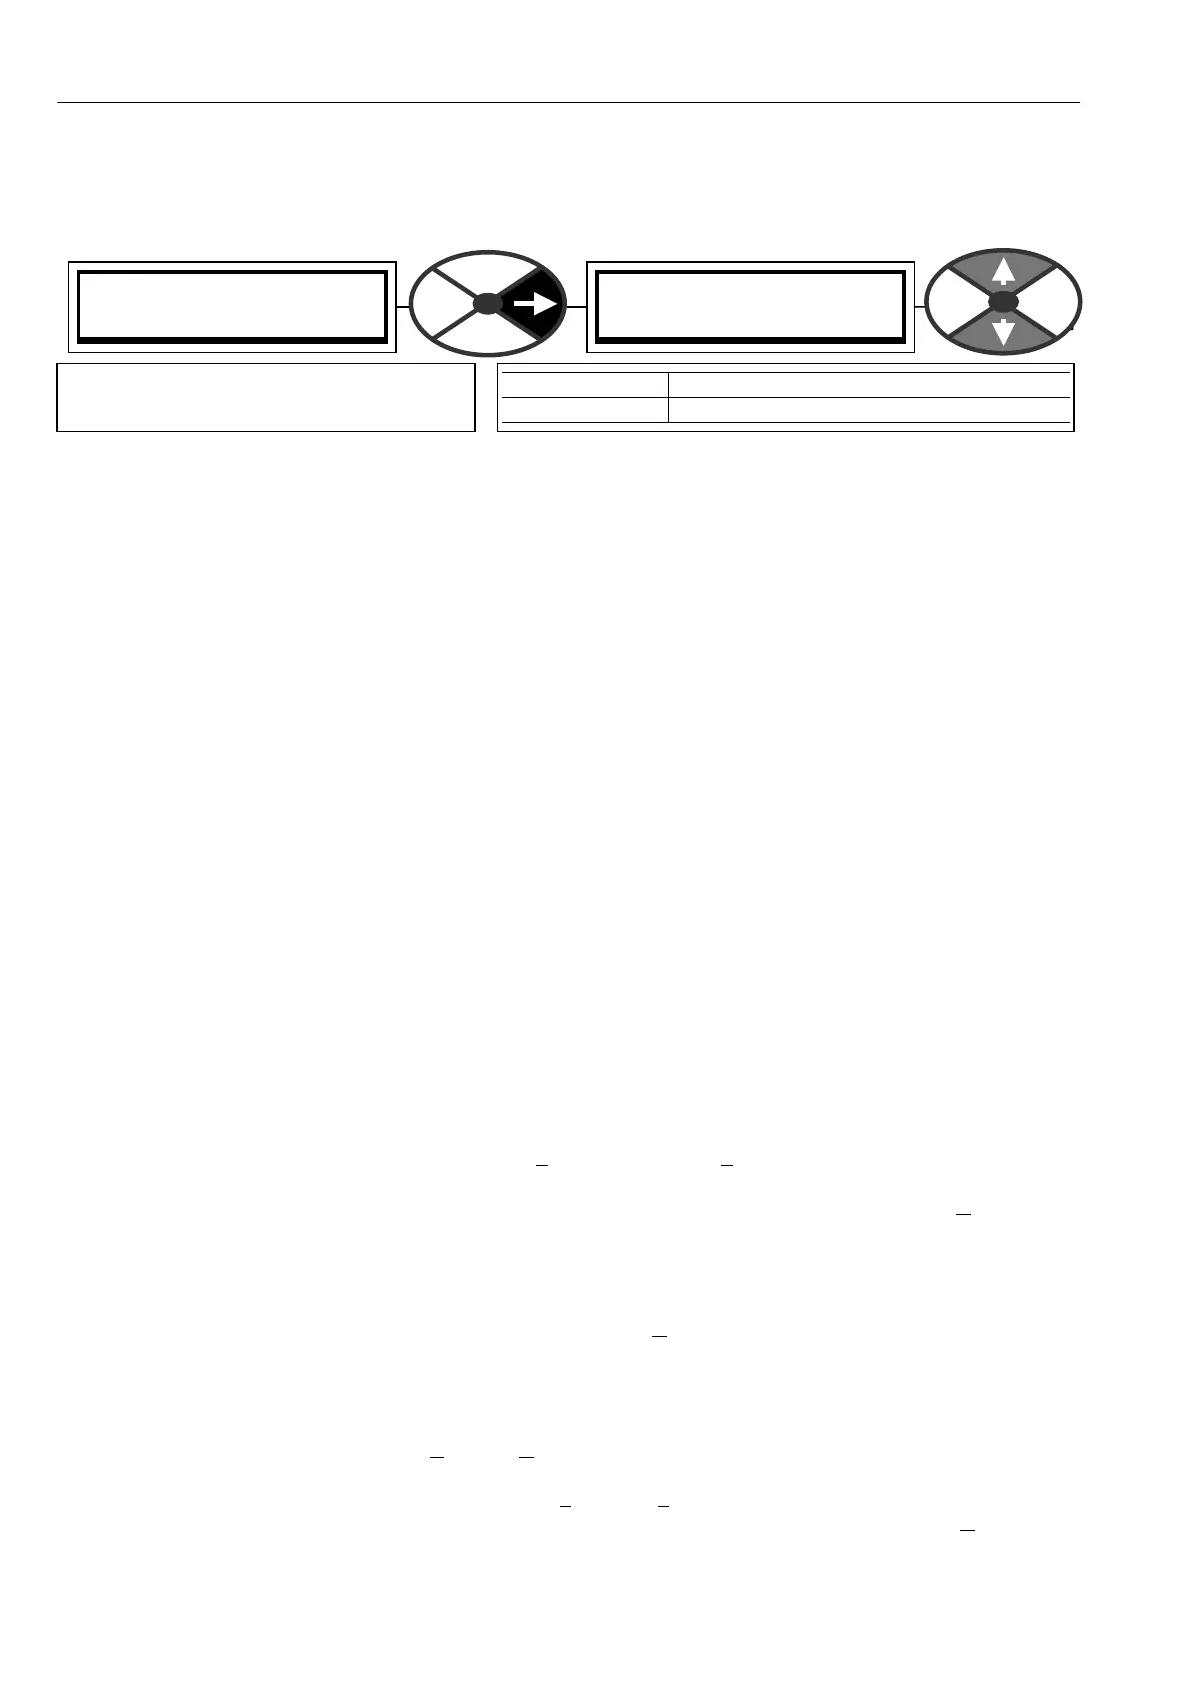
PARA METER EX CH ANGE 4
DRIVE RECEIVE 5
DRIVE RECEIVE 5
UP KEY TO C ONTINUE
PARA METER RA NGE
DRIVE RECEIVE RECEIVING then LEFT KEY TO RESTART
Starts the process of serial transmission
of parameter values from the host.