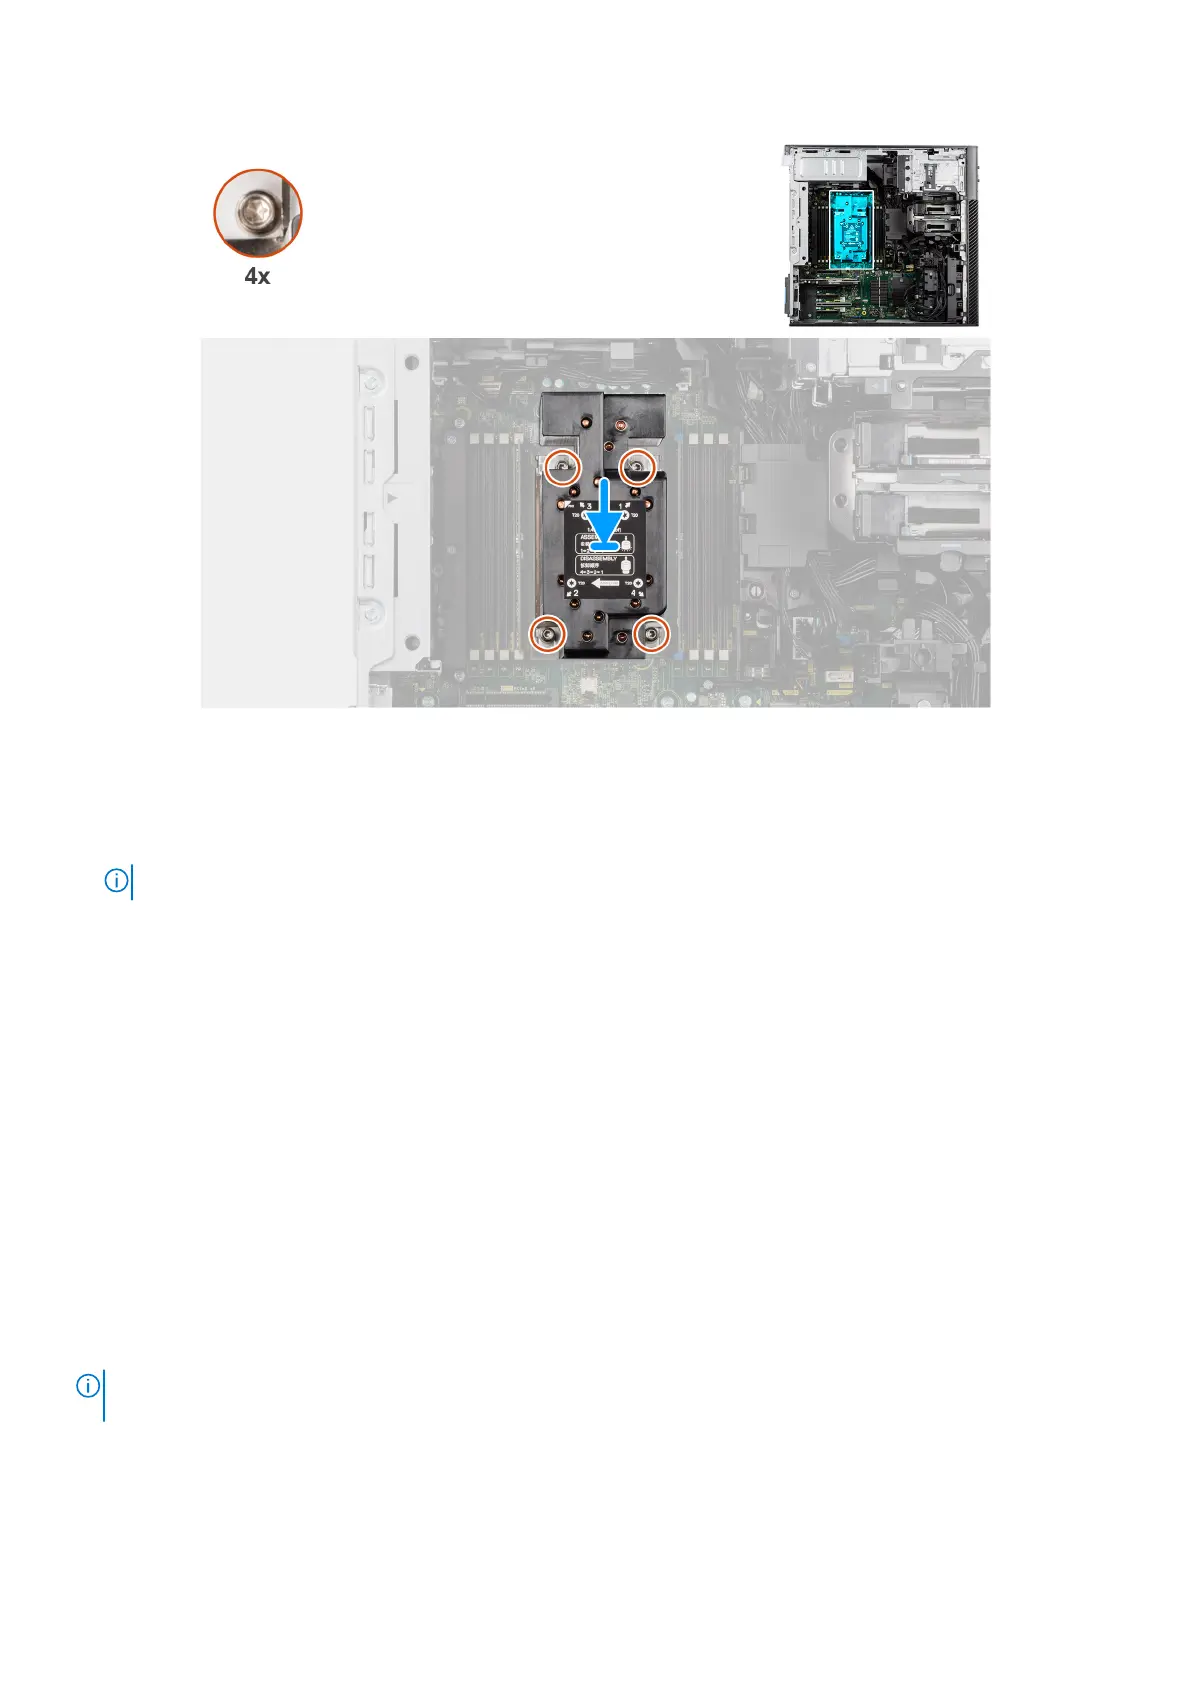
Figure 102. Installing the heat-sink assembly
Steps
1. Align the screws of the heat-sink assembly with the screw holders on the system board.
2. In sequential order (1->2->3->4), tighten the captive screws to secure the heat-sink assembly to the system board.
NOTE: The numbering and order in which to tighten the screws is printed on the heat-sink assembly.
Next steps
1. Install the air shroud.
2. Install the side cover.
3. Follow the procedure in After working inside your computer.
Processor
Removing the processor
Prerequisites
1. Follow the procedure in Before working inside your computer.
2. Remove the side cover.
3. Remove the air shroud.
4. Remove the heat-sink assembly.
NOTE:
The processor might still be hot after the computer is shut down. Allow the processor to cool down before removing
it.
About this task
The following images indicate the location of the processor and provide a visual representation of the removal procedure.
130
Removing and installing Field Replaceable Units (FRUs)