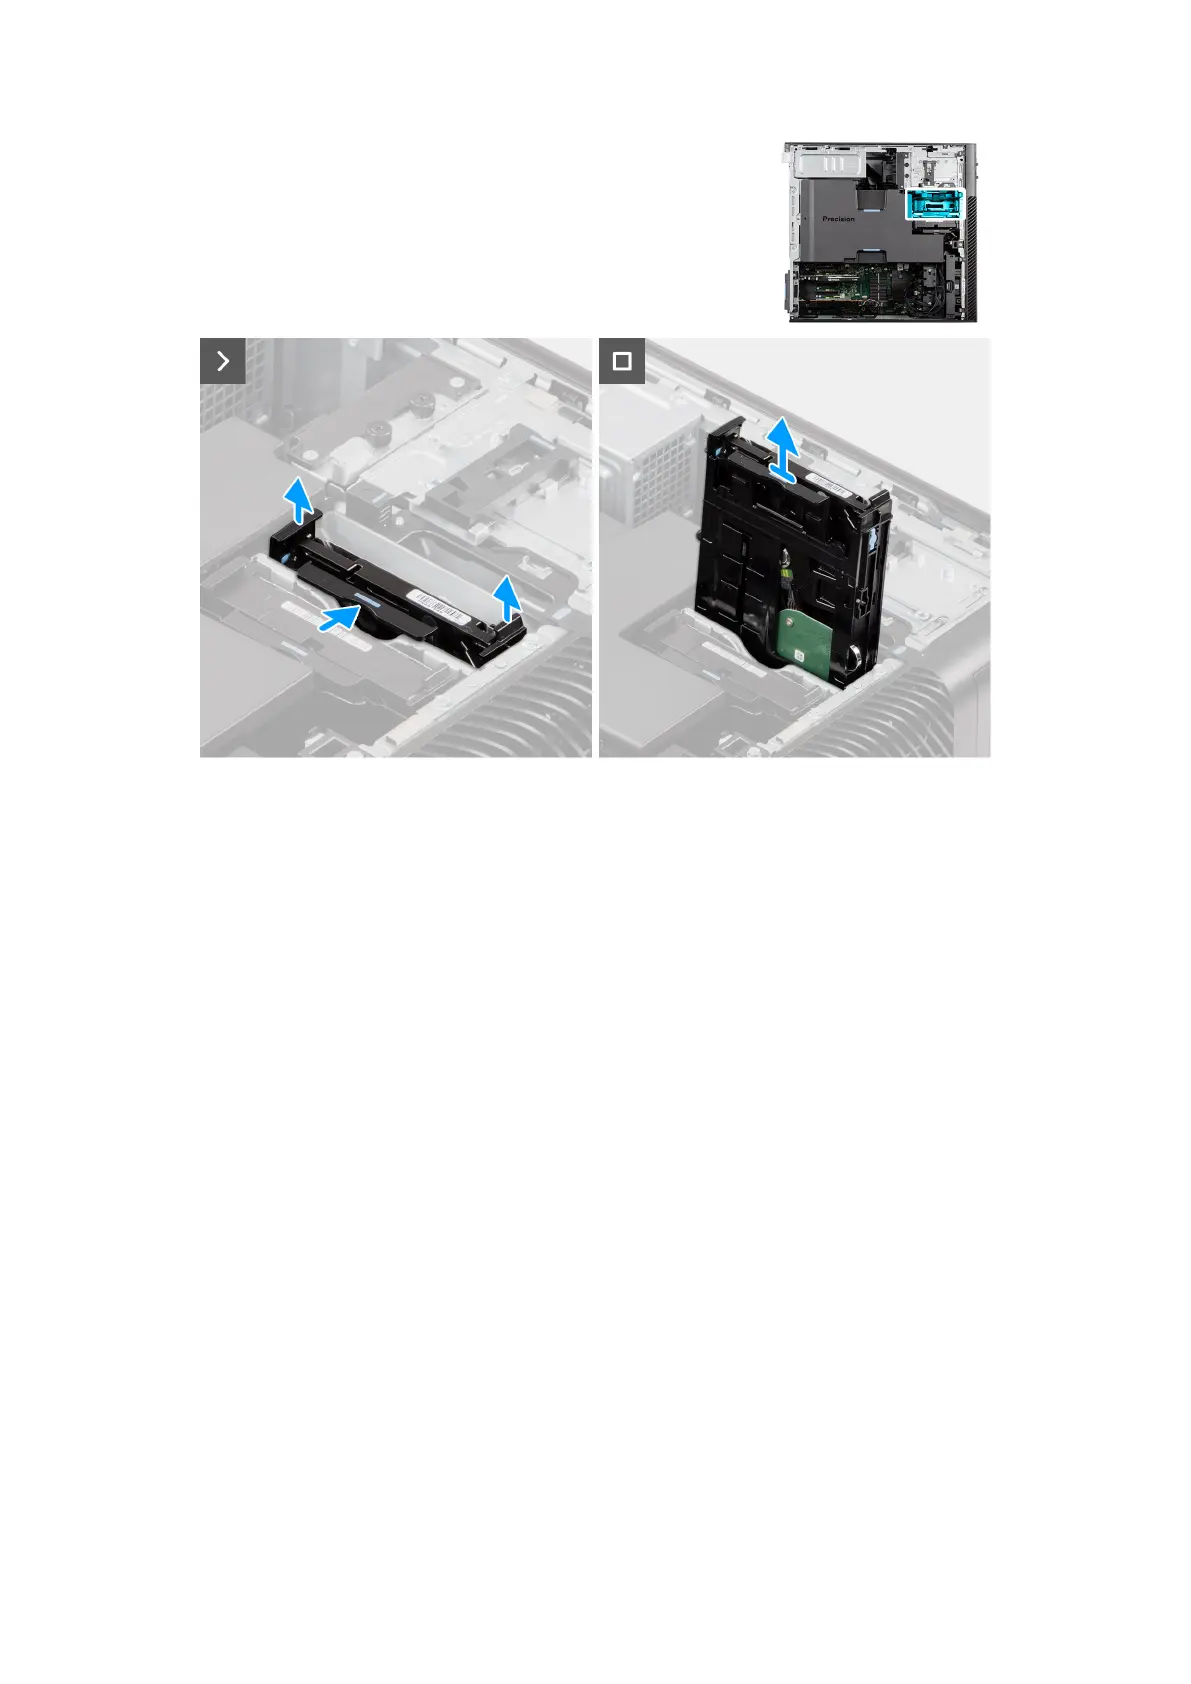
Figure 46. Removing the 3.5-inch hard-drive assembly
Steps
1. Press the securing tabs to release the 3.5-inch hard-drive assembly from the chassis.
2. Slide the 3.5-inch hard-drive assembly out of the hard-drive bracket.
Removing the 3.5-inch hard-drive bracket
Prerequisites
1. Follow the procedure in before working inside your computer.
2. Remove the side cover.
3. Remove the 3.5-inch hard-drive assembly.
About this task
The following images indicate the location of the 3.5-inch hard-drive bracket and provide a visual representation of the removal
procedure.
72
Removing and installing Customer Replaceable Units (CRUs)