Figure 112. Removing the power-supply unit
Figure 113. Removing the power-supply unit
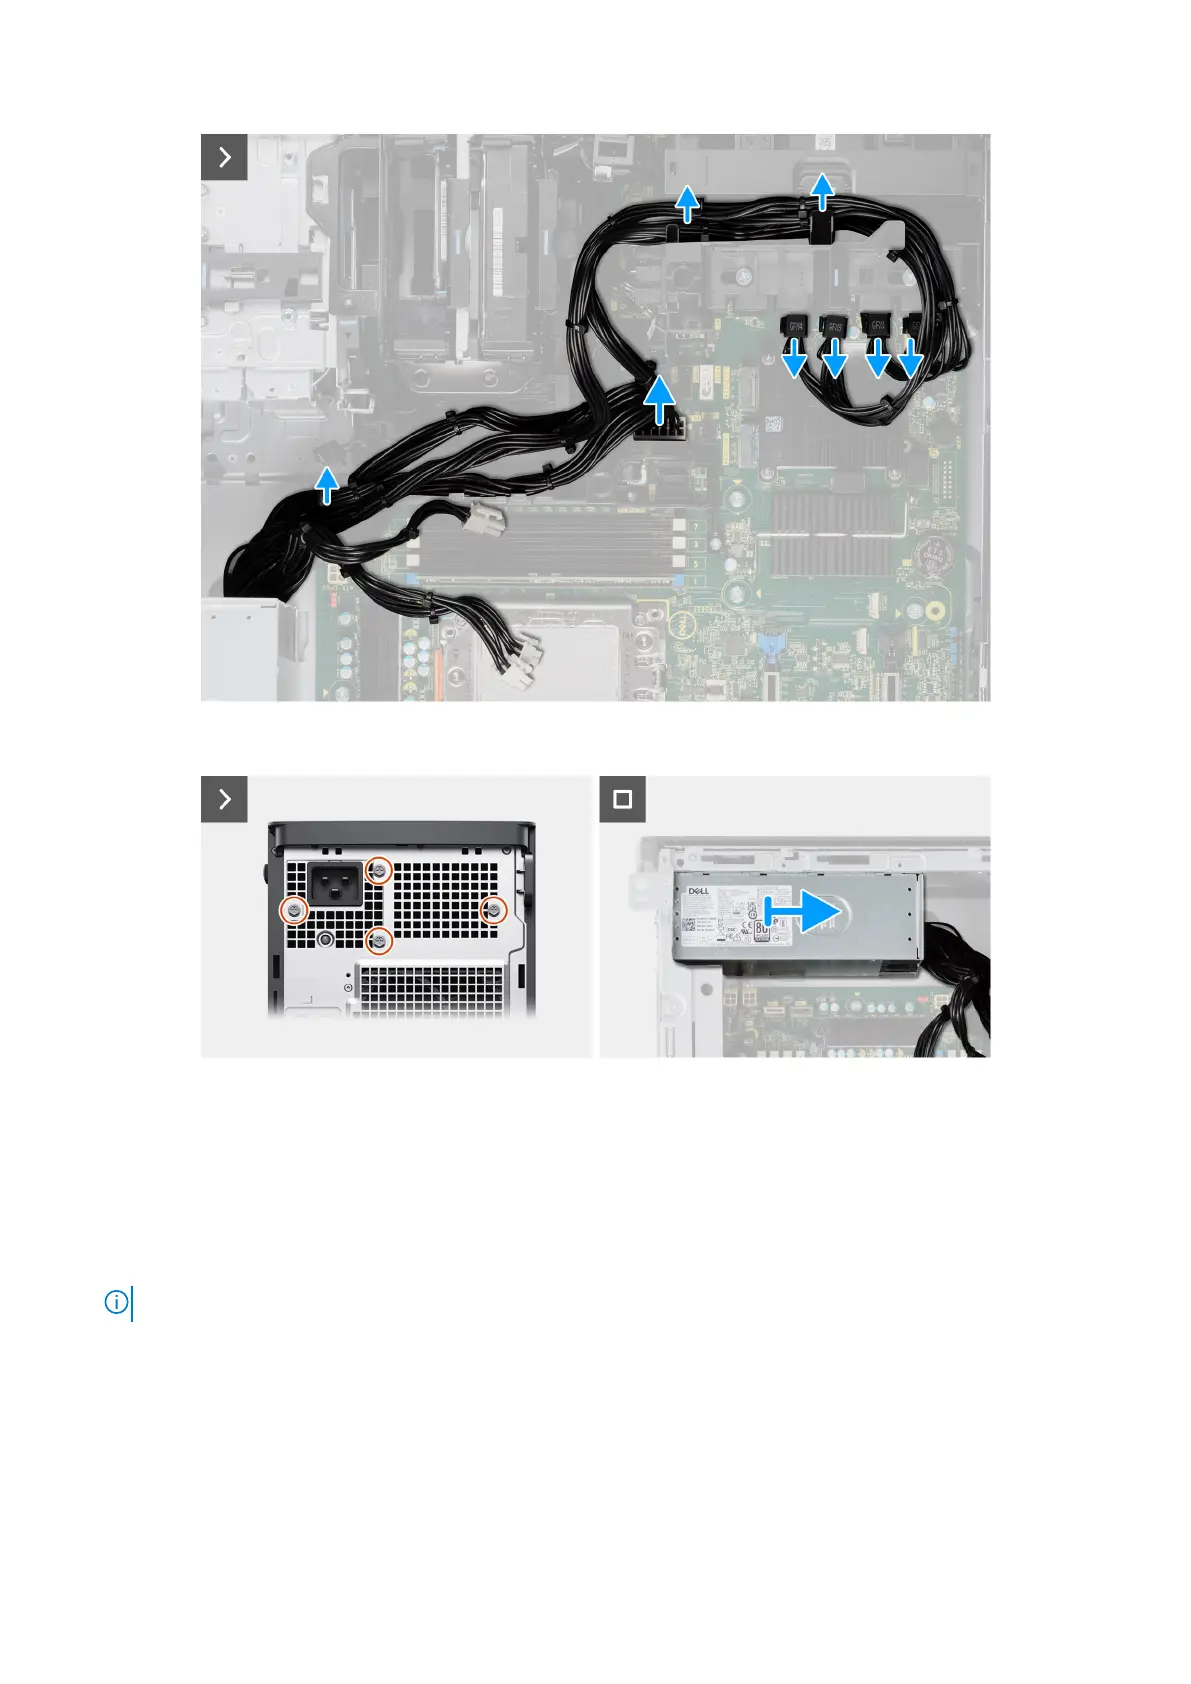
Steps
1. Lay the computer on the right side.
2.
● For 1000 W PSU: Disconnect two of the 4-pin ATX CPU power cables from the ATX CPU1 and ATX CPU2 connectors
on the system board.
● For 1350 W PSU: Disconnect three of the 4-pin ATX CPU power cables from the ATX CPU1, ATX CPU2 and ATX CPU3
connectors on the system board.
NOTE: The location of the connectors on the system-board is described in System-board callouts.
3. Open the clips on the routing guides on the power-supply cover and remove the CPU ATX power-cables from the clips.
4. Remove the two (#6-32) screws that secure the power-supply cover to the chassis.
5. Remove the power-supply cover from the computer.
6. Disconnect the SATA power-cables from the ATX SYS connector on the system board.
7. Disconnect the PCIe power-cables from the PCIe holder.
8. Remove the four (#6x32) screws that secure the power-supply unit to the chassis.
9. Slide the power-supply unit away from the back of the chassis.
140
Removing and installing Field Replaceable Units (FRUs)