20140704#1.0 EBS Ink Jet Systeme
19
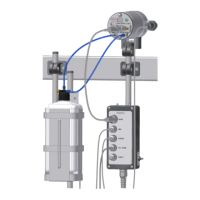
Installing and Replacing Ink Container
See figure
.
Installing Ink Container in the Printer
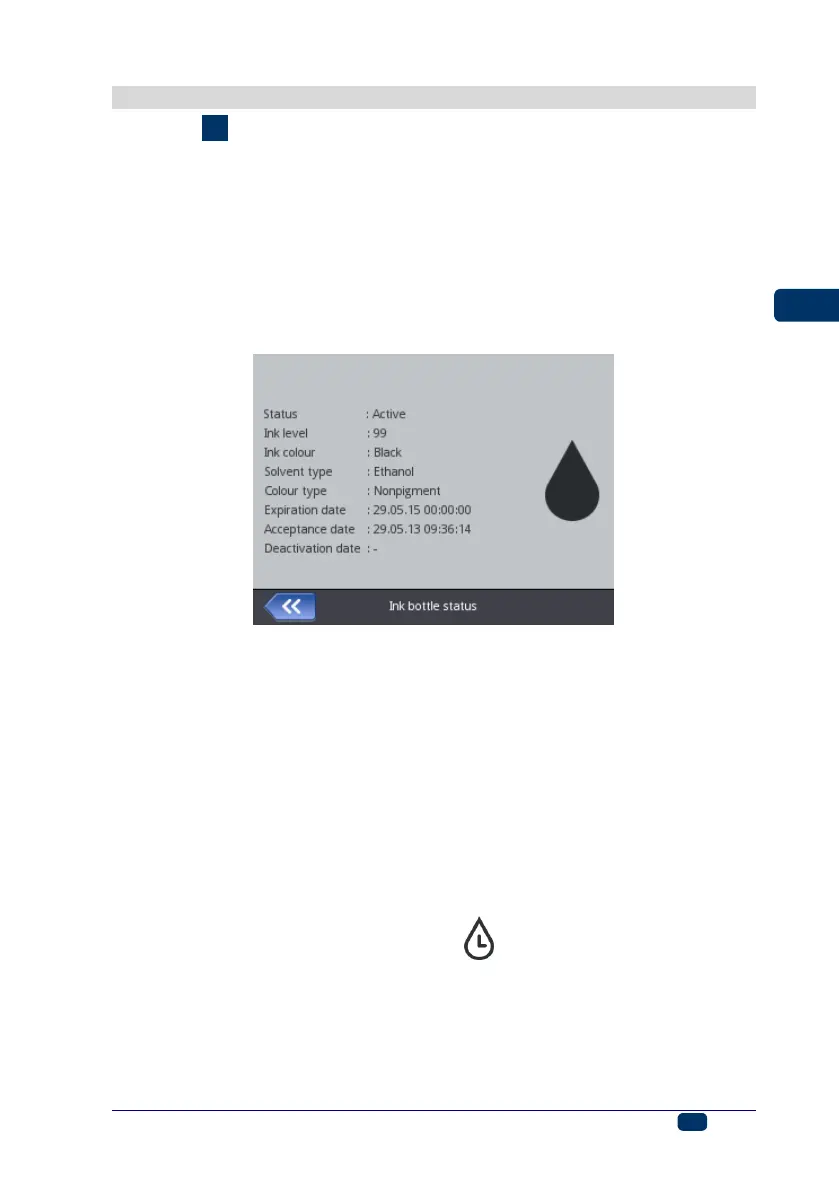
Every ink container is equipped with a transponder that stores the information
on the type of ink and its date of manufacture. The printer has a built-in circuit
that scans the data from the transponder and thereby it helps check whether the
ink used is of the proper quality. The detailed information on ink (the container
fill-in level, the ink color, the type of solvent, the type of dye, the expiration date
for the ink, the date when the container has been accepted) is available after
the drop-shape icon on the main display top bar has been touched.
When the printer is delivered, the ink container is detached. Follow the steps
below in order to install the container:
1. Remove the container from packing 13.
2. Position the container 13 relative to the back part of the printer so that the
triangular mark on the container is directly opposite the printer middle line 27
and that the printer's pin goes into the container's non-return valve opening.
3. Press the container against the printer and turn it clockwise by 270
degrees.
The a new container is accepted, the following message is displayed: New ink
container successfully accepted.
Should problems with the acceptance of an appropriat and correct container occur,
the service staff can make temporary acceptance of such a container possible (for
50 hours) – see Unlocking Options (p. 71). The information on such a temporarily
accepted container appears in the form of the icon (F) on the status bar.