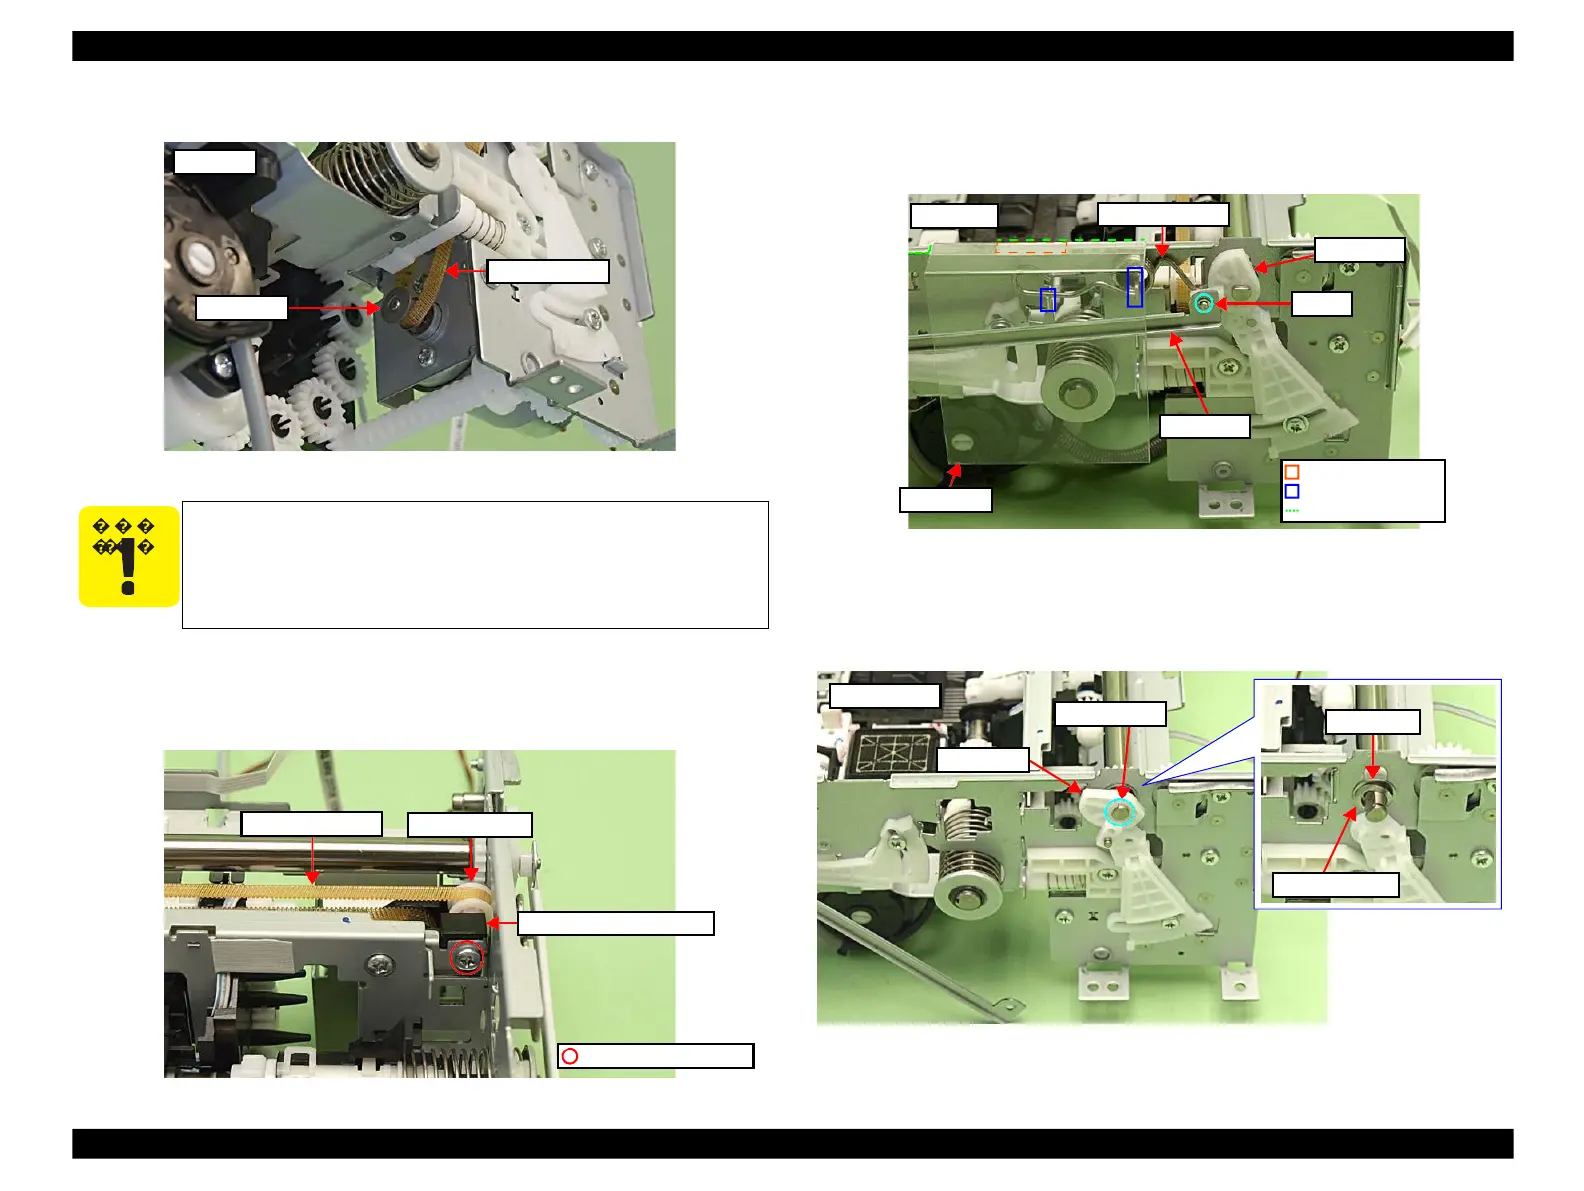
4.
Detach the CR Timing Belt from the CR Motor.
Figure 4-130. Removing the CR Timing Belt
5.
Remove the screw (x1) that secures the Driven Pulley Timing Assy, and
remove the Driven Pulley Timing Assy. (See Fig. 4-131.)
6.
Remove the Driven Pulley from the Driven Pulley Timing Assy, and remove
the CR Timing Belt.
Figure 4-131. Removing the Driven Pulley Timing Assy
7.
Remove the Frame Sheet from the Main Frame.
8.
Remove the E-ring and remove the PG Lever R. (See Fig. 4-132.)
9.
Remove the Torsion Spring R.
Figure 4-132. Removing the Carriage Unit (1)
10.
Remove the securing ring that secure the PG Cam R and remove the PG Cam
R. (See Fig. 4-135.)
11.
Remove the Flat Washer and the Spring Washer.
Figure 4-133. Removing the Carriage Unit (2)
 Loading...


