12.
Remove the E-ring and remove the PG Lever L.
Figure 4-134. Removing the Carriage Unit (3)
13.
Removing the Torsion Spring L. (See Fig. 4-135.)
14.
Remove the securing ring that secures the PG Cam L and remove the PG Cam
L.
Figure 4-135. Removing the Carriage Unit (4)
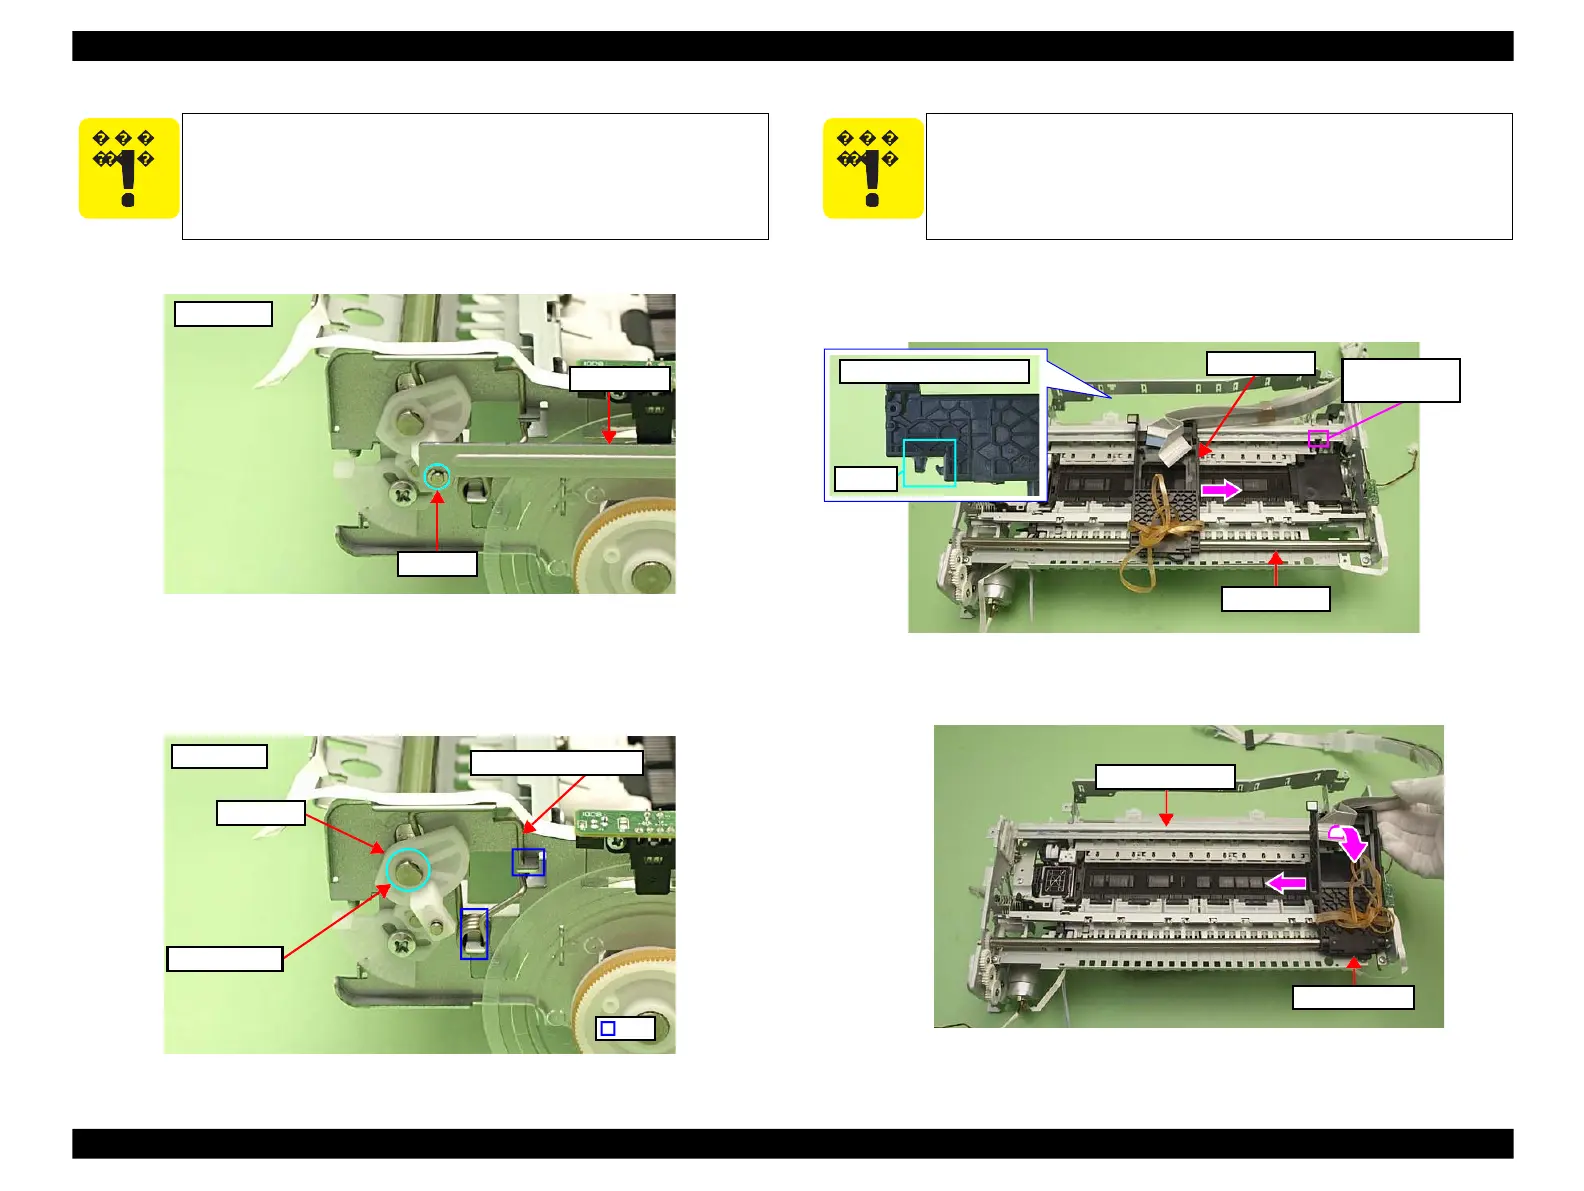
15.
Move the Carriage Unit to the 80 digit side, and lift the Carriage Unit at the
cutout of the CR Guide Plate, and remove the point A on the rear of the
Carriage Unit from the CR Guide Plate.
Figure 4-136. Removing the Carriage Unit (5)
16.
Move the Carriage Unit to the center.
Figure 4-137. Removing the Carriage Unit (6)
 Loading...


