Epson Artisan 800/Epson Stylus Photo PX800FW/TX800FW/Epson Artisan 700/Epson Stylus Photo PX700W/TX700W
Adjustment Items and Overview
https://www.manualsbooks.com
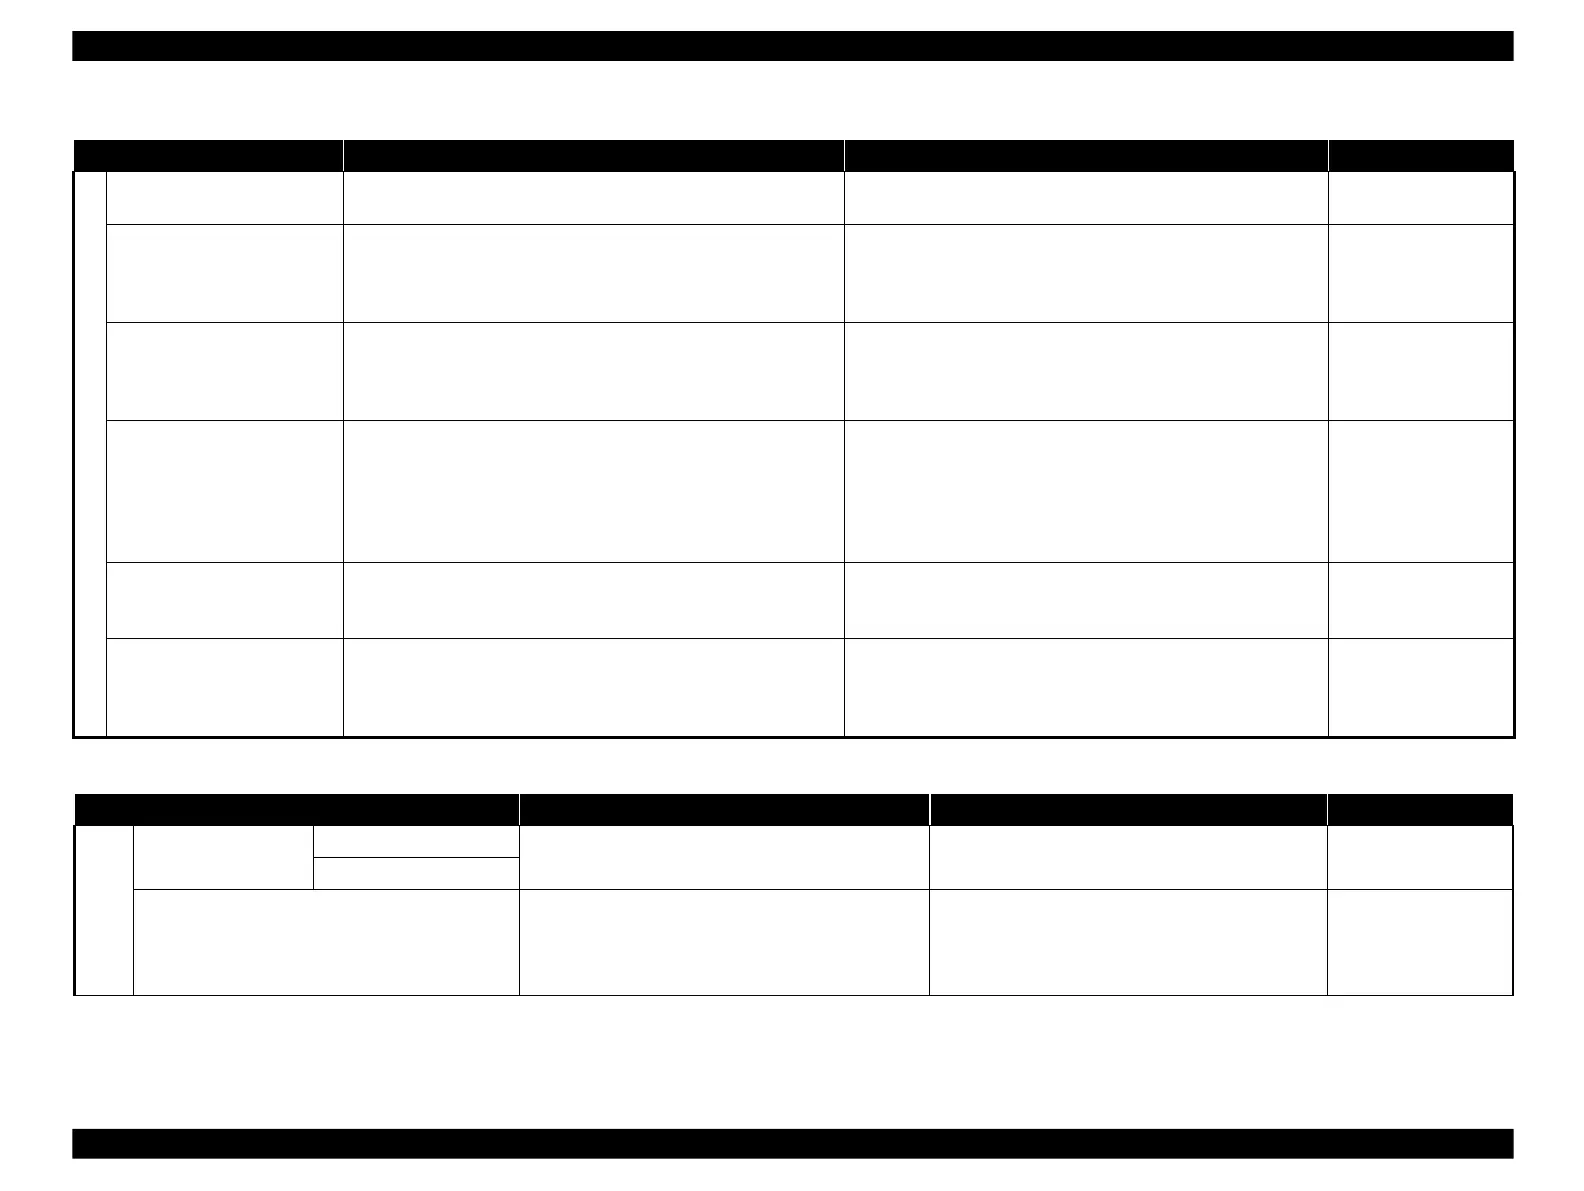
Table 5-2. Maintenance Items
Run this cleaning when dots missing is observed on an adjustment
pattern printed by the adjustment program.
Perform a head cleaning using the adjustment program, and print
a nozzle check pattern to see if all the nozzles fire ink properly.
To minimize the amount of ink spilling when removing the
printhead, discharge ink in the ink tube via the Ink System (Cap)
out of the printer.
After removing the Waste Ink Tray Assy, select “ I/S
Decompress” from the menu of the adjustment program, and
operate following the instruction of the program. See 5.4.1 “ I/S
Decompress (p244) ”.
This must be carried out after replacing the Printhead in order to fill
ink inside the all nozzles of the new ASP Printhead.
After installing the Waste Ink Tray Assy, perform an ink charge
using the adjustment program, and print a nozzle check pattern to
see if all the nozzles fire ink properly. The auto cleaning is also
settable.
Consumables maintenance
counter
The printer causes a maintenance error when the waste ink pad
counter reaches its maximum. Use this to reset the counter after
replacing the Waste Ink Pad. If you find the counter is close to the
maximum during servicing, carry out the pad replacement and the
counter reset to avoid the printer returned from the user due to the
maintenance error.
Replace the waste ink pads (Waste Ink Tray Assy/Lower Paper
Guide Waste Ink Pad Assy), and reset the counter to the default.
Initializes the CD-R print counter when replacing the CDR tray to
reset
the
correction
value
for
the
CDR
tray
’
s
deterioration
applied
according to the CD-R print counter.
Initialize the CD-R print counter using the adjustment program.
Resets the AID SHK error counter to confirm the cause is on either
of AID board, the printhead or any other part when a fatal error
related to AID (AID SHK error) occurs. This cancels the fatal error
to specify the error part.
Initialize the AID SHK error counter and troubleshoot the error
part. See 5.4.2 “ AID SHK Error Reset (p245) ” .
Table 5-3. Additional Functions
Final check pattern
print
To check if all the adjustments have been properly
made.
Select the target menu from the adjustment program
and run it.
Use this to readout the EEPROM data for analysis.
Read out all the data stored on the EEPROM and
save it as a file.
 Loading...


