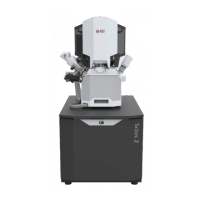
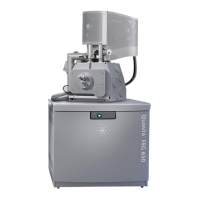
Operating Procedures: Microscope Control
C O N F I D E N T I A L – FEI Limited Rights Data5-8
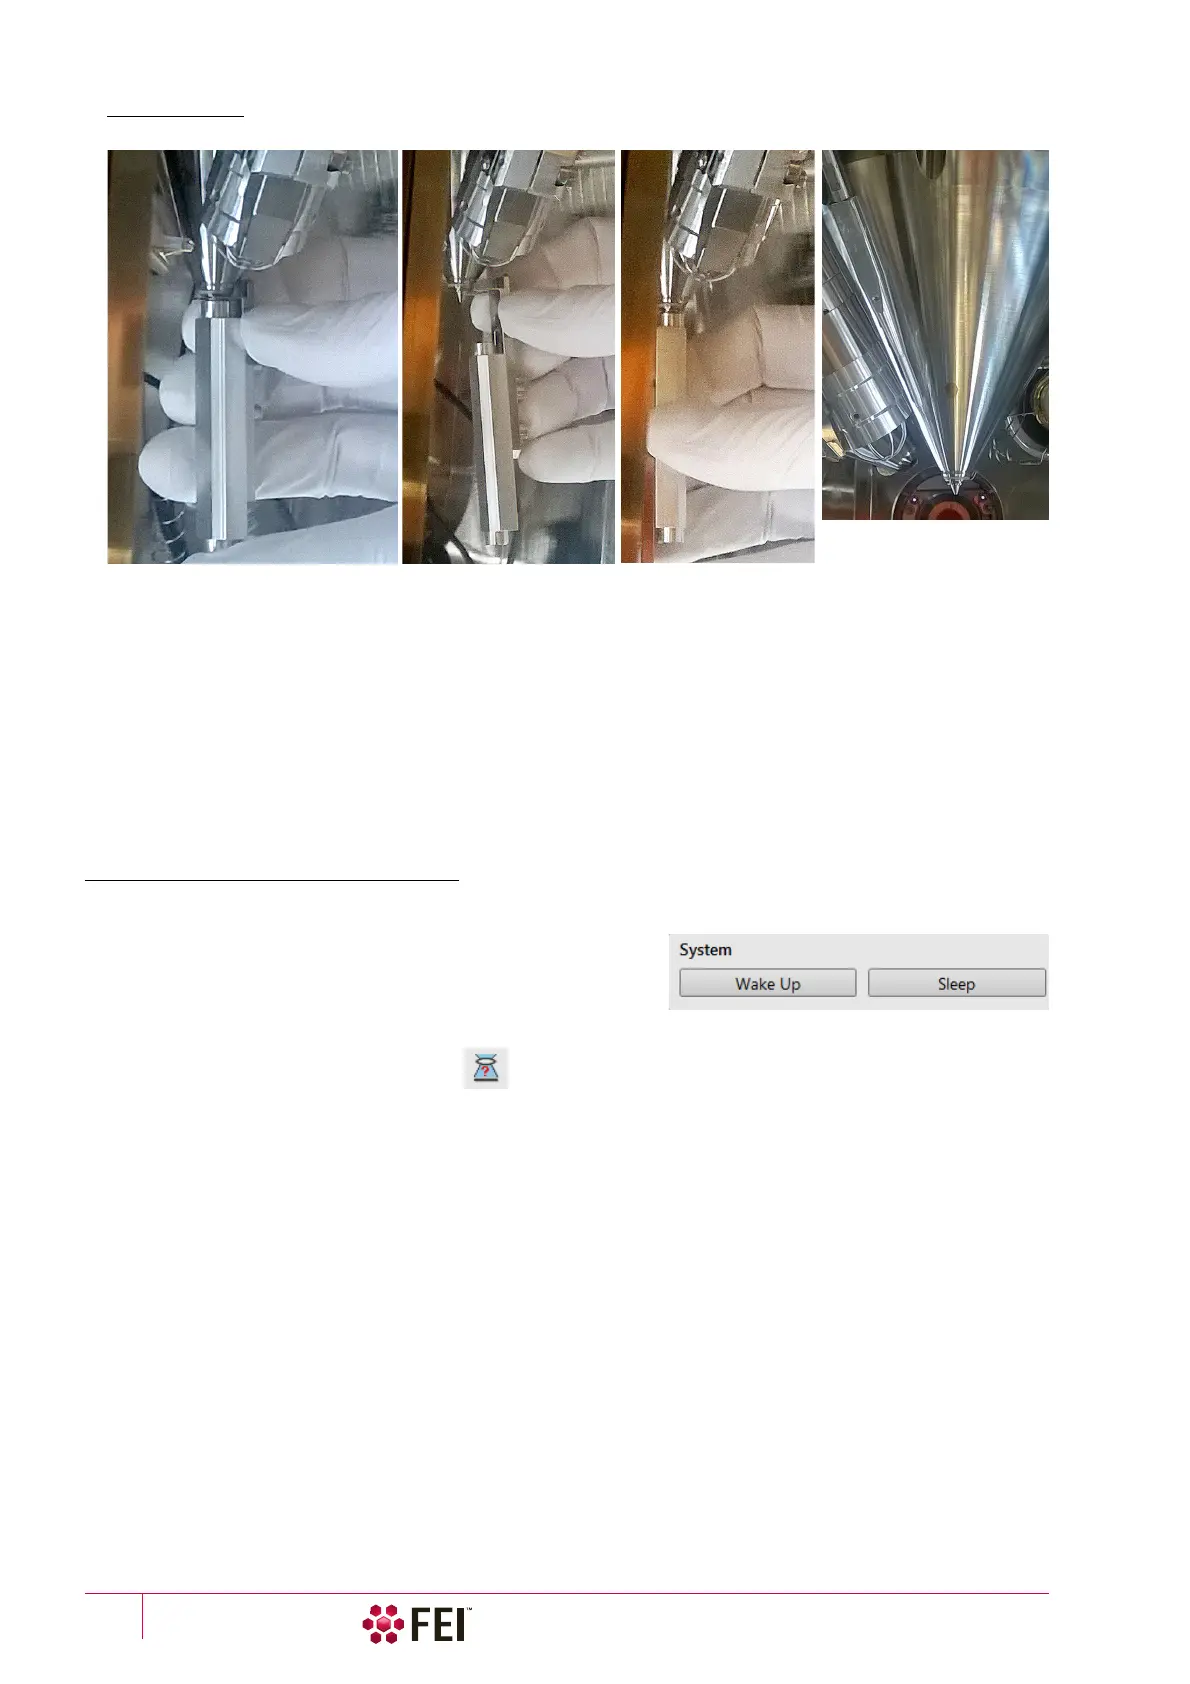
FIGURE 5-5 X-Ray Cone mounting Procedure
To mount the X-Ray Cone follow the procedure:
5. Push the cone attached in the tool to the final lens pole in its axis direction.
6. Release the arresting screw, slide the working part down and pull the tool to the side.
7. Turn the tool by 180° and push the cone again to ensure it is sealed well.
To dismount the cone follow steps 5. and 6. in reverse.
Note
Do not touch the cone or the mounting tool by hand. Store it attached to the mounting tool in a clean plastic bag.
8. Select an appropriate cone and click the Vacuum module / Pump button. While pumping, choose the highest
specimen point and bring it to the 7
mm Working Distance (yellow line in CCD display).
Imaging Onscreen
Continue the procedure:
9. When the vacuum status is PUMPED (see the Status bar), click
on the System module / Wake Up button to ramp up the
electron / ion beam acceleration voltage.
10. Select an appropriate column Use case and the detector and
resume the active display, where an imaging appears.
11. Focus the imaging and Link Z to FWD.
12. Adjust to a suitable magnification, optimize the imaging using the Contrast & Brightness, Focusing, Astigmatism
Correction etc.
5.
6.
7.
X-Ray cone installed