Operating Procedures: Patterning
C O N F I D E N T I A L – FEI Limited Rights Data5-52
Gas Injection Module (option)
Patterns have many associated parameters, such as the gas that
can optionally be used during patterning to deposit desired
material which is delivered by a Gas Injection System (GIS) on
the sample surface.
As different applications require different gases, there can be
more GIS’s installed on your system. One can select an
Application file for a given pattern in Patterning property editor. It
automatically sets the appropriate GIS, the dwell time and overlap, calculates the proper dose appropriate to the
beam chemistry. A pattern must be defined before the material file is selected.
The GIS can be selected manually, but note that overlap, dwell time and an appropriate gas type should be set
carefully to avoid disappointing results.
Setting up the GIS
The
Gas Injection
module enables to control installed GIS’s. A
Gas
type is allocated to each GIS (several injectors may be mounted
according to the configuration,
its color depends on the gas type
).
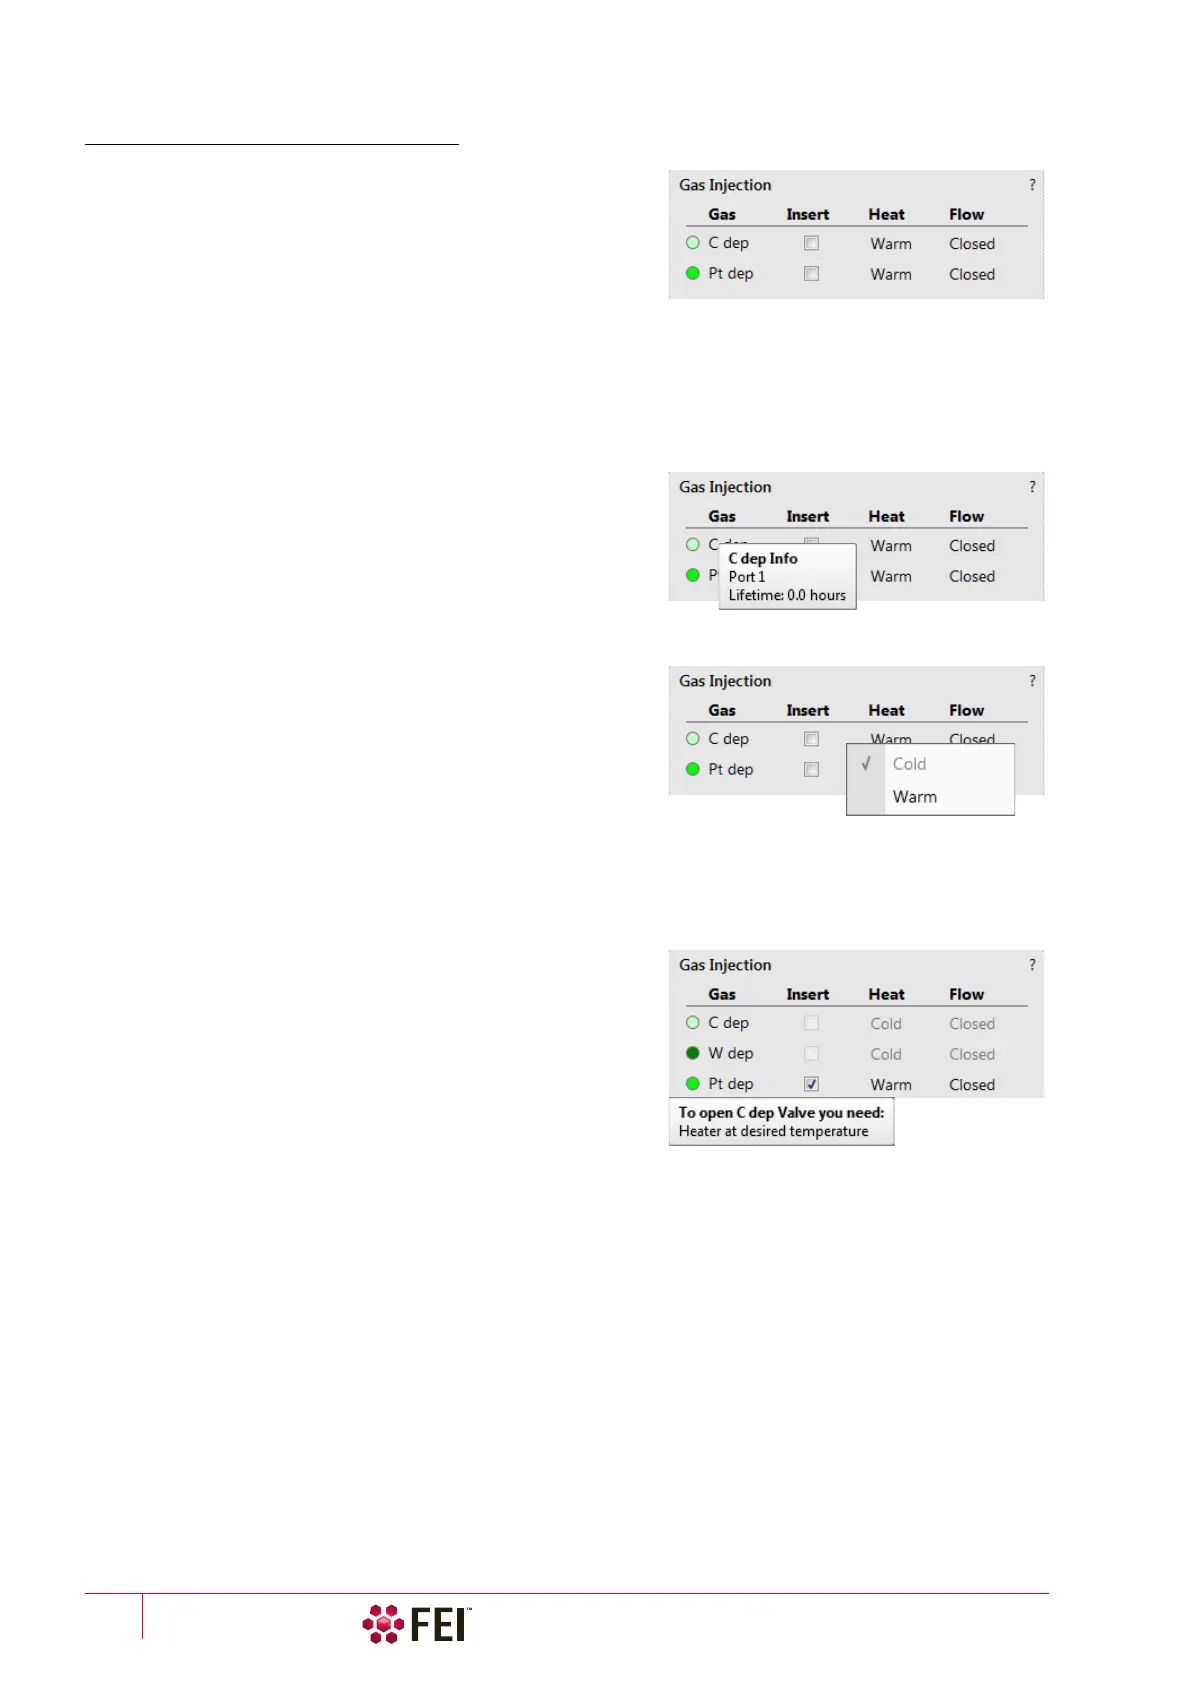
A tool tip info is given about the selected GIS line:
• Port # – GIS connection position
• Lifetime – time of GIS employment
A right-clicking on the installed GIS module line opens a context
menu.
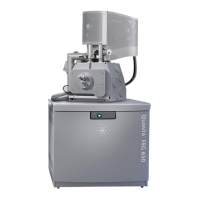
Before the patterning with the GIS starts, the gas reservoir must
be heated by selecting the Heat column context menu / Warm
item. The Cold status is replaced by a progress bar, which in turn
is replaced by the Warm status when the GIS is fully heated. To
cool down a reservoir, proceed in reverse order.
To insert the GIS needle manually click on the Insert check box (a
tick mark). A confirmation dialog appears. Clicking on the Insert
check box again retracts (clear box) the GIS.
Caution!
Confirm the insertion if you know there is nothing obstructing its travel.
Beware of stage moves while GIS is inserted! The GIS needle can be damaged by incautious stage movements!
To open / close the GIS valve click on the Flow column / Closed /
Open status. This will not be possible until the Heat column /
Warm status is reached.
Note
If any Property tab module / Gas Type is chosen, the opening /
closing of GIS valves is done automatically during patterning.
Some conditions must be fulfilled before the insertion is enabled,
user is notified by a tool tip.
When not in use, the GIS should be closed (to save lifetime), cold
and retracted. Leaving it closed, heated but retracted is also an option so that reheating is not necessary if it is to be
used over several patterns.
Caution!
Logging off an actual user does not change conditions of GIS’s.
It can be Warm, In and Opened even if the Microscope Control software is closed!
When the vacuum status is vented, GIS needles are retracted automatically. In spite of that retract it/them manually
before you start any activity inside the chamber (specimen exchange, detector mounting etc.).