System Options: I-Beam Charge Neutralizer
C O N F I D E N T I A L – FEI Limited Rights Data7-32
I-Beam Charge Neutralizer
The FEI Charge Neutralizer uses a low energy electron beam to
control charging induced by the ion beam. This allows imaging
and patterning of non-conductive materials and reduces
electrostatic discharge-related sample damage (by spreading
electrons on the sample).
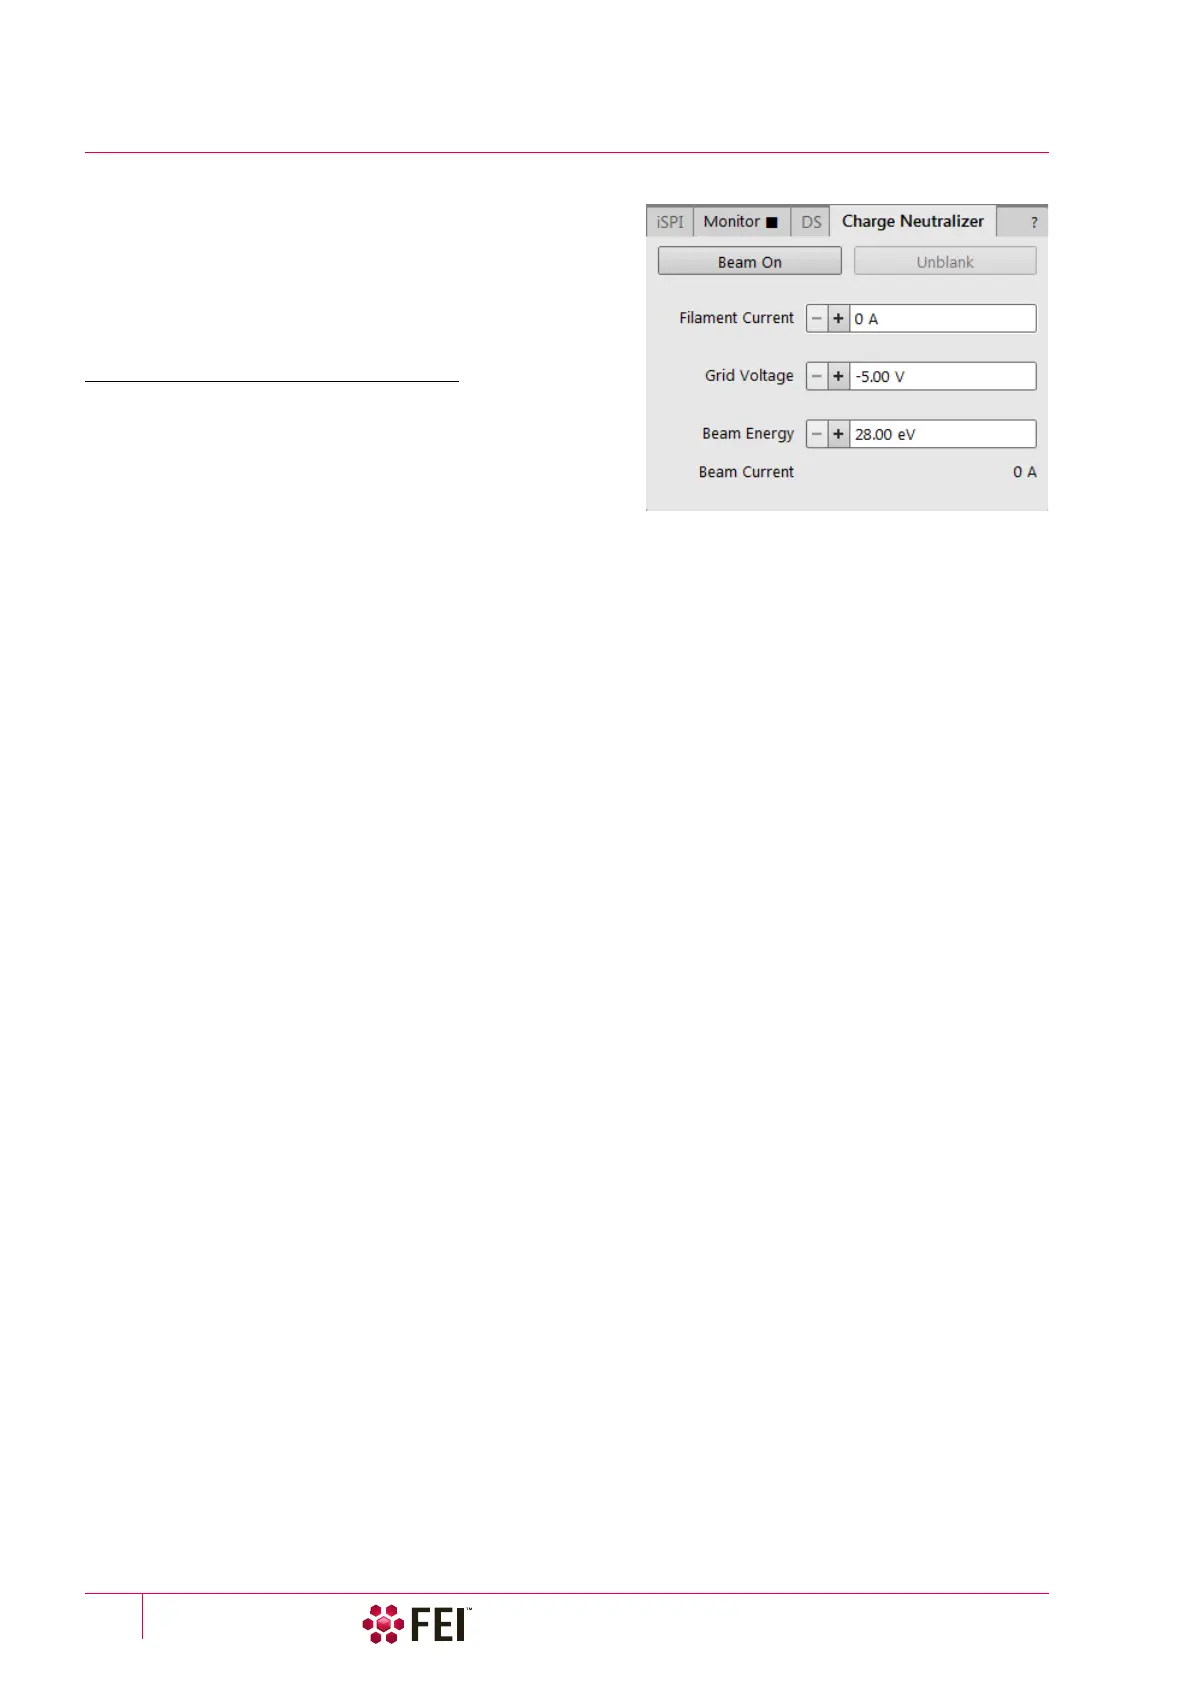
Using Charge Neutralizer
All controls are placed within the Patterning page / Advanced
Patterning Charge Neutralizer tab module. Values can be
adjusted even while the beam is off in the ranges:
• Filament current: from 0 to 1.43 A
• Grid voltage: from -5 to +5 V
• Beam energy: from 28 to 200 eV
1. Verify whether the correct detector / detector mode is selected to enable the Charge Neutralizer operation:
• ET detector – recommended to use with negative Grid Voltage values (Custom mode). Positive Grid Voltage
values are enabled, but detector can be saturated.
• ICE detector – recommended to use in Secondary Ion mode / with negative Grid Voltage values (Custom mode).
Positive Grid Voltage values are enabled, but detector can be saturated.
2. Click on the Beam On button to switch the Filament Current on (the filament is heated and starts to generate
electrons).
3. Start the charge neutralizer by clicking on the Unblank button. The Grid Voltage is now applied to the grid and (in
case of a positive voltage), electrons will be spread via the grid on to the sample.
4. Optimize imaging by adjusting the values.
5. Click on the highlighted Beam On button to turn the Charge Neutralizer off.
The software waits for the filament to cool before enabling to vent the chamber which takes about 7 minutes.
Finding the Optimal Operation Range
• Before adjusting the filament current or beam energy settings, adjust the Grid Voltage until the sample is no
longer charging (no drift or flash). Start with the voltage at -5 V, then slowly increase the value until the image
stabilizes.
• Filament Current Initial value – should be about 1.15 A
• Beam Energy Initial value – should be about 100 eV
• Beam Current value – shows the actual compensating current value
Note
The Filament current should be kept at an acceptable minimum to extend the filament lifetime.
If neutralization cannot be reached at these values, first increase the beam energy, then adjust the filament current
if necessary.
It is advisable to adjust settings after any change of the following:
• Samples
• Magnification
• Scan conditions
• Ion beam current
Otherwise, if conditions and sample types remain constant, you should only have to fine-tune your initial
successful settings.
The last settings are stored and can be recalled when switching the Charge Neutralization off / on and also after
exiting UI software.