○○○○○○○○○○○○○○○○○○○○○○○○○○○○○○○○○○○○○○○○○○○○○○○○○○
2•68 User Guide
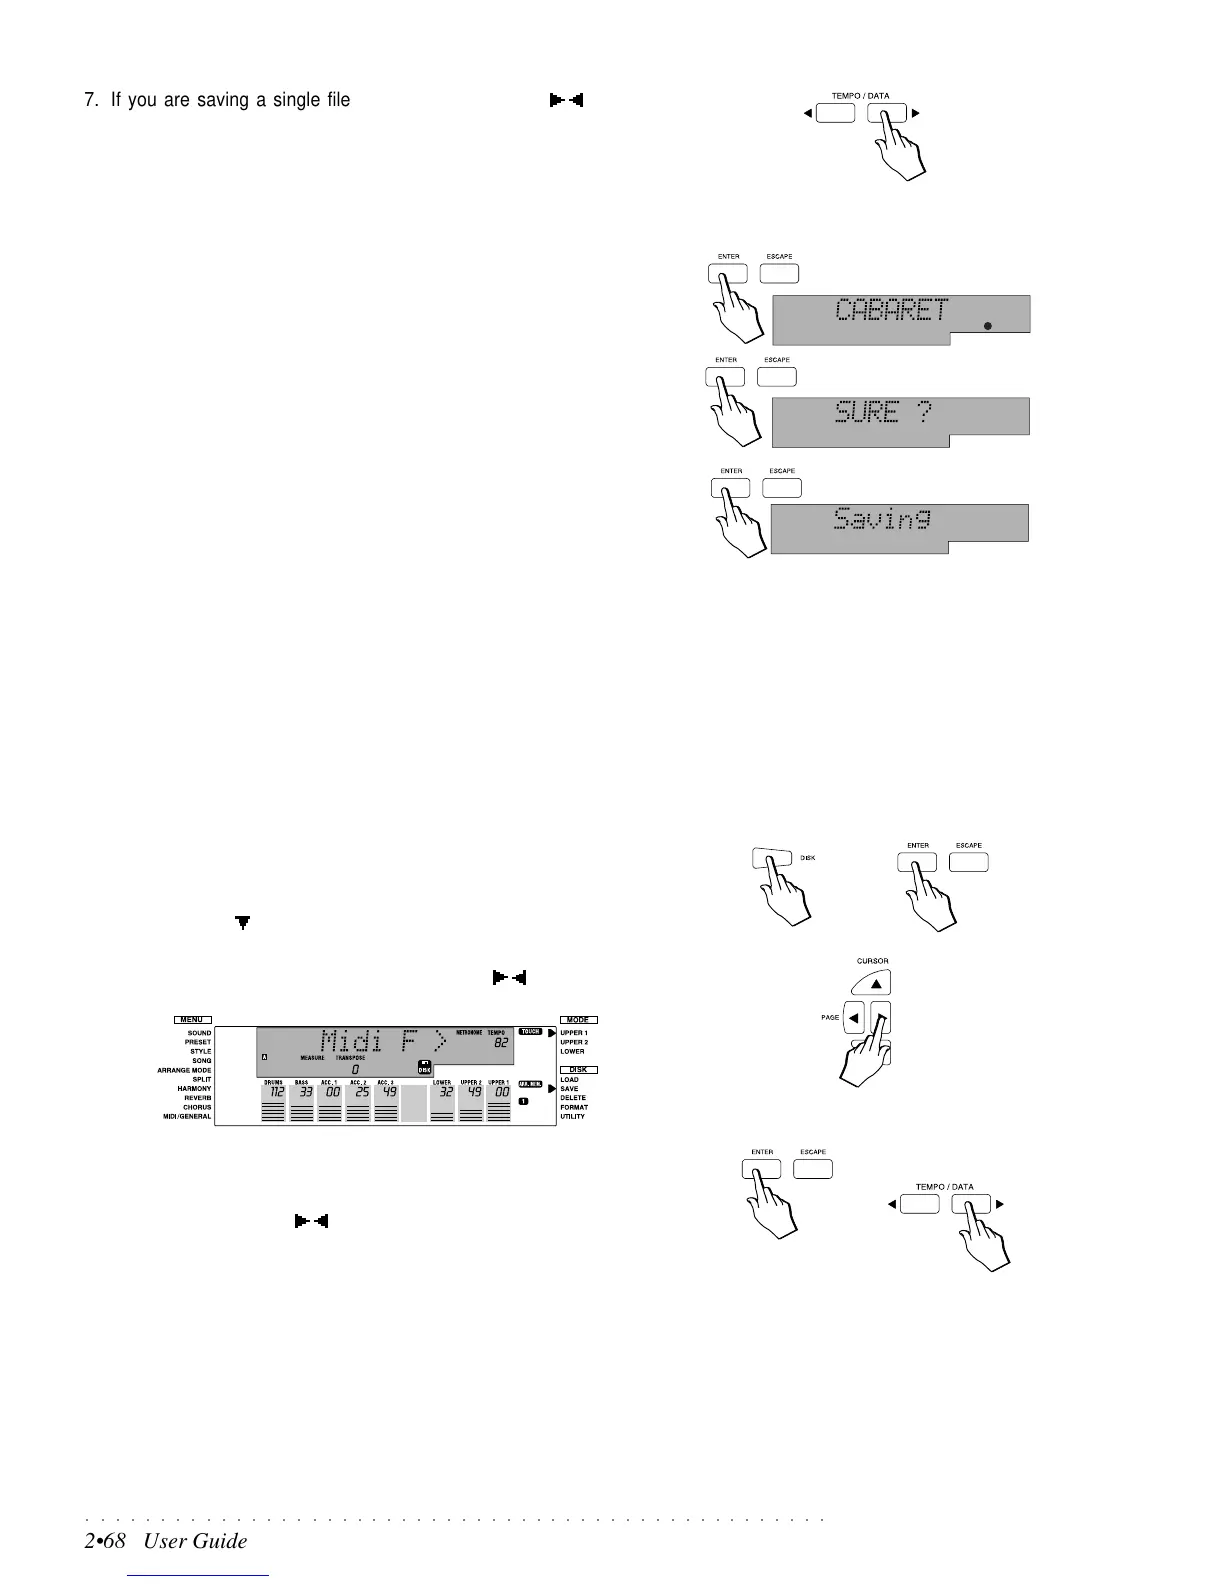
7. If you are saving a single file, use the TEMPO/DATA / buttons to
scroll through the files until you find that one that you want to save.
The first letter of the file name will continue to flash.
If you want to write a different name for the file, use the keys of the
keyboard to enter characters and the Tempo/Data buttons to move the
flashing cursor. (See “Text Entry” on page 1.6 of the Quick Guide).
If you want to save with the same name, proceed to the next step.
8. With the new or old file name showing, press ENTER.
A small flashing black circle appears to indicate that the file is ready to be
saved to disk. (At this point, it is still possible to change the name).
9. Press ENTER again.
The display shows the message SURE?
If the partition you are saving to contains a file with the same name, the
display will show the message, OverWrt?. If necessary, write a different
name to avoid overwriting the existing file with the same name.
10.Press ENTER to save the file to the partition.
Saving MIDI Files to a Hard Disk partition
If you want your Songs to play on instruments of other manufacturers, or on
computers, you must save them as MIDI Files on disk (Ms-Dos or Atari format).
PS1300 saves Format 0 MIDI Files. Saving MIDI Files to Floppy Disk is ex-
plained on page 2.30 of the Disk chapter.
You can take advantage of the vast Hard Disk storage space to save your MIDI
Files and so create an organized library of MIDI files. Then, whenever re-
quired, you can quickly transfer your preferred Midi Files to MS-Dos formatted
Floppy disks using the Hard Disk copy features (under the Hard Disk UTILITY
menu). The various File Copy functions are explained on page 2.72 of this
chapter.
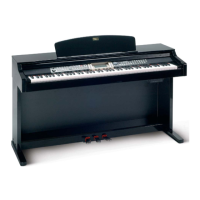
1. Press the DISK button once (or twice if a disk is inserted in the drive) to
enter the Hard Disk, select a Partition and press Enter to gain access, as
already explained in the Load and Save examples on the previous pages.
2. Use the Cursor
button to select the SAVE Disk Menu function.
3. To convert a PS Song into a MIDI File and save it to a Hard Disk parti-
tion, select the “Midi F” file type using the PAGE / button.
4. Press ENTER to gain access to the PS Song files that can be saved as
Midi files.
5. Use the TEMPO/DATA
/ buttons to select the Song that you wish to
save as a MIDI File then proceed as explained in steps 8, 9 and 10 in the
example at the top of this page.
Whether or not you use the same file name, it will be saved as a MIDI file
and the “.MID” extension will be added to the name automatically.
Saving Song Styles
If you want to save Song Styles to a Hard Disk partition, you can only use the
Save All command, because Song Styles utilize several different sections of
the instrument at the same time.