LumaSMART
®
User Manual Using the Software • 60
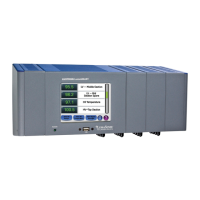
6. Verify the settings for the specific model configuration of the LumaSMART and press Next. Shown below
is:
• 16 Channel (4 FOT @ 4 Channels each)
• 16 Relay (2 Relay cards @ 8 Relays each)
• 4-20mA/0-1mA Configuration of the installed FOT’s
• IO Module should always be set to NO
• Proper communications COMx number associated with each FOT
• Serial Port of type should be RS485. Note this references Txd-/Txd+ pins of the Serial Connector –
NOT the Rxd/Txd pins of the dedicated RS232 port (see Section 4.3.4
Optional Communications
Wiring).
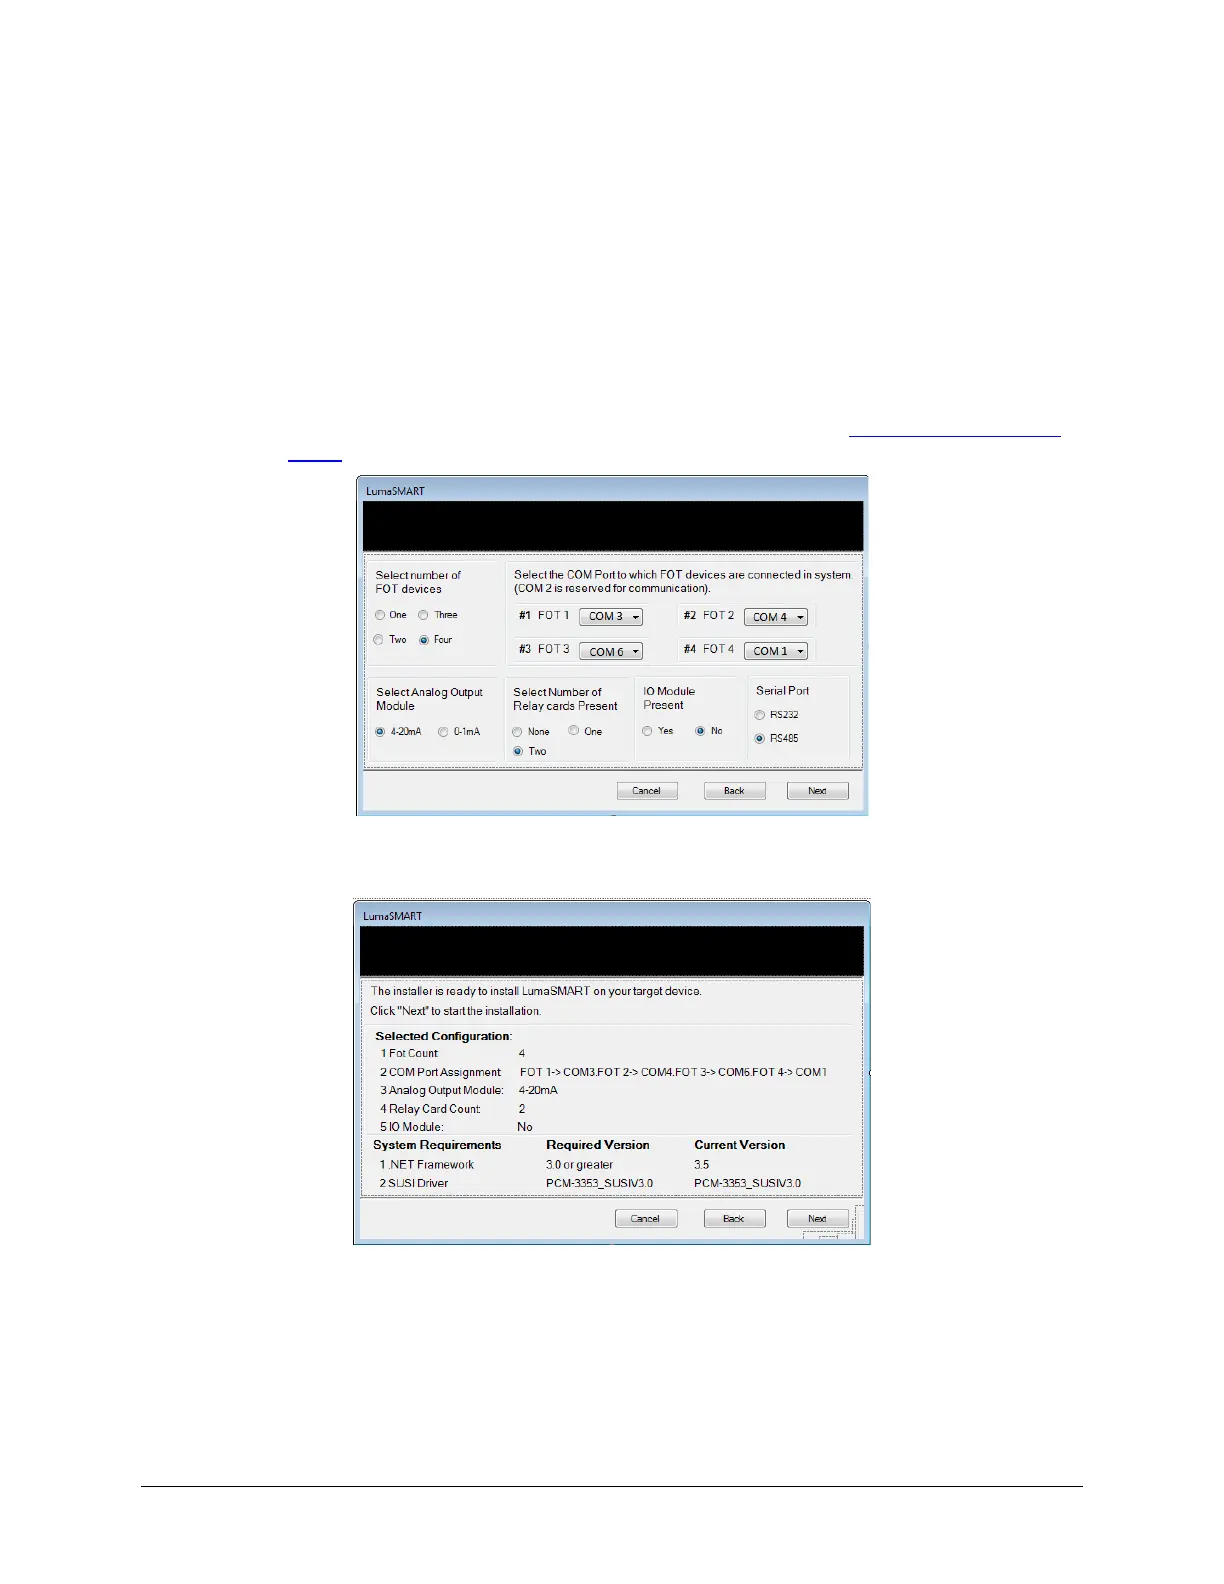
7. When properly configured, press Next.
8. Verify the setting for the configuration and press Next.
9. The next screen confirms ‘Installation Complete’.
10. Press Next, then Finish, and then select Yes to restart.
If the update is unsuccessful or to revert to the previous firmware version for any reason, press Restore.
 Loading...