LumaSMART
®
User Manual DNP3 Protocol Testing • 124
2. Select the Target to Use Command Window target Selection – not ‘mDNP:mDNP’
3. Select the desired channel by setting the Point Number: to its corresponding channel number (Point
numbers 0 ⇒15 are mapped Channel numbers 1 ⇒16).
4. Select the action to take in the Control Code: ‘loff’ to disable. (‘lon’ to enable)
5. Press Once.
6. Verify that the desired Relay changed in the Data View window:
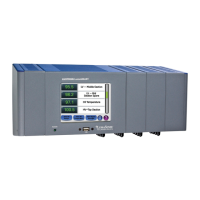
7. Check the LumaSMART display. It should show channel 4 as disabled:
LumaSMART display
8. Set the Control Code to lon and press once to re-enable the channel.
8.6 Analog Inputs
Select the Binary Output Statuses data in the data window:
 Loading...