Chapter 3 Cutting
107
3.5 Cutting the Cutting Data
Check beforehand
• Was the head gap adjusted? "Adjust Print Head Height"(P. 55)
• Were the pinch roller positions adjusted? "Adjust the Pinch Roller Positions."(P. 56)
• Is media loaded? "Load the media."(P. 59)
• Are the pinch rollers configured? "Setting the Pressure and Number of Pinch Rollers to Use"(P. 77)
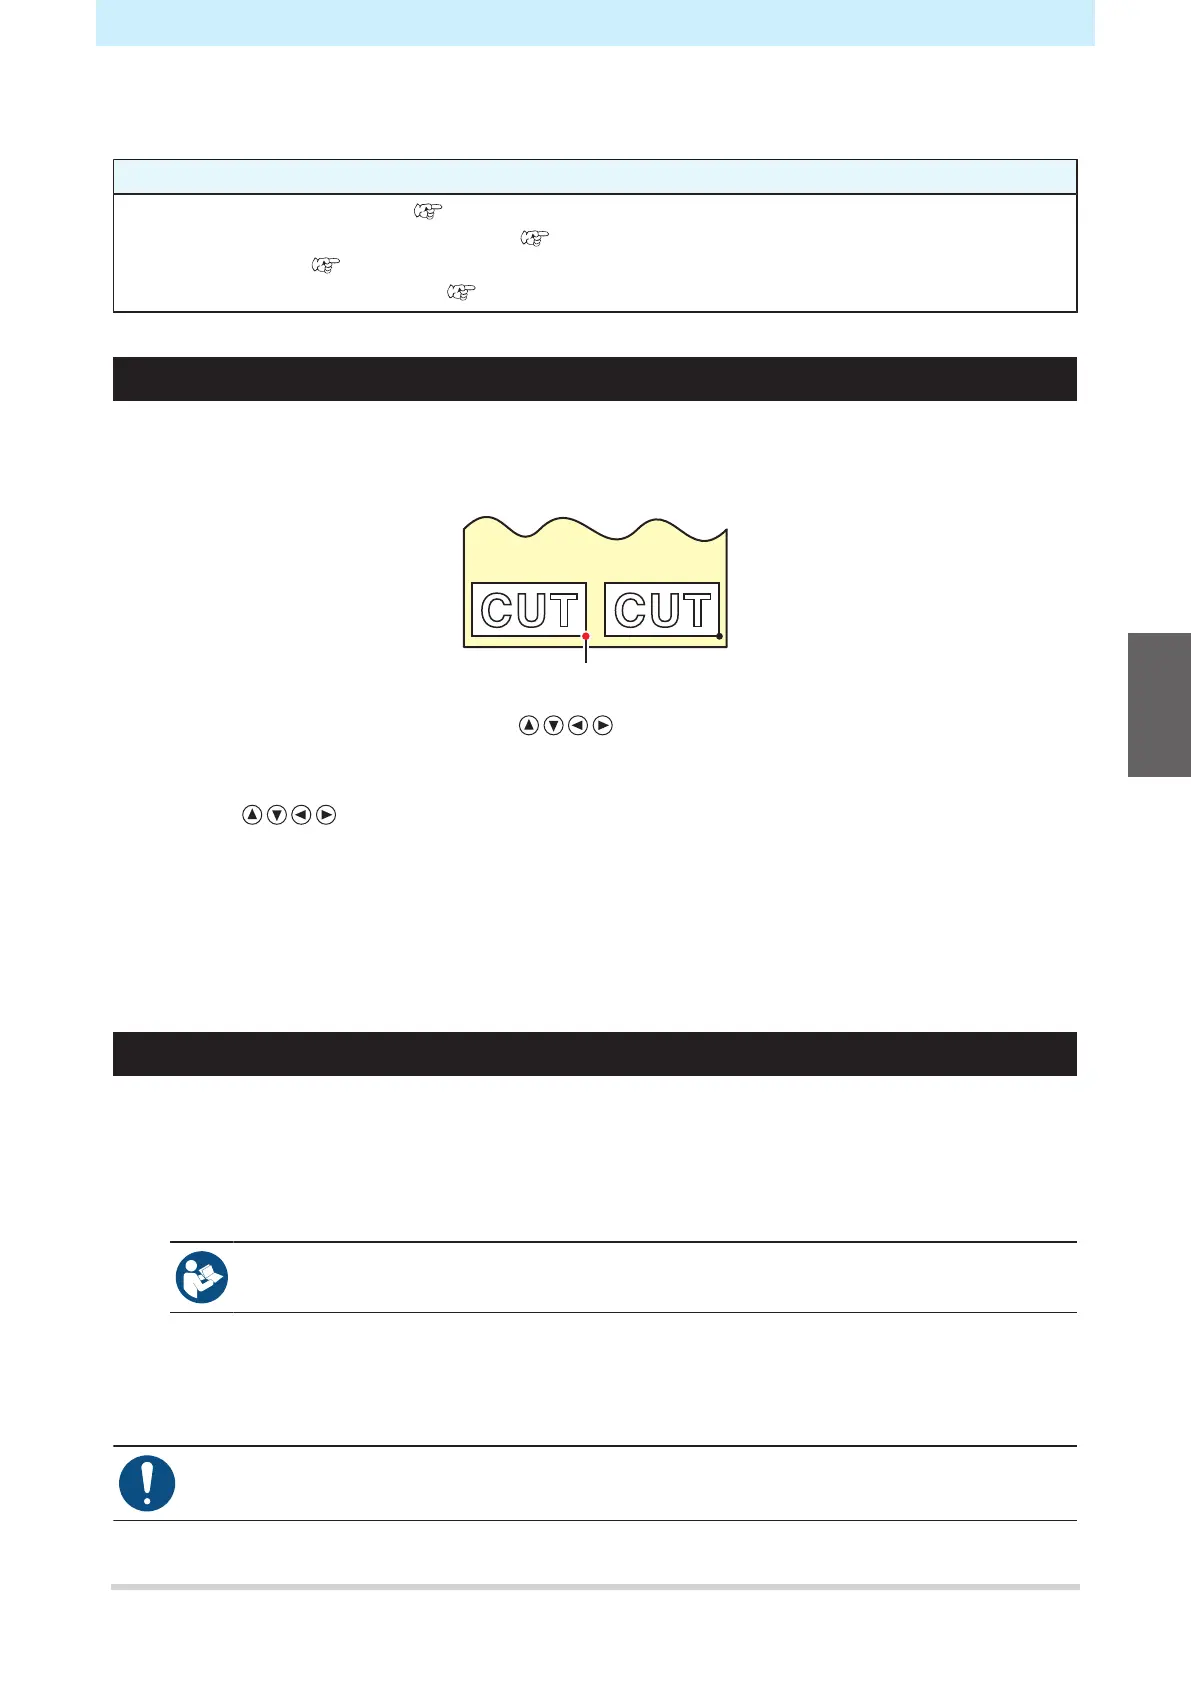
Changing the Origin
You can change the cutting start position. Use the LED pointer to set the origin. The origin set here will be
the origin of the cutting software you are using.
When cutting the same data again, change the origin. If not, cutting starts at the same position.
1
On the LOCAL mode screen, press .
• The Origin Setup screen appears.
2
Press to move the origin to the desired position.
• The carriage moves left and right and feeds the medium.
3
Press the [ENTER] key.
• The origin is updated.
• The set tool conditions are displayed on the display.
Starting Cutting
1
Press [REMOTE].
• The machine switches to REMOTE mode and is ready for cutting.
2
Send the cutting data from the PC.
• For more information, refer to the operation manual of the cutting software you are using.
3
Cutting starts.
• Cutting starts once the cutting data is received.
• The remaining amount of data is displayed on the display.
• If the media moves out of place during cutting, immediately turn off the power. Continuing to cut
while the media is not in place may damage the machine.
3

 Loading...


