Chapter 15 Maintenance and troubleshooting
15.1 Maintenance
F-52, 53, 54, 55 197
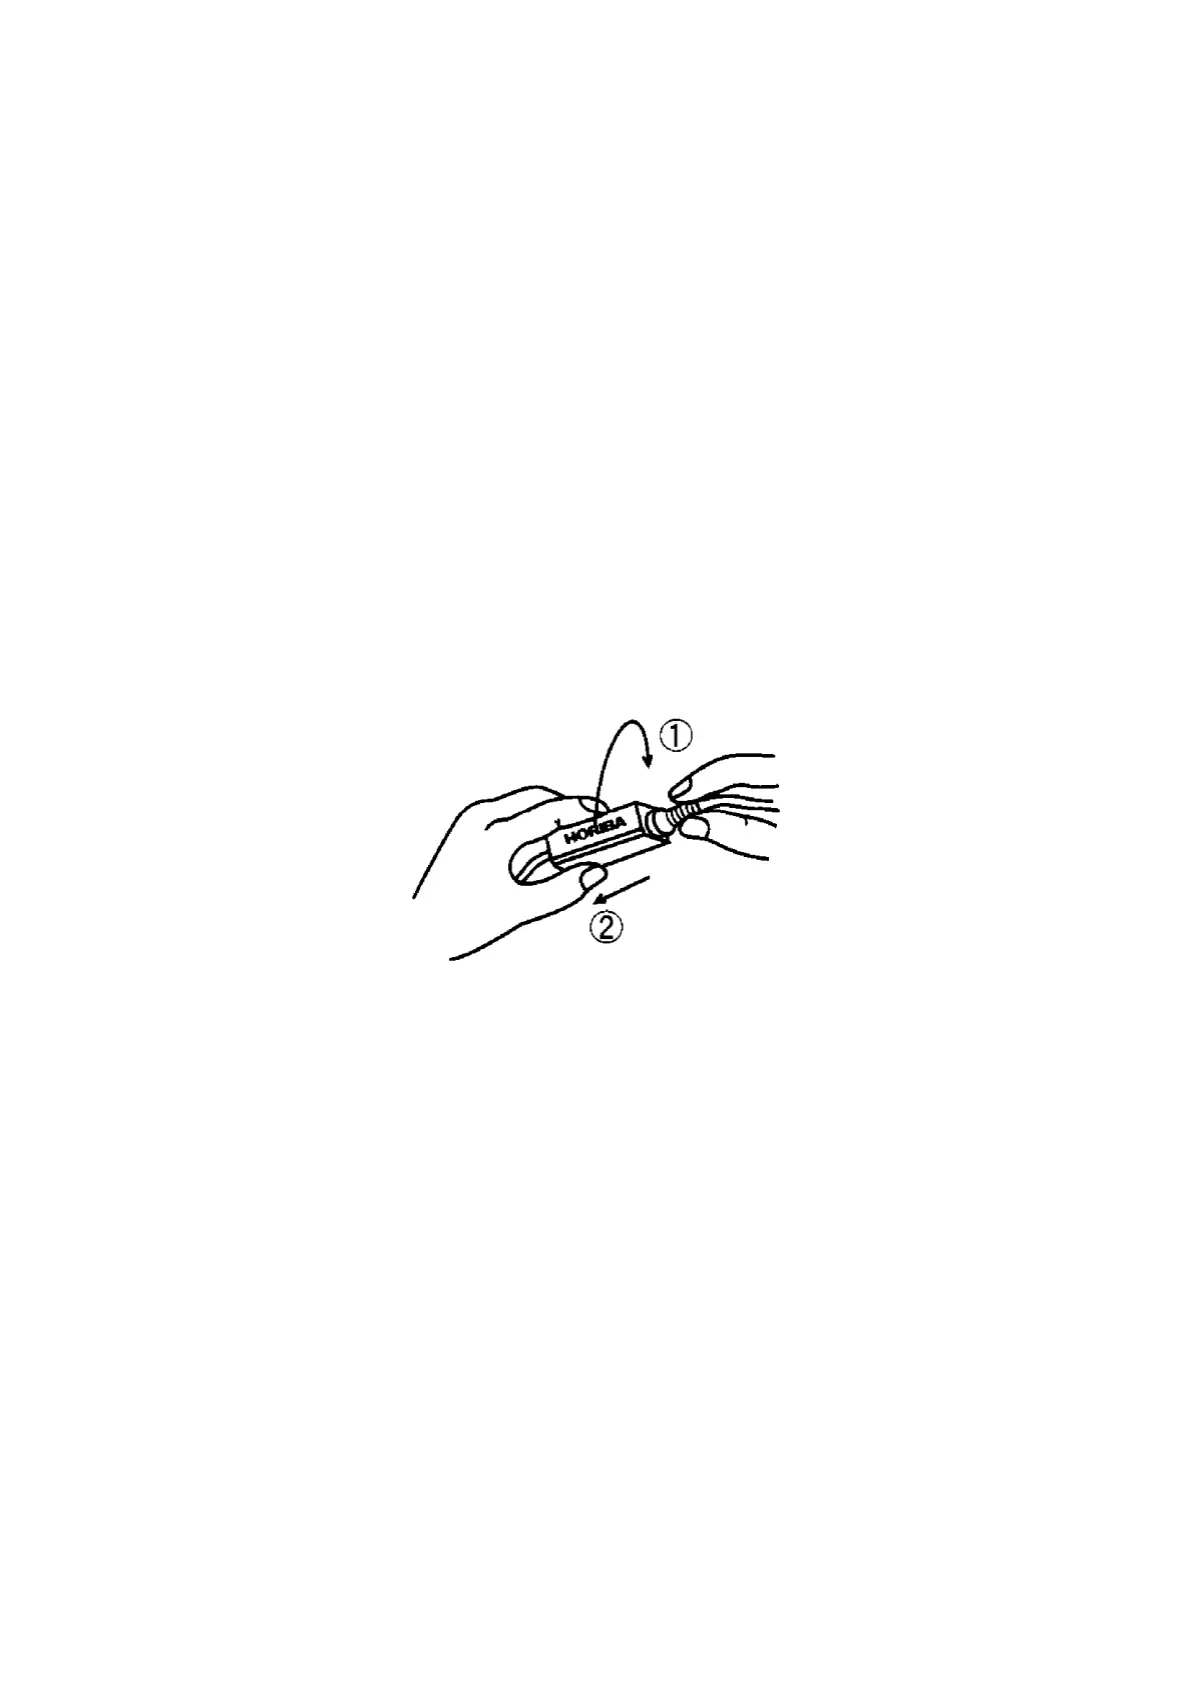
5. Move the silicon tube of the internal body 1 downward, to expose the internal
solution filler port (inner tube).
6. Put the gel-form internal solution (#330) in through the filler port using a syringe
and fill the electrode until the internal solution nears the filler port (inner tube).
Filling the electrode: assembly procedure
1. Return the silicon tube to its original position and seal the internal solution filler
port (inner tube). (Make sure that the filler port is completely sealed.)
2. If the bodies 1 or 2 or the liquid junction are dirty, wash them with pure (de-ion-
ized) water.
3. Insert body 1 into body 2. (Make sure that the O-ring is securely sealed.)
4. Return the spring to the top of body 1.
5. Hold the rubber sleeve in place by hand, then twist the electrode protective cap
to a 90º angle and fit the rubber sleeve into the electrode protective cap.
6. Set the parts such that the “HORIBA” logo faces the same direction as the stan-
dard solution filler port (outer tube), then fit the cap into body 2.
7. Twist the rubber sleeve to a 90º angle and hold it in place.
8. Use the plunger to fill the electrode with the specified standard solution.
9. Make the internal solution seep out from the liquid junction in accordance with
the section entitled
" Daily maintenance" page 195.
10. Store the electrode in accordance with the section entitled " ● Short-term stor-
age" page 194.