Saving a Form
OmniForm Procedures 47
4 Select
Calculation and Validation Support
if you want calculations,
validation, and field formatting options to be converted.
5 Select
Convert Tables to Layers
if you have tables and other
objects on your form and you want to maintain the position of
the objects.
6 Click
OK
to close the dialog box.
7 Click
Save
to save your form to your chosen format.
OmniForm converts your form to HTML with your selected
options.
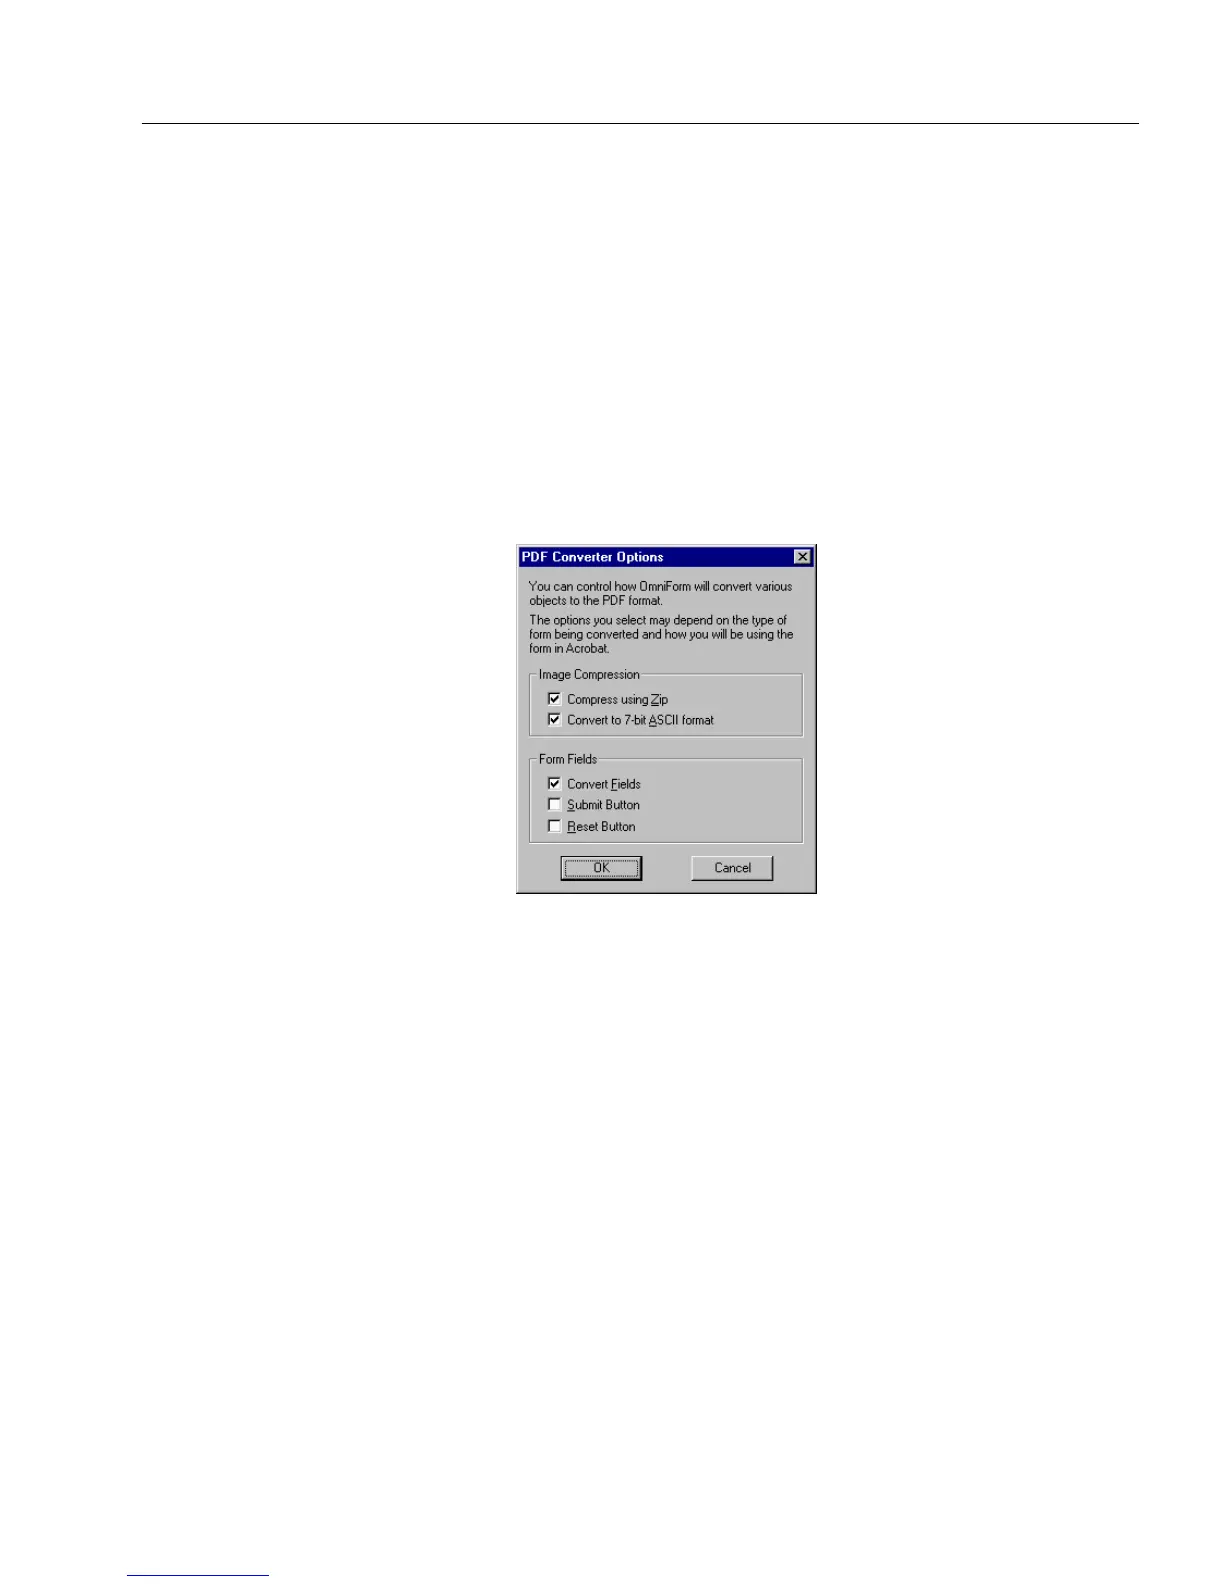
To set your options for PDF conversion:
1 Select an option under the
Image Compression
box.
Select
Compress using Zip
if your file is large and you want to
compress it. If you have selected the compression option, you
can also select the
Convert to 7-bit ASCII format
. This option
converts your compressed file back to an ASCII format.
2 In the option under
Form Fields,
select whether you want your
form’s fields converted and if you want to add a submit button,
a reset button, or both.
• Select
Convert Fields
so that you will be able to fill all the fields
on the form after your form has been converted to a PDF. The
form retains the field’s definition. For example, if the form’s
field has been defined as a text field, you will be able to fill
that field with text. Likewise, if the form’s field has been
defined as a check box, you will be able to fill that box with a
check mark.