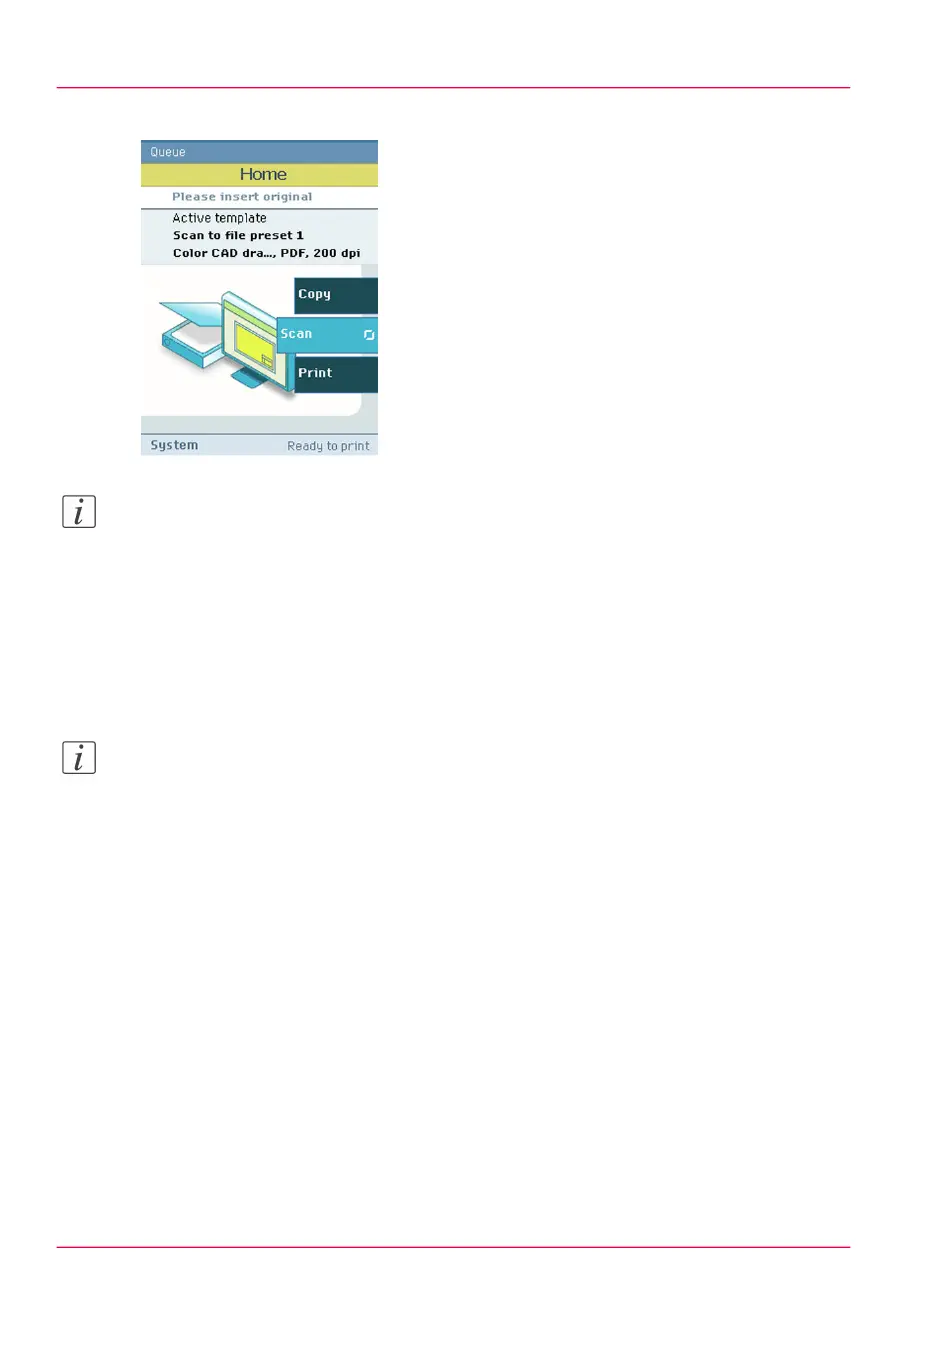
2.
Select 'Scan' on the user panel.
Note:
The description of the first default scan template is displayed ('CAD to TIFF'). With a
scan template you can pre-define the settings you need for a scan job. You only need to
set the job settings once and you can store the settings in a job template that is presented
on the user panel. You can re-use the job template for each next job without the need to
redefine all the settings every time. (see ‘Define the scan job preferences and scan templates’
on page 167).
3.
Press the green button.
Note:
Depending on the selected 'Original release mode' in the Océ Express WebTools, the
scanner holds or releases the original after the scan procedure.
Result
The scanned TIFF file is placed in the Smart Inbox 'Scans'. You can access this Smart
Inbox via the'Jobs' tab in the Océ Express WebTools.
Chapter 3 - Quick start90
Scan a CAD drawing to TIFF format