- 70 -
3. Scan
Saving Scanned Data in USB Memory
Saving Scanned Data in a Shared Folder
4
Press [Image Settings] on the [Image Settings] tab.
5
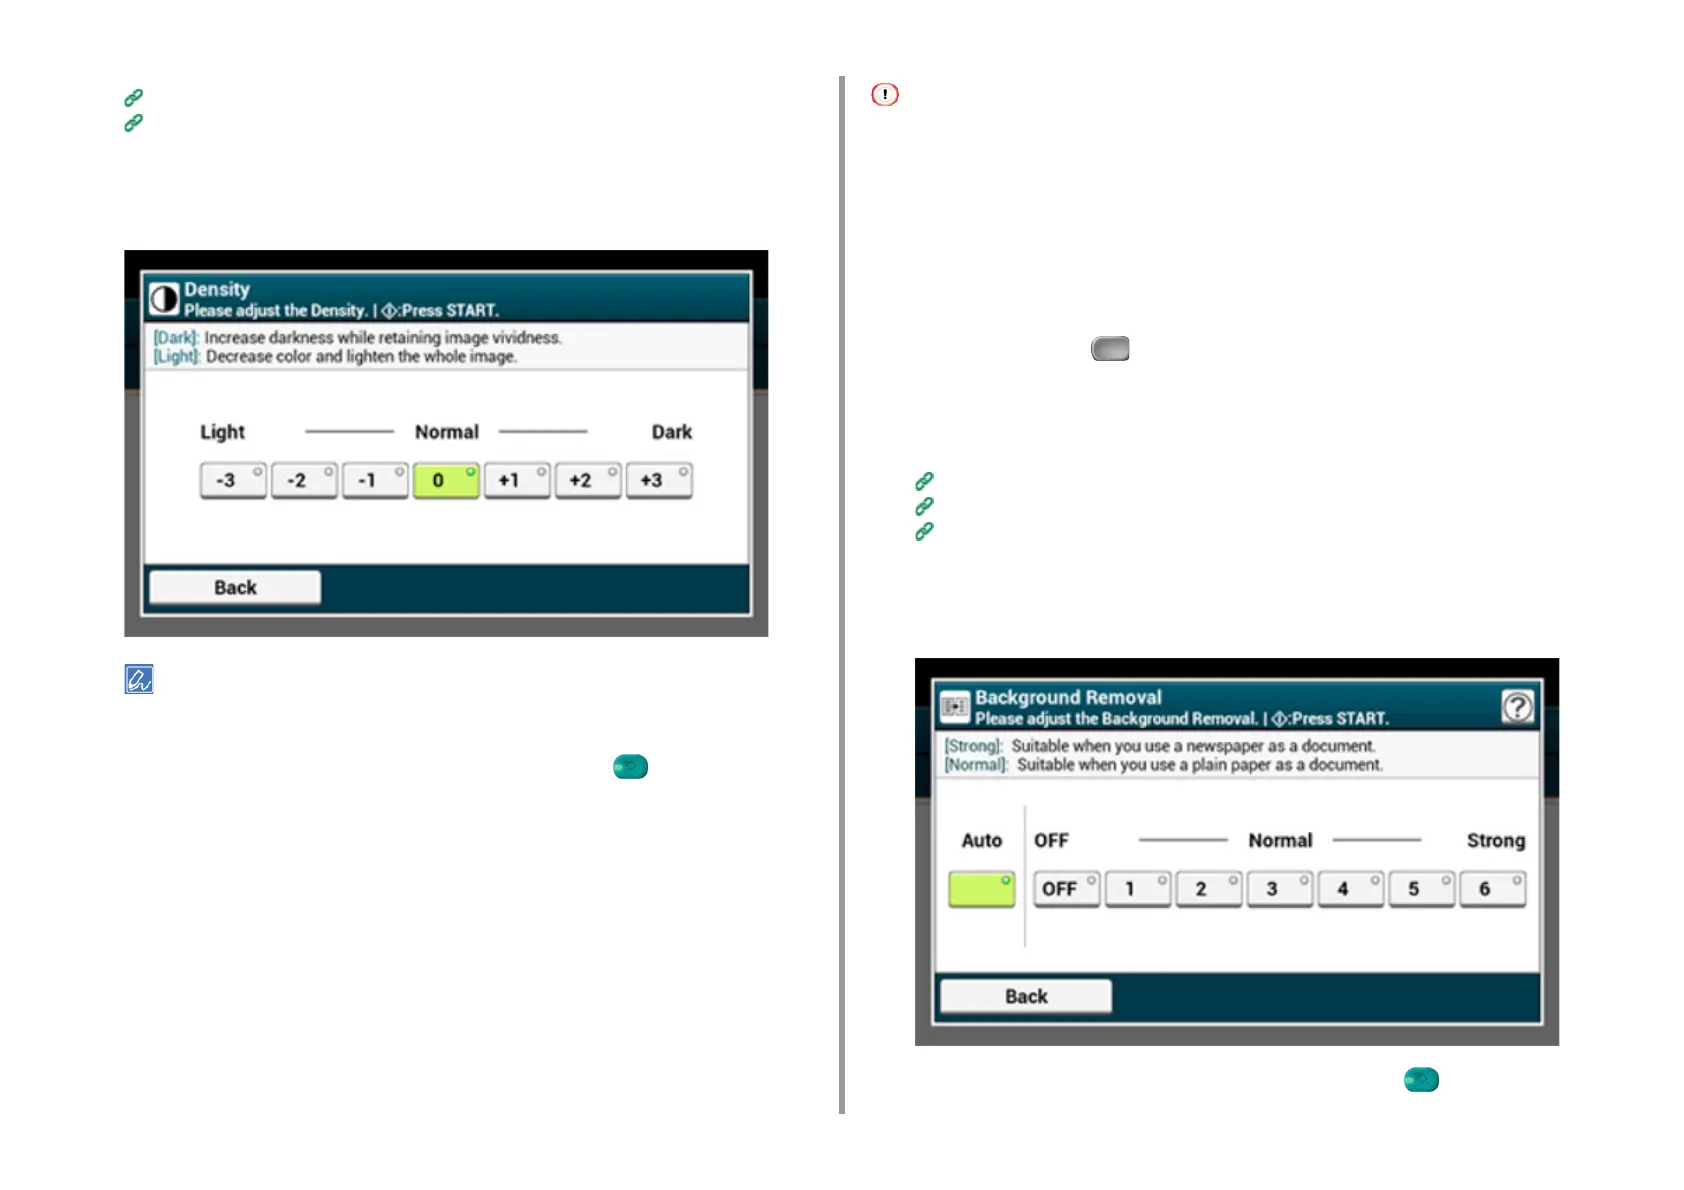
Press [Density] and press a density level.
[0] is the standard value. To increase the density, select [+1], [+2], or [+3] (darkest). To decrease the density,
select [-1], [-2], or [-3] (lightest).
6
Change other settings if necessary, and then press the (START) button.
Scanning a Document with a Colored Background Clearly (Background
Removal)
To adjust a level of the document background removal, you can select Auto or OFF, or adjust
in six levels.
If you select [Auto], the background is automatically removed in a level that suits the
document.
• In the following cases, background color may not be correctly detected and not be eliminated successfully.
- When a custom-size document is loaded
- When a document with the front edge folded is loaded
- When a document missing the front edge or an oblique document is loaded
- When a document having a hole near the front edge is loaded
- When a document is placed without aligning it with the guide on the document glass
• If a greater value of the background removal is set, fine lines, texts or light colors may not be reproduced depending
on the document.
1
Press [Scan] or the (SCAN) button.
2
Set a document in the ADF or on the document glass.
3
Select a scan function.
Sending Scanned Data as an E-mail Attachment
Saving Scanned Data in USB Memory
Saving Scanned Data in a Shared Folder
4
Press [Image Settings] on the [Image Settings] tab.
5
Press [Background Removal] and press a value.
6
Change other settings if necessary, and then press the (START) button.