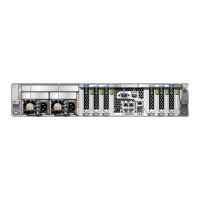
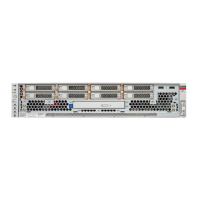
Remove an Internal Interconnect Assembly
Related Information
■
“Remove an Internal Interconnect Assembly” on page 299
■
“Install an Internal Interconnect Assembly” on page 302
Remove an Internal Interconnect Assembly
This procedure can be performed only by qualified service personnel. Remove AC power using
the circuit breakers on the appropriate PDU before performing this procedure.
1.
Determine which interconnect requires service.
See “Identify Faulted Components” on page 36.
2.
Take the necessary ESD precautions.
See “Prevent ESD Damage” on page 61.
3.
Power off the server and switch off the appropriate PDU circuit breakers.
See “Removing Power From the Server or Domain” on page 69.
4.
Locate the internal interconnect assembly at the front of the server.
See “CMIOU Chassis Front Components” on page 20.
5.
(Important) Label the internal interconnect assembly slots and assemblies.
If you are removing one or more internal interconnect assemblies and will return them to the
server (for example, because you are removing them to gain access to other components), you
must return them to their original locations in the server. Take care to properly label each slot
and assembly to ensure that it is properly reinstalled.
6.
From the rear of the server, remove the SPs and unseat the SP tray from the
impacted chassis.
“Servicing SPs” on page 117 and “Servicing SP Trays” on page 243.
7.
Unseat all CMIOUs from the impacted chassis.
See “Servicing CMIOUs” on page 83.
8.
From the front of the server, remove the internal interconnect assembly.
a.
Loosen the captive screws on the assembly.
Servicing Internal Interconnect Assemblies 299
 Loading...

