Remove an SP or SPP
■
“Remove an SP or SPP” on page 132
Remove an SP or SPP
This procedure can be performed by a customer while the server is running. The procedure is
the same whether you are removing an SP or an SPP.
Note - Only remove an SP or SPP when you have verified that the blue Ready to Remove LED
on the SP or SPP is lit.
Caution - This procedure requires that you handle components that are sensitive to electrostatic
discharge. This discharge can cause server components to fail. When you unpack the
replacement part, open the package on a grounded antistatic mat. Always use an antistatic wrist
strap for hardware replacements.
1.
Determine your first step:
a.
If you cannot access the SP, go to Step 2.
b.
If you can access the SP, back up the configuration information as shown
here and then go to Step 2.
-> cd /SP/config
-> dump -destination uri target
where:
■
uri is tftp, ftp, sftp, scp, http,and https
■
target is the remote location where you want to store the configuration information
For example:
-> dump -destination tftp://129.99.99.99/pathname
2.
Take the necessary ESD precautions.
See “Prevent ESD Damage” on page 61.
3.
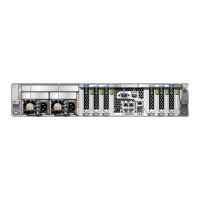
Locate the lit blue Ready to Remove LED.
The component is in the rear of the server. See “SP General Status LEDs” on page 120.
132 SPARC M8 and SPARC M7 Servers Service Manual • September 2017
 Loading...

