23 Event Surveillance
295
3
Set the event trigger for each measurement. Select each trigger name and select, if available, either
an alarm trigger, or a user-defined trigger from the pop-up trigger list. If you select a user-defined
trigger, set the required threshold level and delay time.
4 Set the trigger status to Activated to start event triggering. If the status is Deactivated event
surveillance is effectively switched off.
5 Select Confirm to confirm your changes.
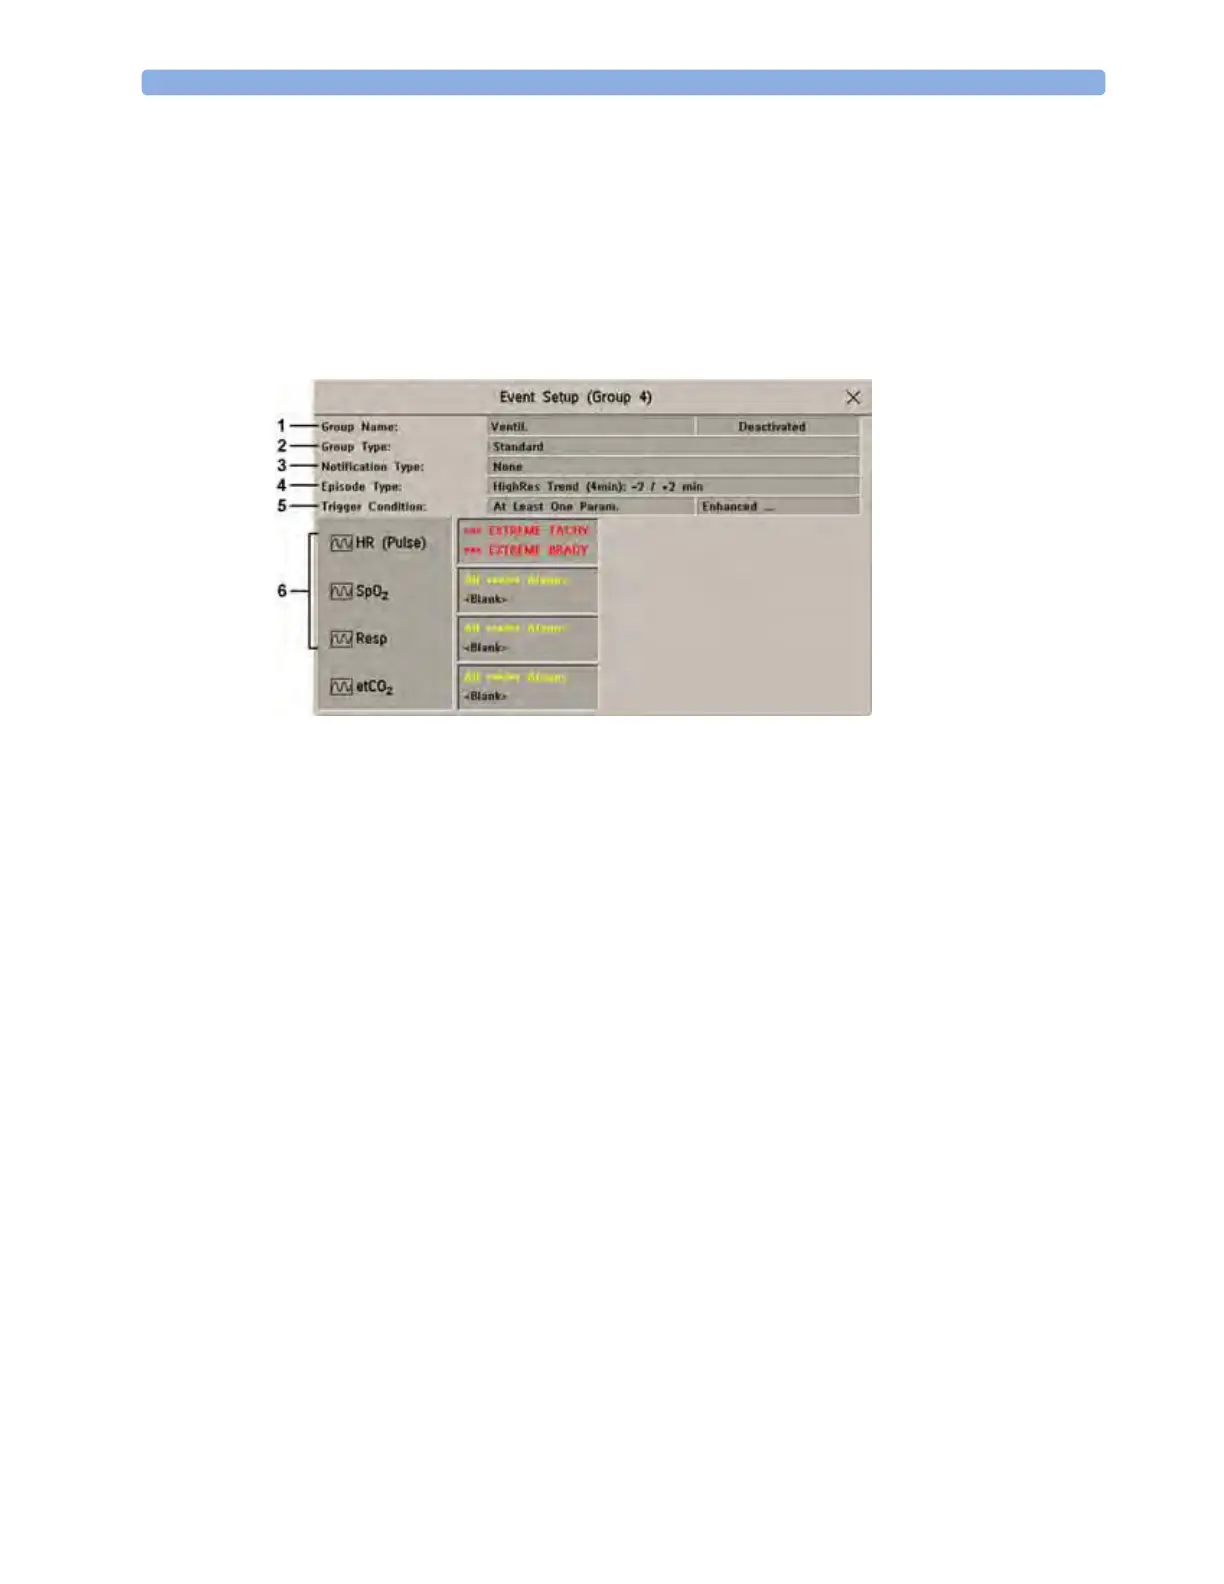
Setting Triggers and Notification for Advanced Event Surveillance
1 Group Name
2 Group Type
3 Notification Type
4 Episode Type
5 Trigger Condition
6 Measurements used as event triggers
1 Select the group name to enter the setup window for that group.
2 Set the trigger status to Activated, to have this event group trigger events, or Deactivated.
3 Set the episode type.
Select the name of the current episode type and select an episode type from the pop-up list. The
pre/post episode time for the selected episode type is displayed.
4 Set the trigger for each measurement. Select each trigger name and select either an alarm trigger or
a user-defined trigger from the pop-up trigger list. If you select a user-defined trigger, set the
required threshold level and delay time. If a deviation trigger is configured, set the deviation and
duration.
5 Select Confirm to confirm your changes.
Triggering Events Manually
To manually trigger an event, select the SmartKey Manual Event and (for Advanced Event
Surveillance) select the group in which the event will be triggered.
For manually-triggered events, patient information for the time leading up to the trigger moment is
stored using the settings of the assigned event group.
 Loading...