Section 18: BODY
PA1562
58
15 PASSENGER SEATS
X3 coaches can be equipped with any of 3 basic
seat models and installed in a variety of seating
arrangements:
1. The "Tourismo 2" seat is the base model
and is available in heights of 40" (102 cm)
and 42" (107 cm). Seating arrangement
includes 2 card tables which can be folded
and removed, and pivoting seats ahead of
each card table. Each pair of seats is built
on a welded steel frame fastened to the side
wall and on a track-mounted pedestal.
2. The "Silhouette" seat is an optional model
with each pair also built on a welded steel
frame and mounted the same way as the
"Tourismo 2" seat. Standard seating ar-
rangement with "Silhouette" seat includes 2
card tables and 2 pivoting seats. Seating
capacity is the same as with the "Tourismo
2" seat.
3. The "V.I.P." seat model is an optional seat.
"V.I.P." seats are mounted on one row of
paired seats built on a common frame on
one side of the vehicle, and a row of single
seats on the other side of the vehicle with an
off-center aisle. Each "V.I.P." seat has its
own set of armrests.
Each seat has a easily removable bottom
cushion. Upholstery is clipped on the cusion
frame for cleaning or replacement. To remove
the fabric, simply unclip from the frame. The
"Tourismo 2" and "Silhouette" seats have 3
armrests. The aisle and center armrests can be
folded up and down manually, while the window
armrest is fixed.
15.1 ROTATING SEATS
1. Remove 1 wing nut holding each seat
bottom cushion from under the seat frame.
2. Lift front part of cushions and remove
cushions.
3. Remove 4 wing screws fastening seat
assembly to seat frame.
4. Pull seat toward aisle and rotate.
5. Align mounting holes and reinstall 4 wing
screws.
6. Reinstall seat bottom cushions with wing
nuts.
15.2 REMOVING FIXED SEATS
NOTE
Seats on one row are not interchangeable with
seats of the other row.
To remove fixed seats, proceed as follows:
1. Remove 1 nut holding each seat bottom
cushion from under the front part of the seat
frame.
2. Lift front part of cushions and remove
cushions.
3. Remove 4 finishing screws holding plastic
cover between side wall and seat frame.
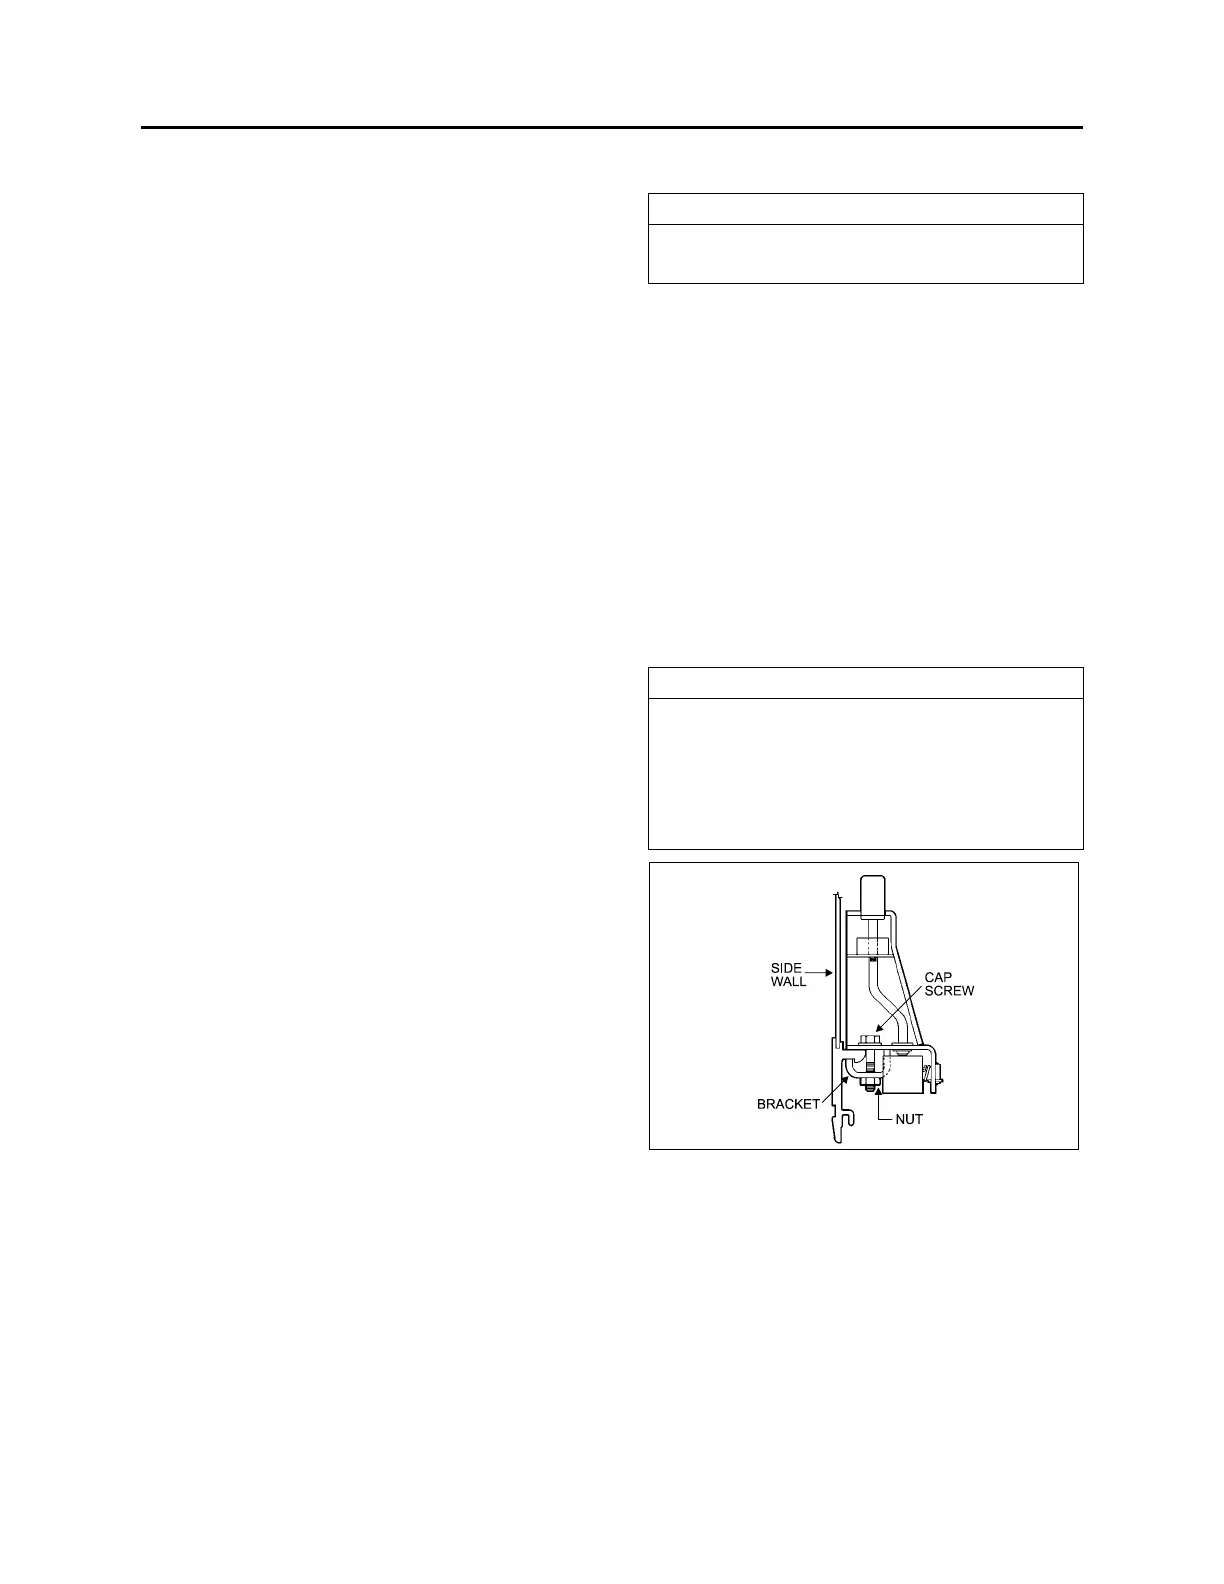
4. Remove 2 cap screws, nuts, and washers
holding seat frame to side wall and retain
the 2 holding brackets. See figure 43.
5. Remove 2 nuts and washers holding seat
frame to pedestal rods. See figure 44.
NOTE
Bottom end of rod is coated with Locktite and
threaded in a steel block which slides in the
floor track. Removal of rod is possible if
loosened from block. Otherwise, slide rod and
block assembly to the front end of track after
removing all seats located in front.
FIGURE 43: ARMREST 18106